Failures, learnings, and final light (Cabinet Light Pt. 6)
This is, I hope, the last entry in the cabinet light saga. While it was fun to tinker with the programming of the first one, a number of issues arose that were annoying to deal with. With the learnings from the first “prototype”, I created a second version that was easier to build & should be MUCH safer.
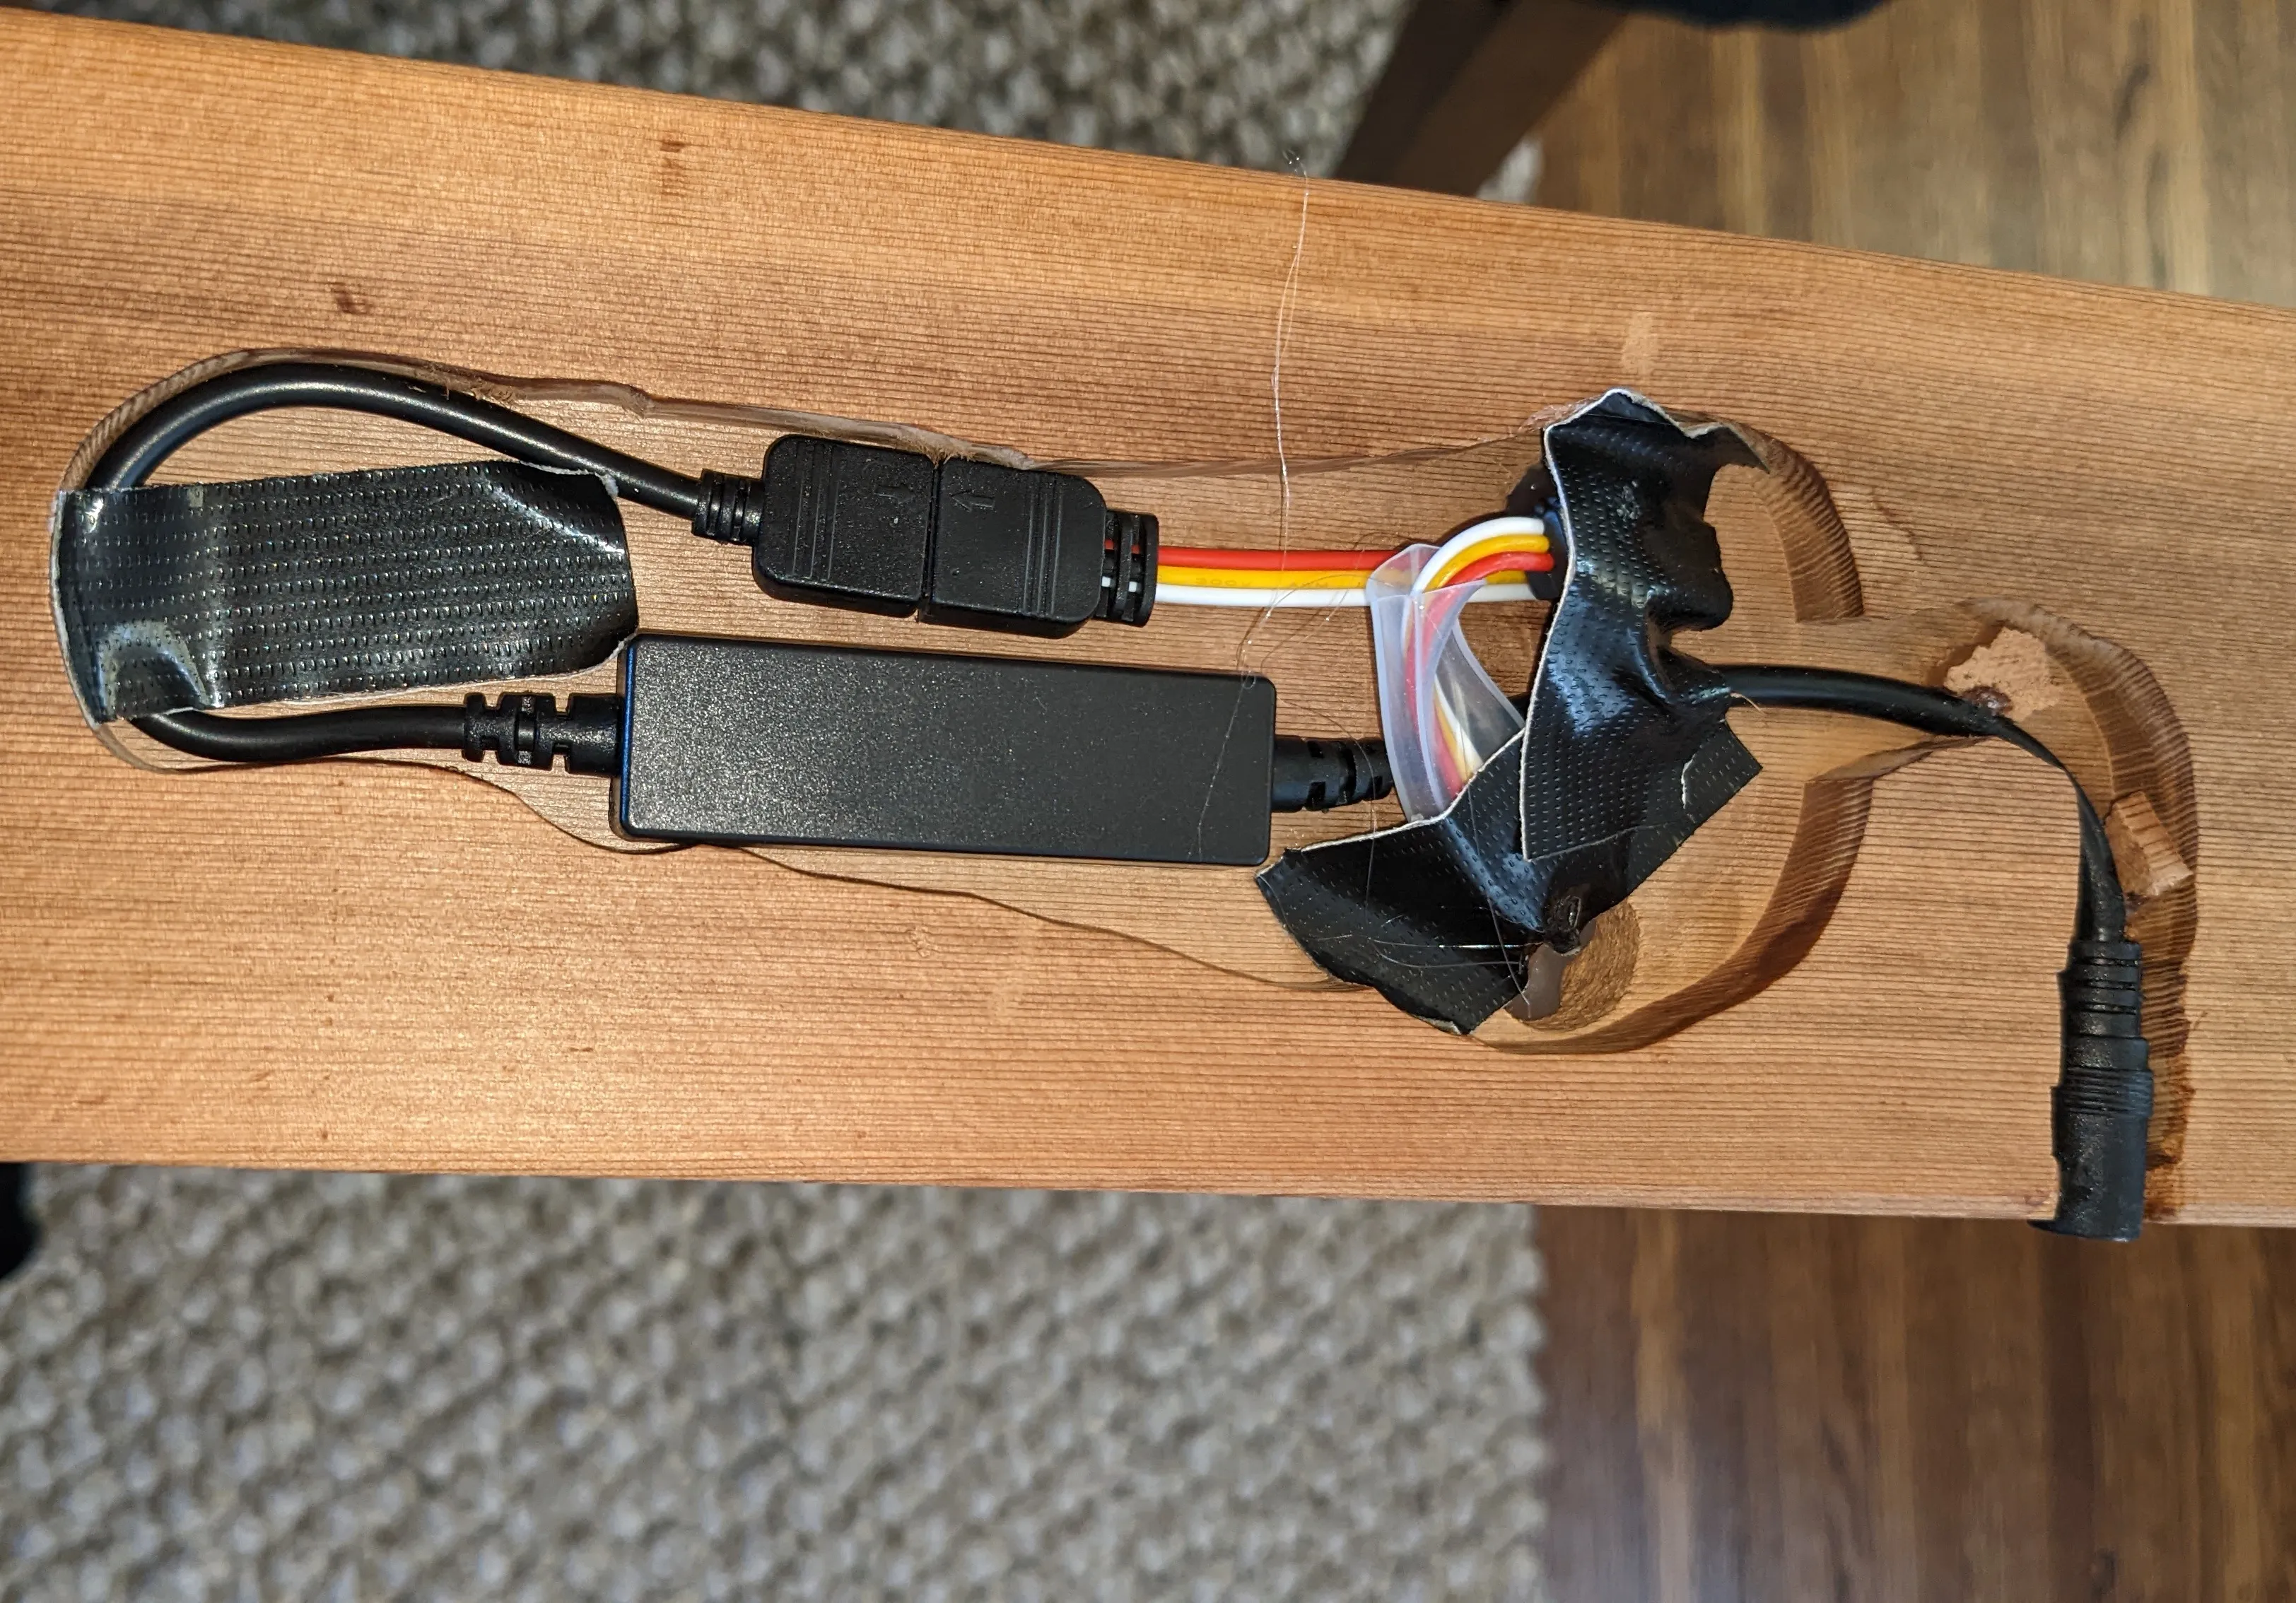
Which one looks safer to you?

So what happened with the prototype?
Here is the non-exhaustive issue list.
Issue 1: Not bright enough.
The LED code I wrote was definitely correct correctly used the white LED for white light and introducing the other colors only when needed. However, this meant that at the color we wanted - which is basically always white - we are only using 25% of the luminocity of the strip!
To fix this, I basically made it so the RGB leds output the chosen color, and then turning up the brightness HSB level also turned up the ‘white’ led. So when it was at pure white, all LEDs were max brightness. This definitely helped and made it more acceptable.

Issue 2: I never used the controls. Ever.
I put all of this work into the buttons and the knobs for controlling the light, and at the end of the day, I never used them! The buttons also ended up being flaky due to the way I made the resistance ladder.
I seem to love making complicated & interesting features that I never actually need. Just ask my coworkers.

Issue 3: Slow failure, then full failure with melting!
For a while, LEDs at the end of the strip started glitching out. So I just turned that section off. I guess the button controls were useful after all!
Then, the whole light stopped working. Thankfully I was nearby when it stopped working and unplugged it to investigate. This is what I found:

I injected power with much higher guage wires throughout the strip, but I didn’t think to remove the tiny guage wires here with the data singal to the leads of the stip. It seems like the connector here melted from heat & probably shorted. They really under-size the power wires for these power-hungry strips - no one should be using the provided connectors here.
Round 2: Simpler, safer, easier.
Well now that my first version was dead, the one that was definitely always meant to be a prototype, I could start fresh with lessons learned. My main concerns now were:
- Safer.
- I don’t want to do my own wiring here, I want things to be contained already, and I want to use a non-exposed power supply, preferably just a regular transformer.
- The previous version involved a cable in a wire cover connected directly to wall power - this made me very uncomfortable. This time I’m just installing a new plug with real boxes and conduit.
- Simpler. I don’t need all of these controls. I want it to turn on an off, with maybe a one-time adjustment of color temperature.
- Bright. Give me light!
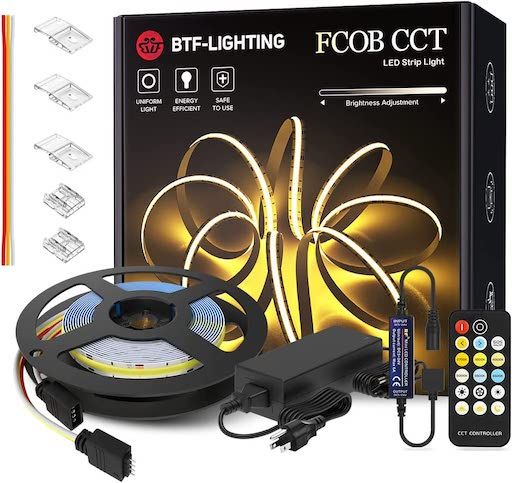
Simpler power & LED solution
I found a MUCH better LED solution which solved my problems, starting with this 10ft, 24v COB-style LED strip from BTF-Lighting.
- It was 24 volts, which meant that wire size was no longer a problem. AKA I didn’t need to solder power wires to the strip.
- It contained a controller with remote already.
- It comes with a plug-in transformer.
- It’s an COB-style strip which means it has it’s own diffuser so I don’t have to use my own.
Easy! The only problem is that the led strip is exposed to the elements still, and knowing my history with homemade kombucha, it’s probably best to protect those connections.
To do that, I found these silicon tubes for LED strips I could pull the strands through. However, this was NOT easy. I had to do some magic with the string and the wires at the end of the strip, but if you get a good attachment and tie the string to something sturdy, you can slowly pull the strip through if you get everything straight and lined up.


Do NOT bend the strip back and forth to get it to go through. This will cause a connection point to break, and then you have more problems.
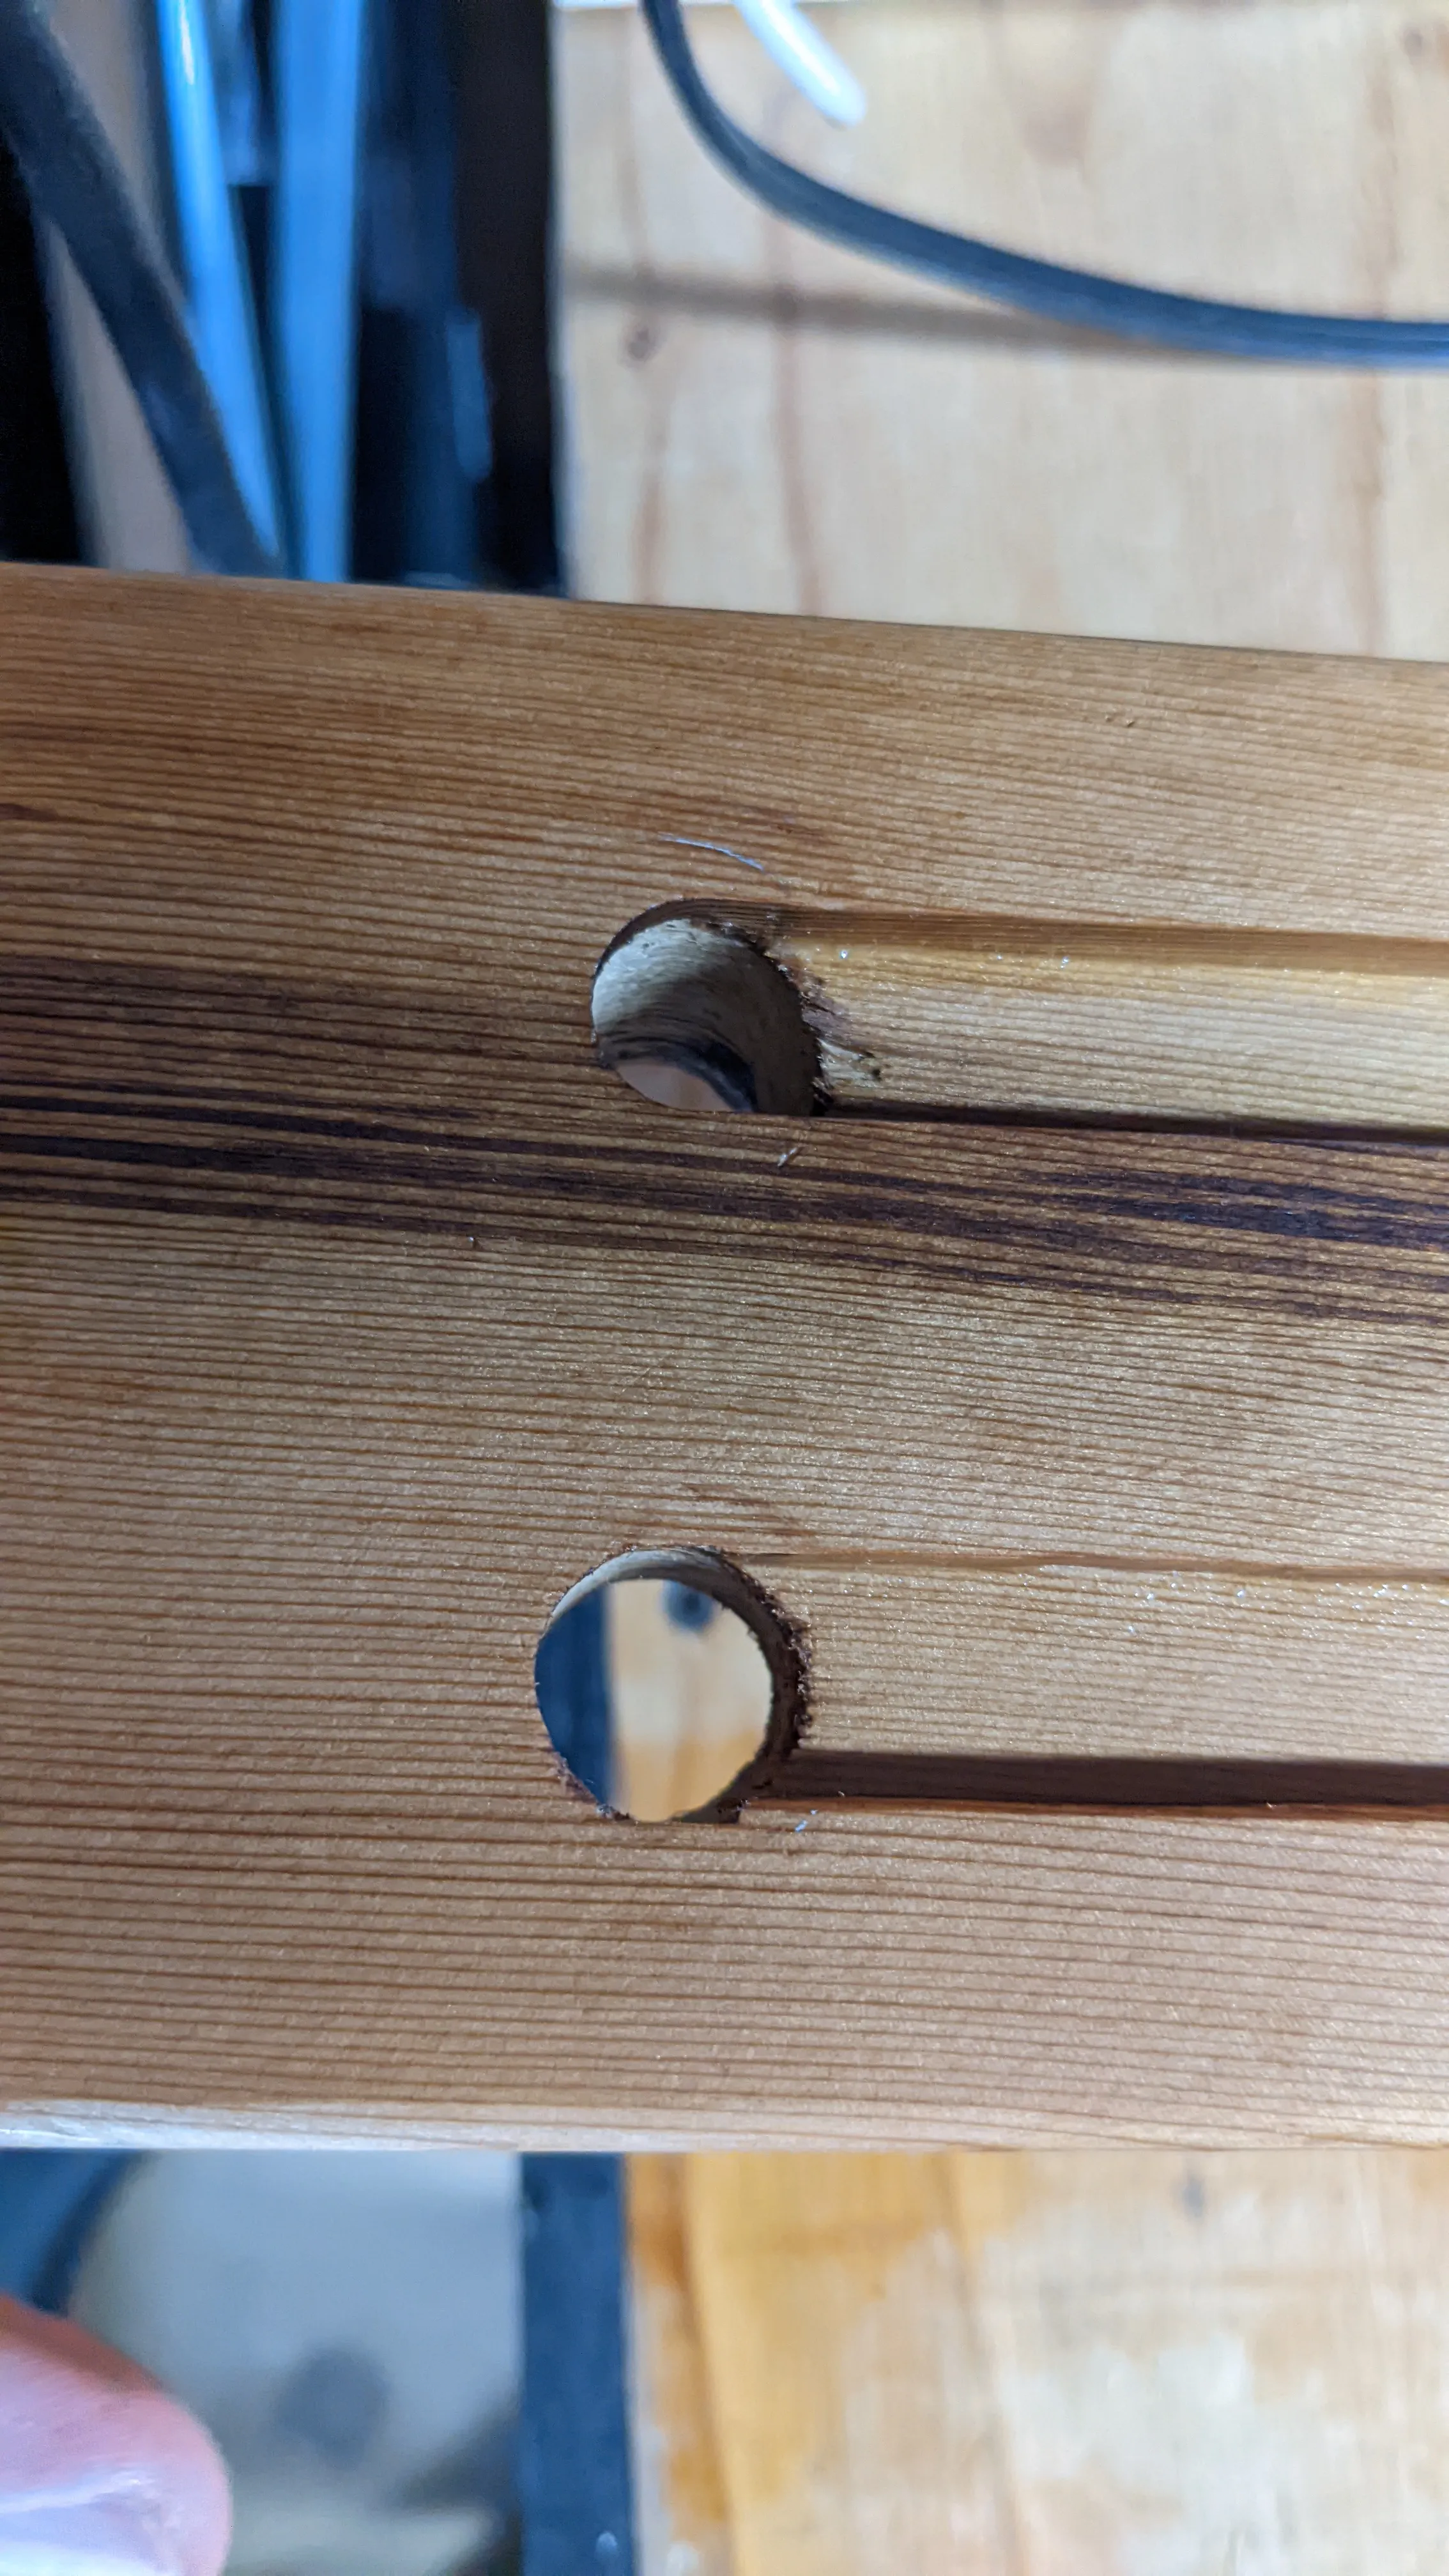
One piece of wood & routing.
Instead of dealing with 3 peices of wood that I had to glue / attach end-to-end (which was a nightmare), I made sure to use one long piece of wood. I also made sure not to get carried away with the router.
I used red cedar again and sealed it with Rubio Monocoat.


Then some simple routing:


Safe connections.
I tried extra hard to make sure the connection between the two strips was safe.


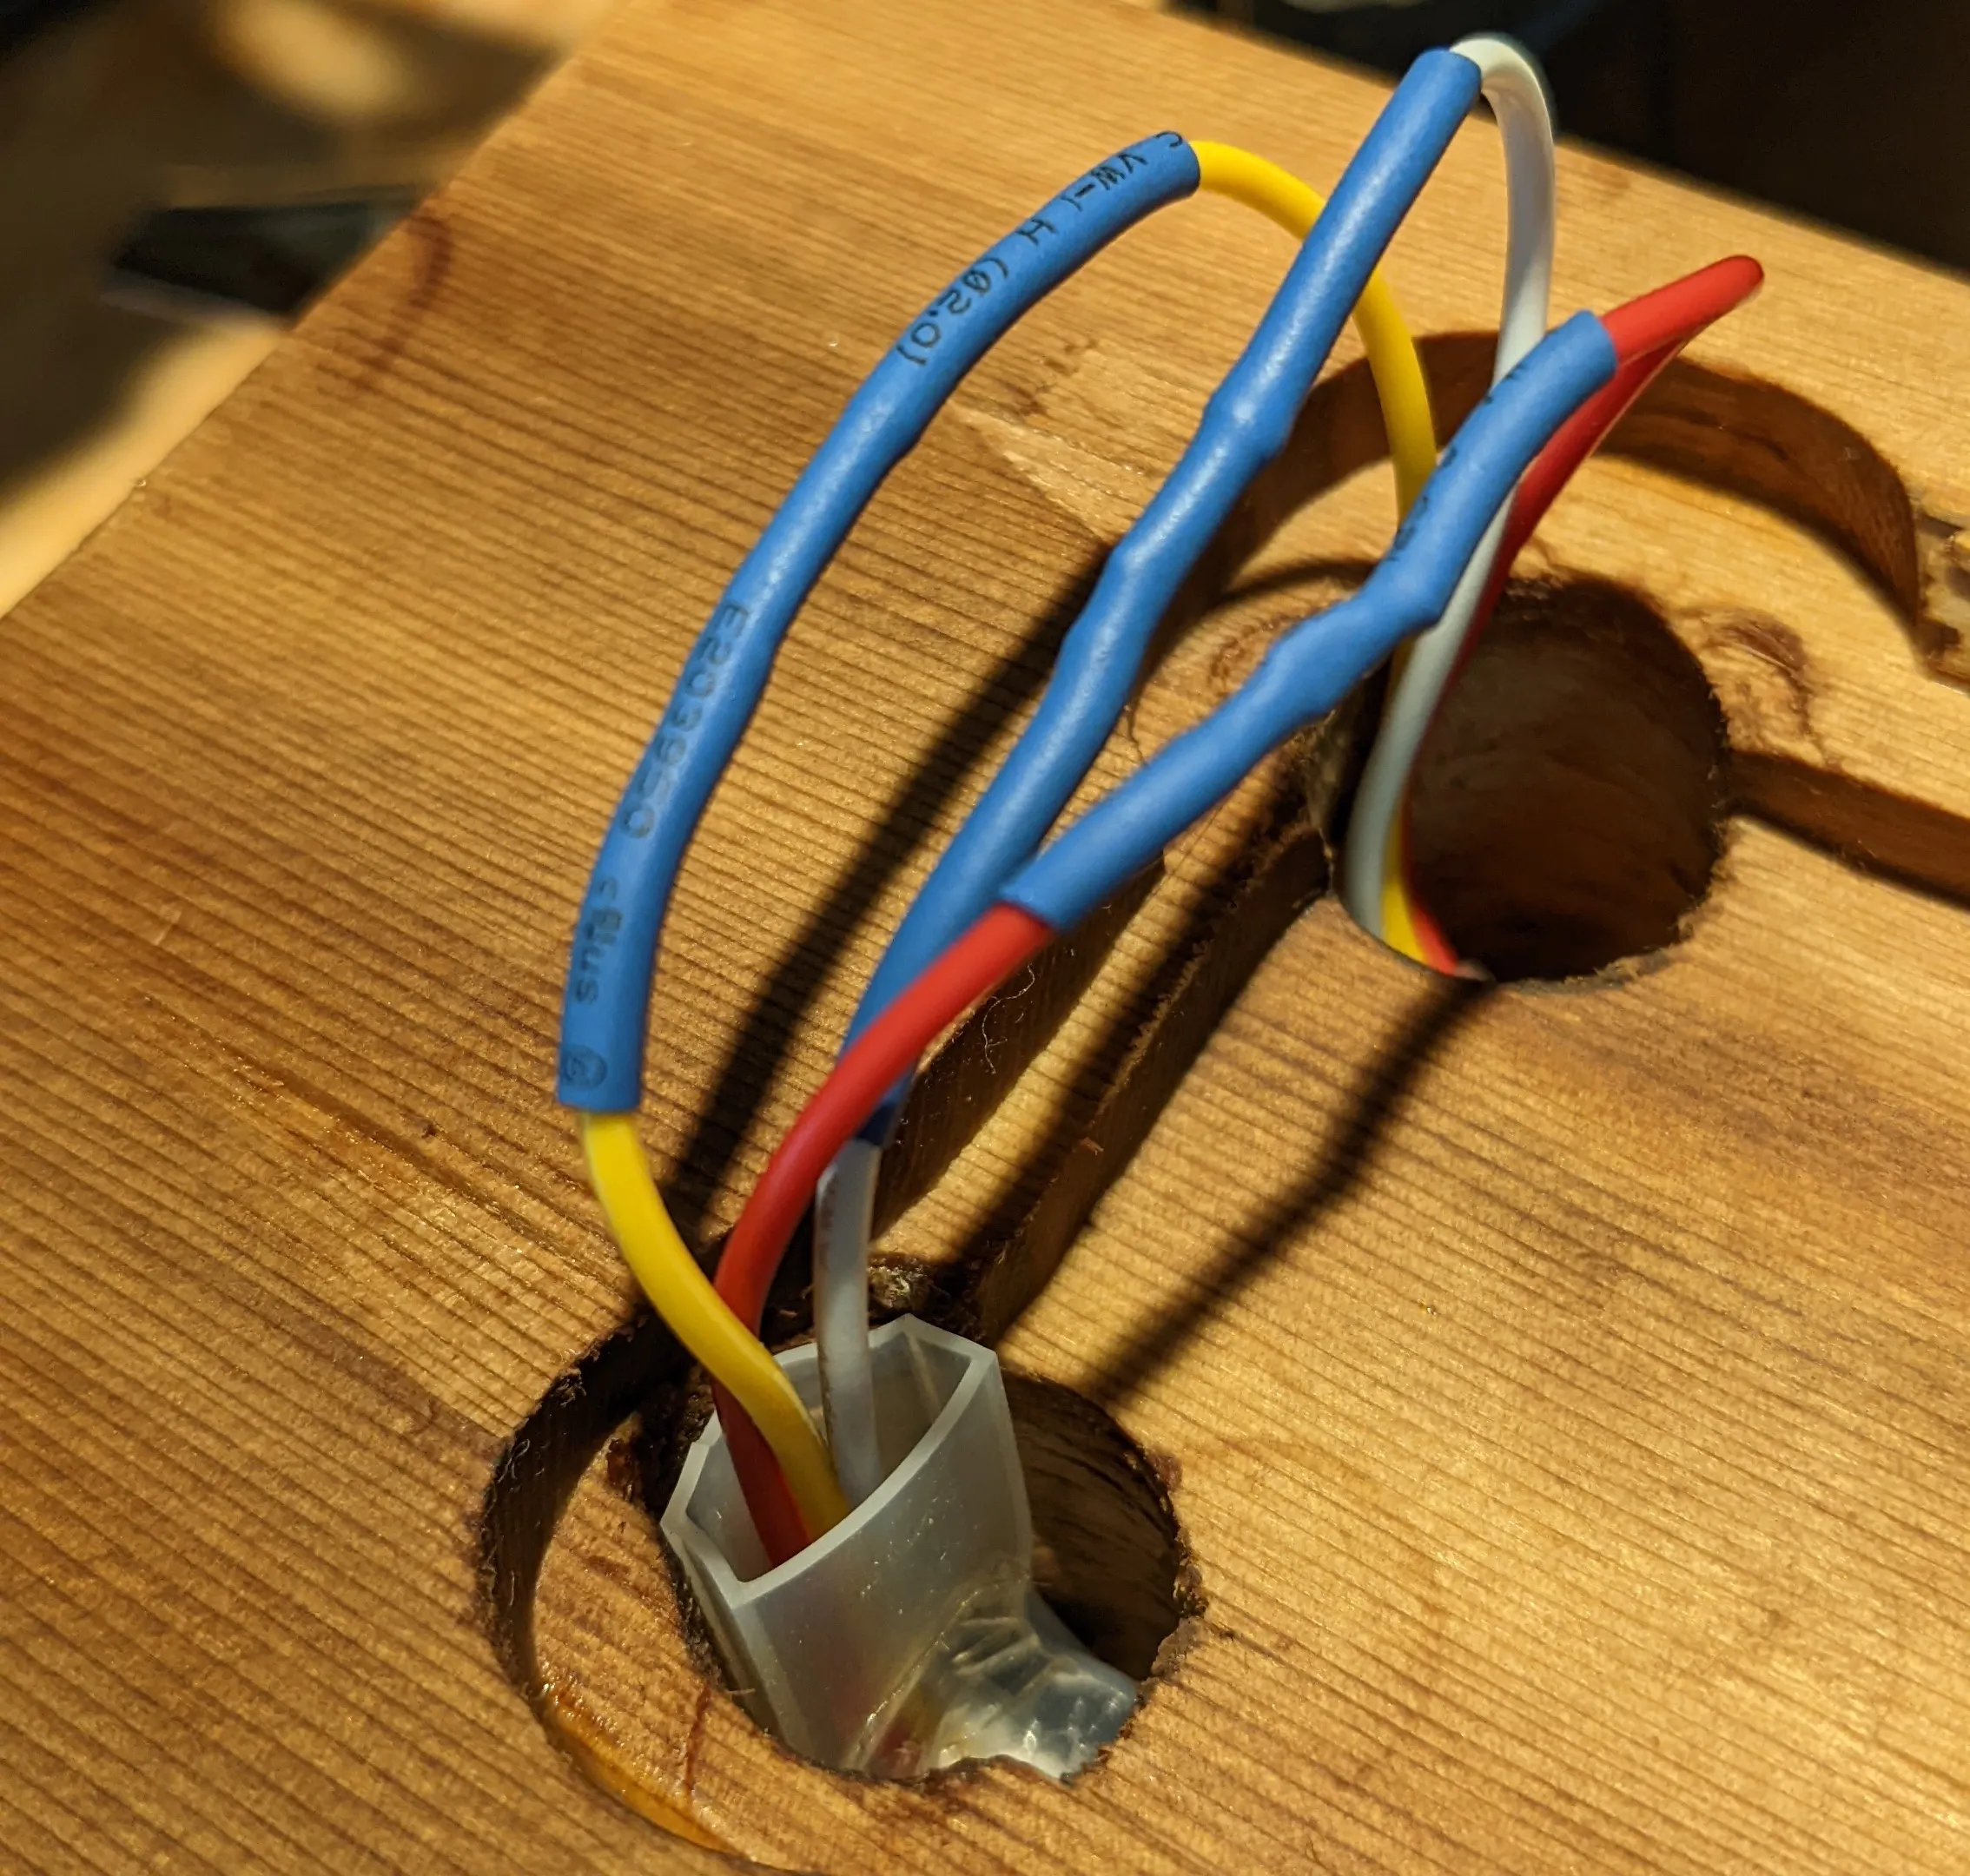


Then, I just had to place & secure the controller & power plug.


Installing, power boxes, conduit, and a real plug.
Instead of that flaky wire cover, I got real conduit this time and installed electrical boxes - now everything is up to code!

It works!

Lessons
- Try to keep my projects scoped to one weekend if at all possible.
- Get all the materials I need before starting. If there are unknowns, figure those out before jumping in.
- Do not do more than one project at a time. If I do, this means I get no projects done as I hit small blockers in all of them and kinda put them all off forever.
- Do not mess around with high wattage.
Published: Sun Jan 01 2023 00:00:00 GMT+0000 (Coordinated Universal Time)