Electronics & dispersion (Cabinet Light Pt. 5)
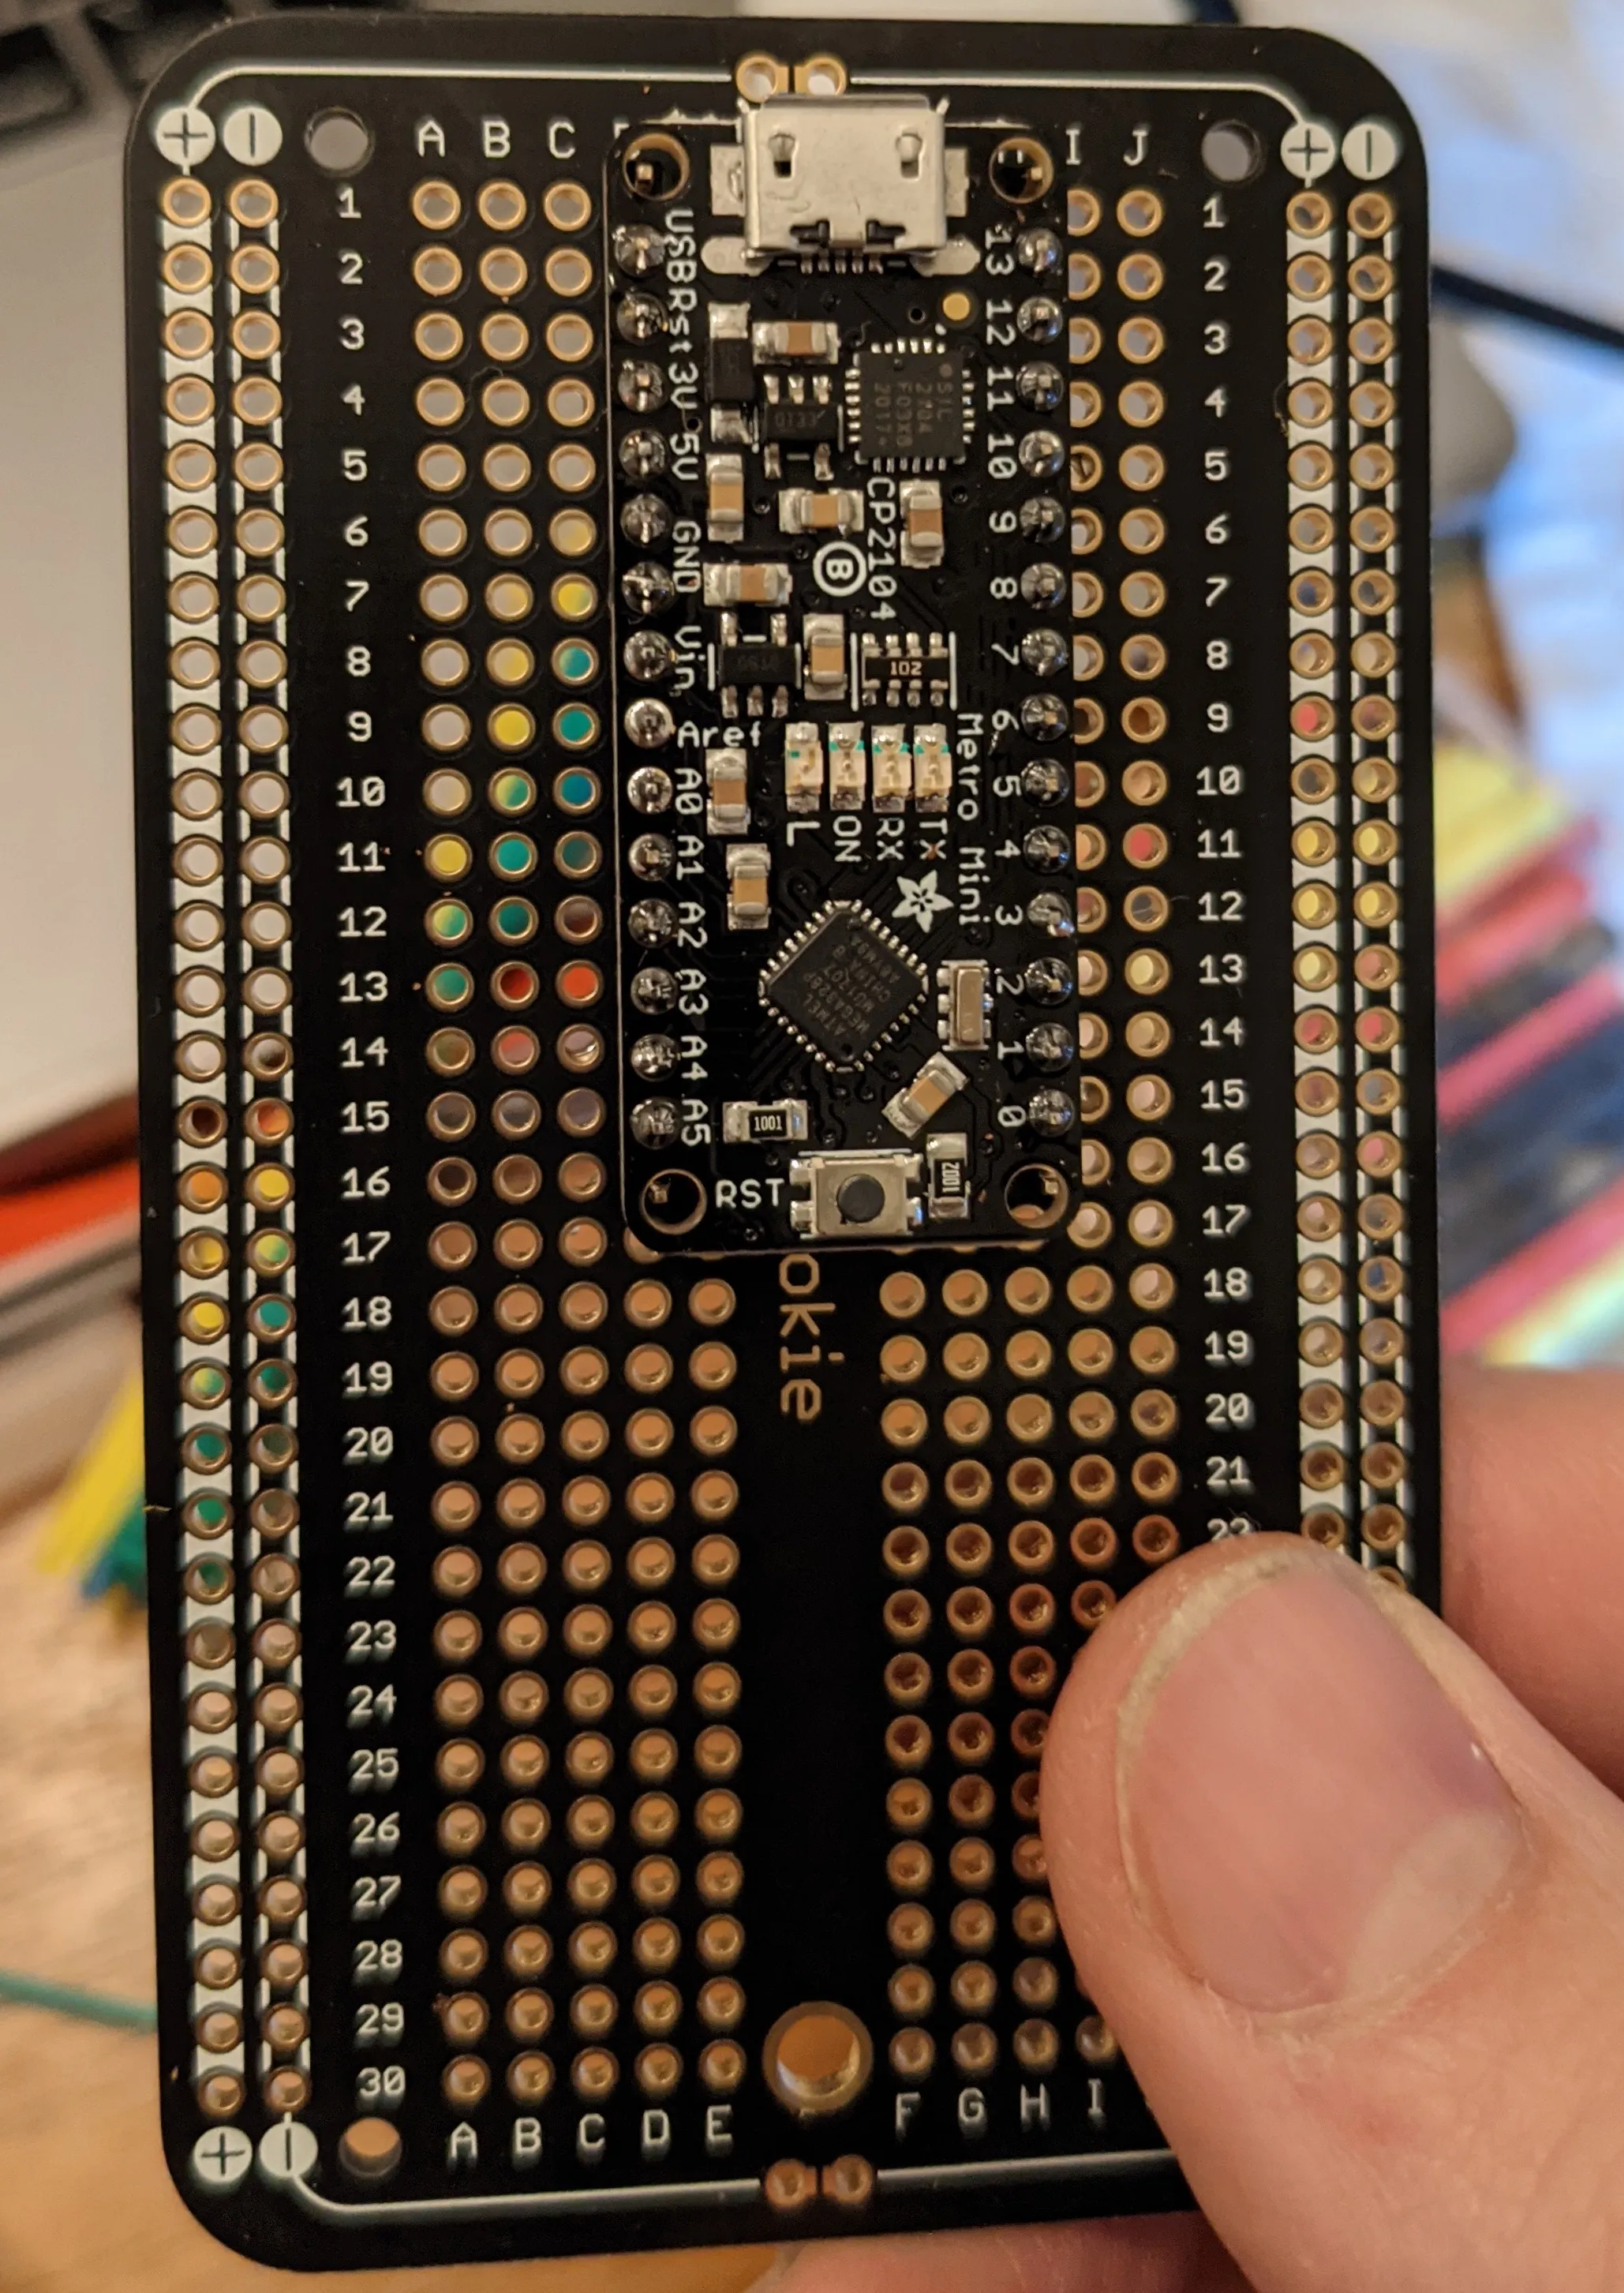
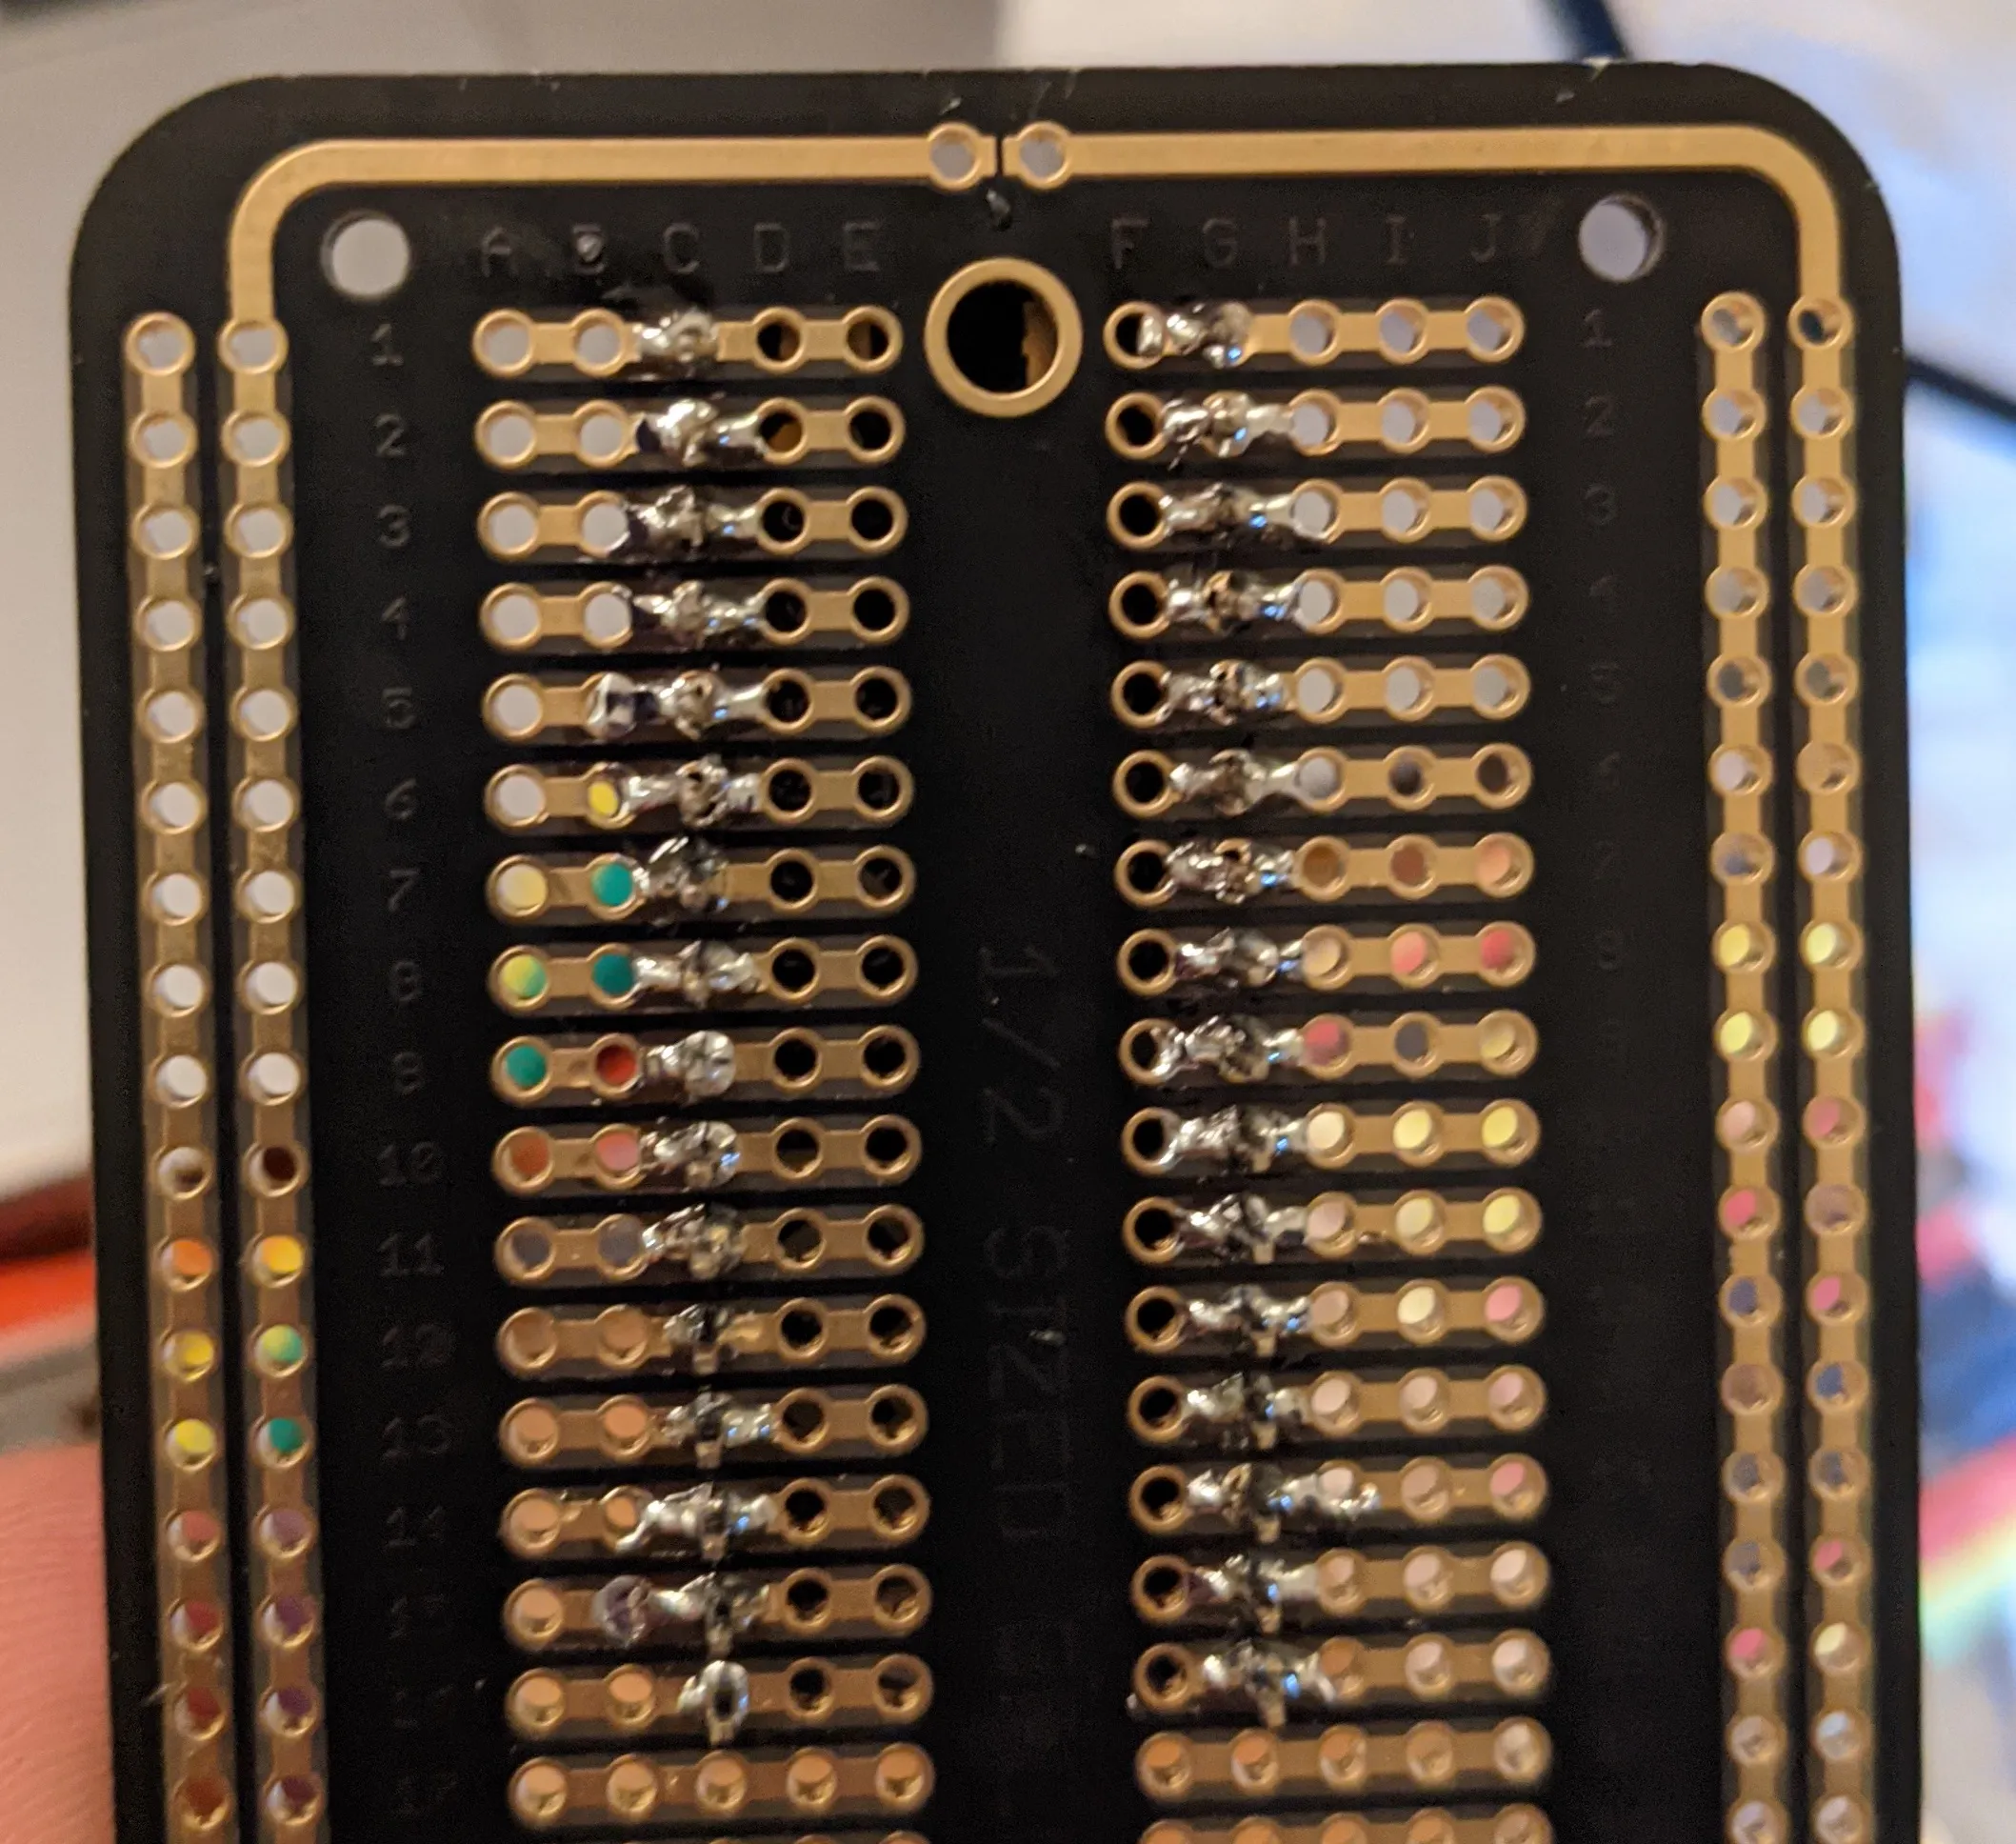
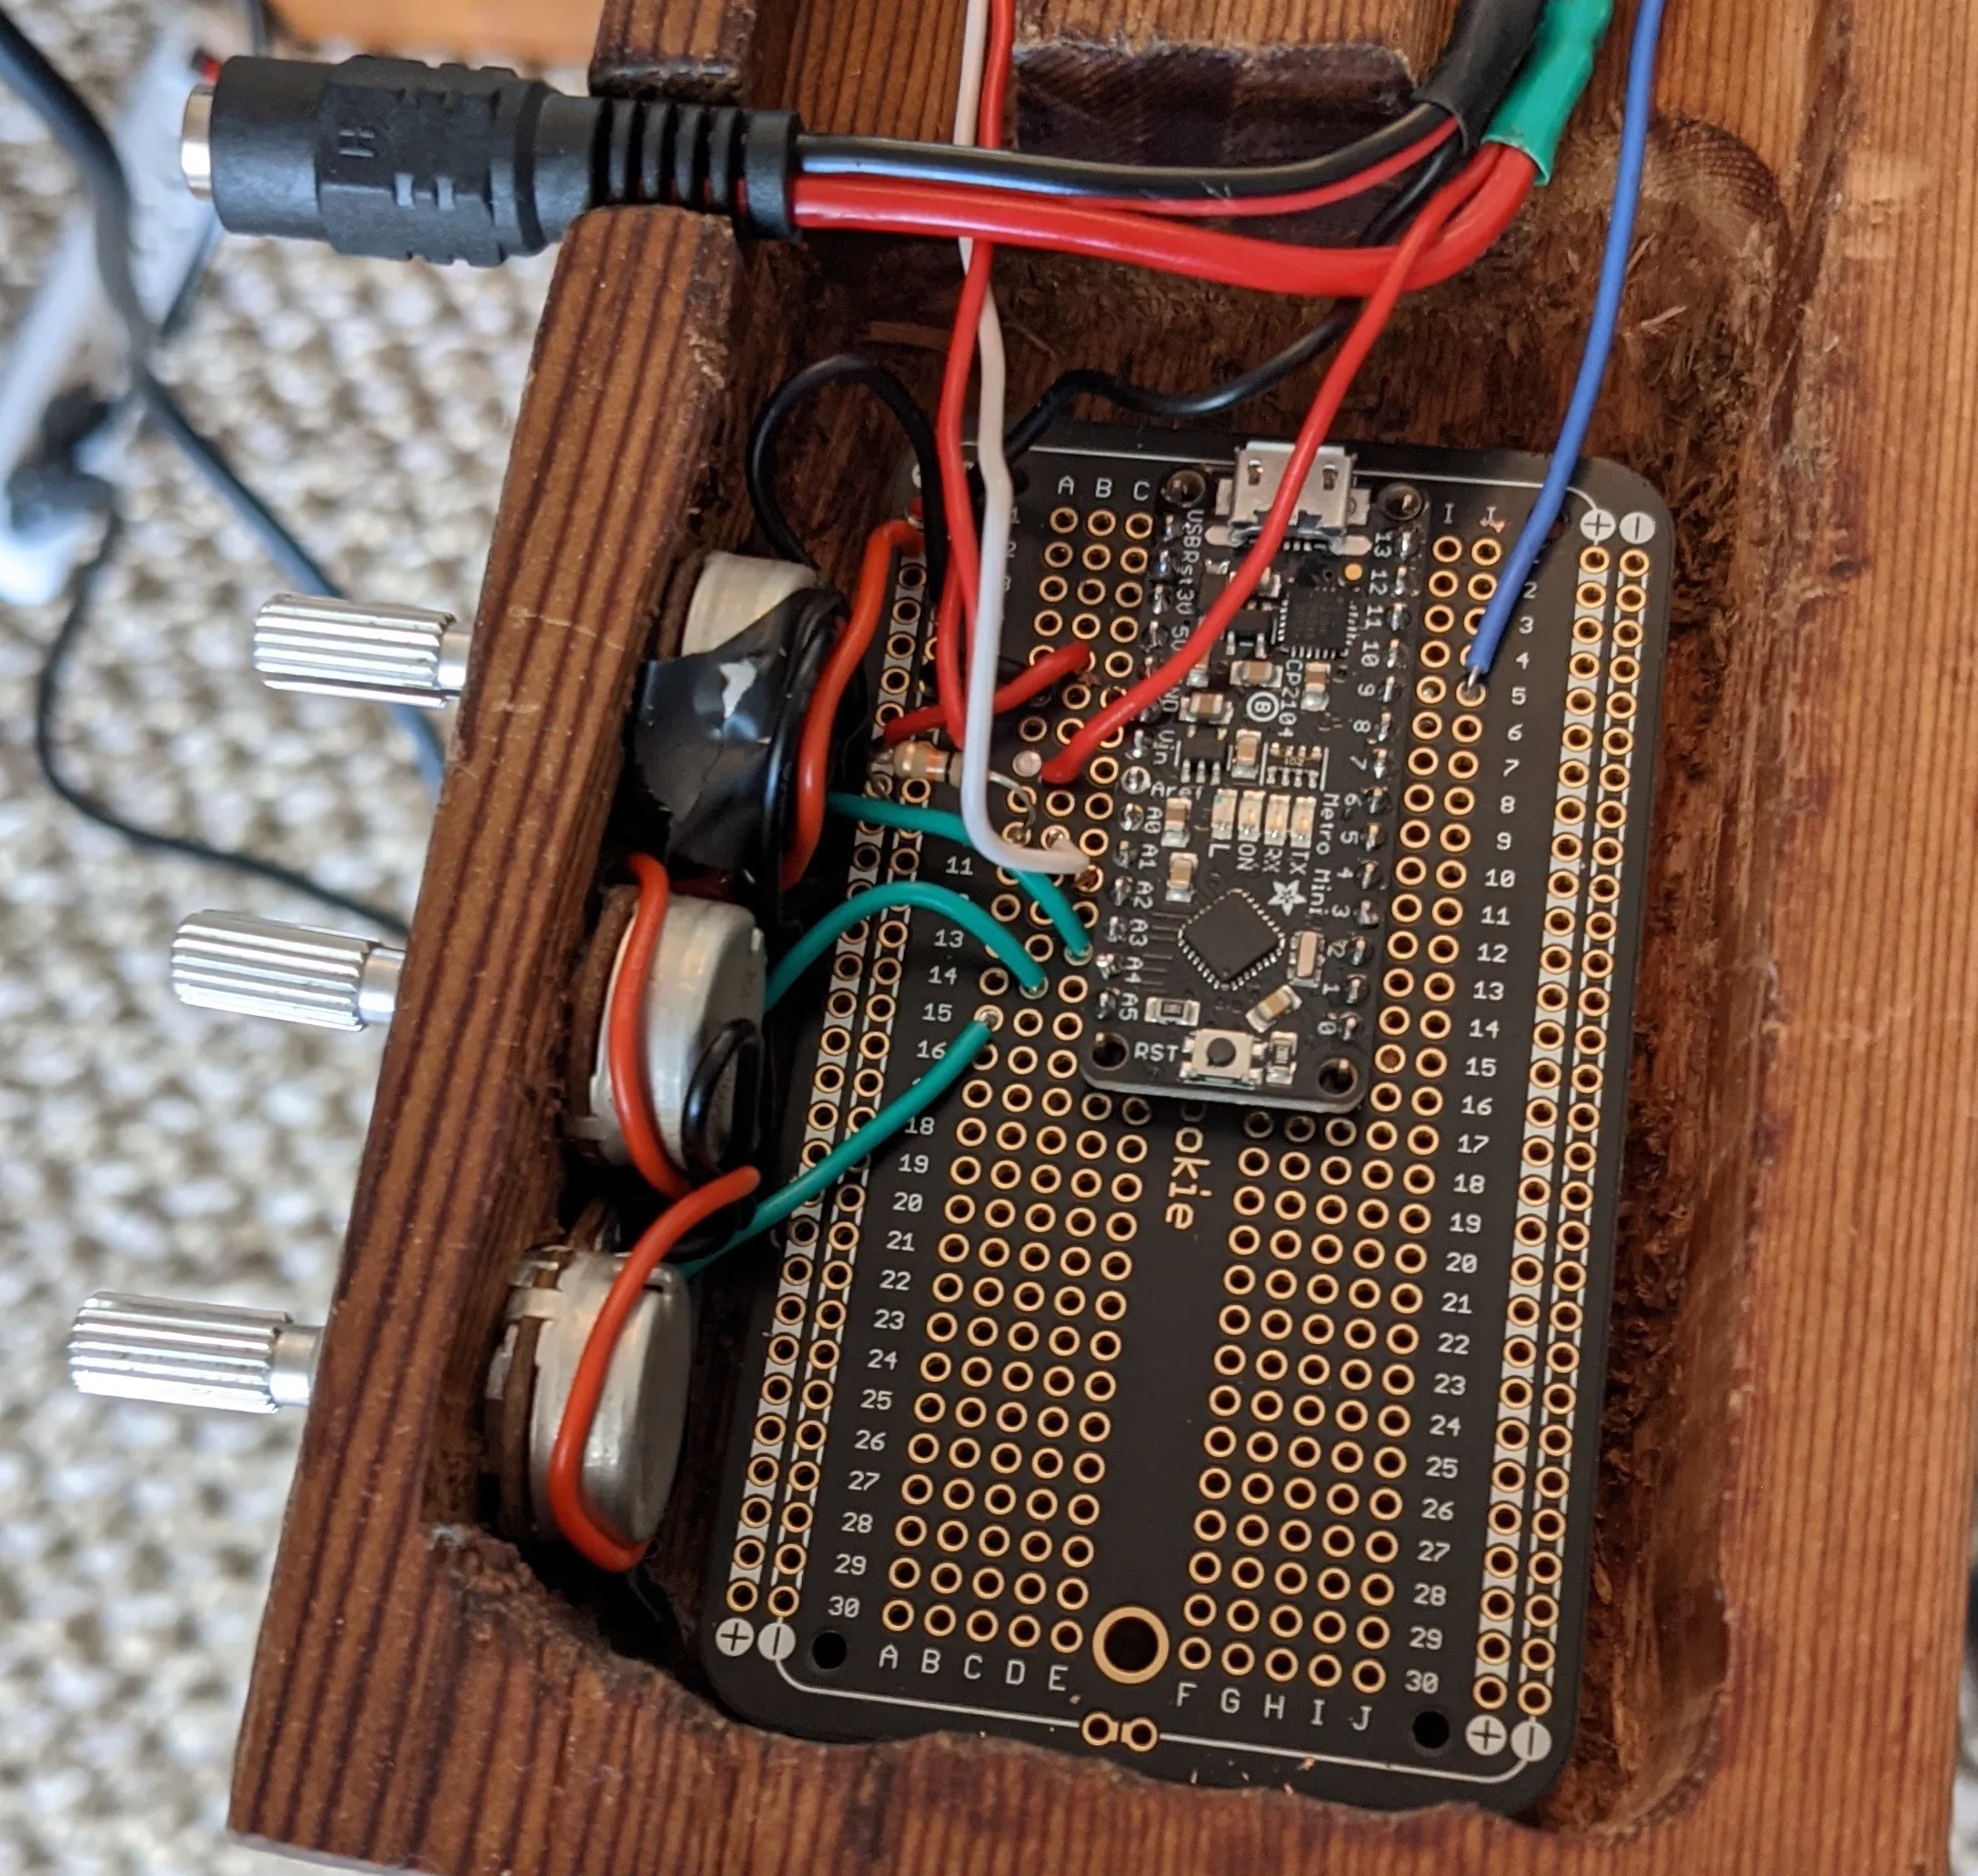
It’s time to start installing all of the electronics! I’m using the Arduino Metro here.
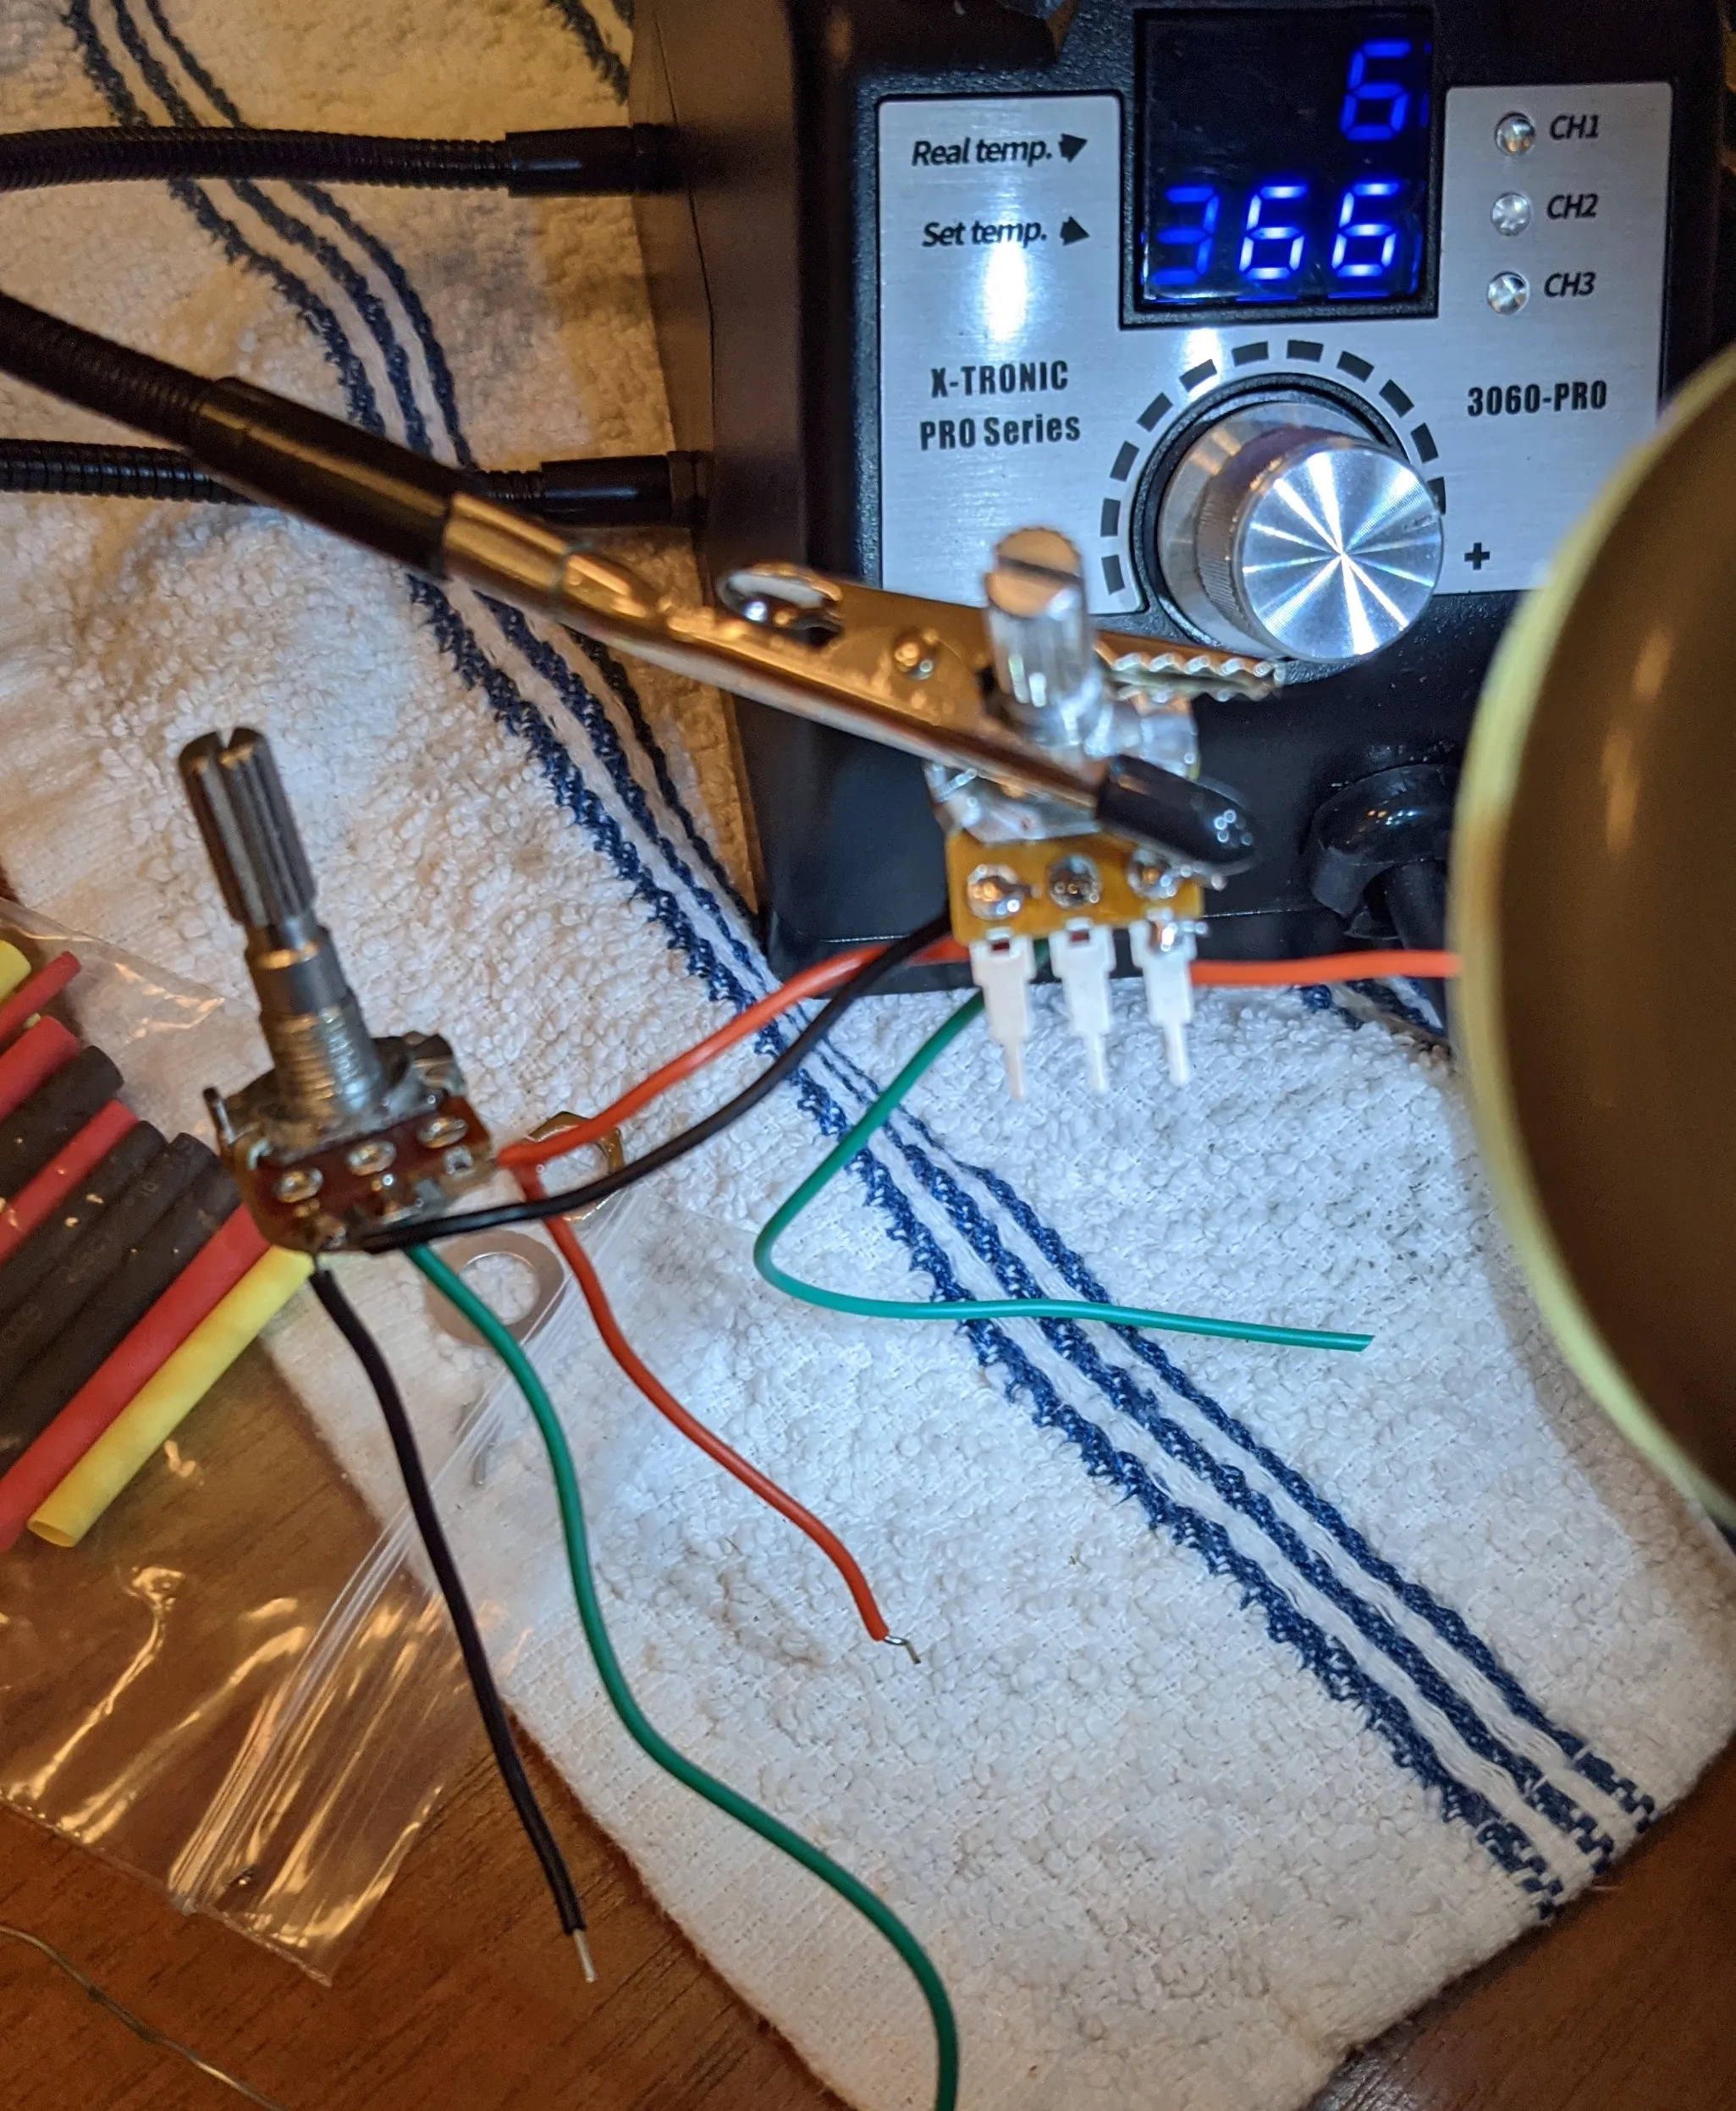
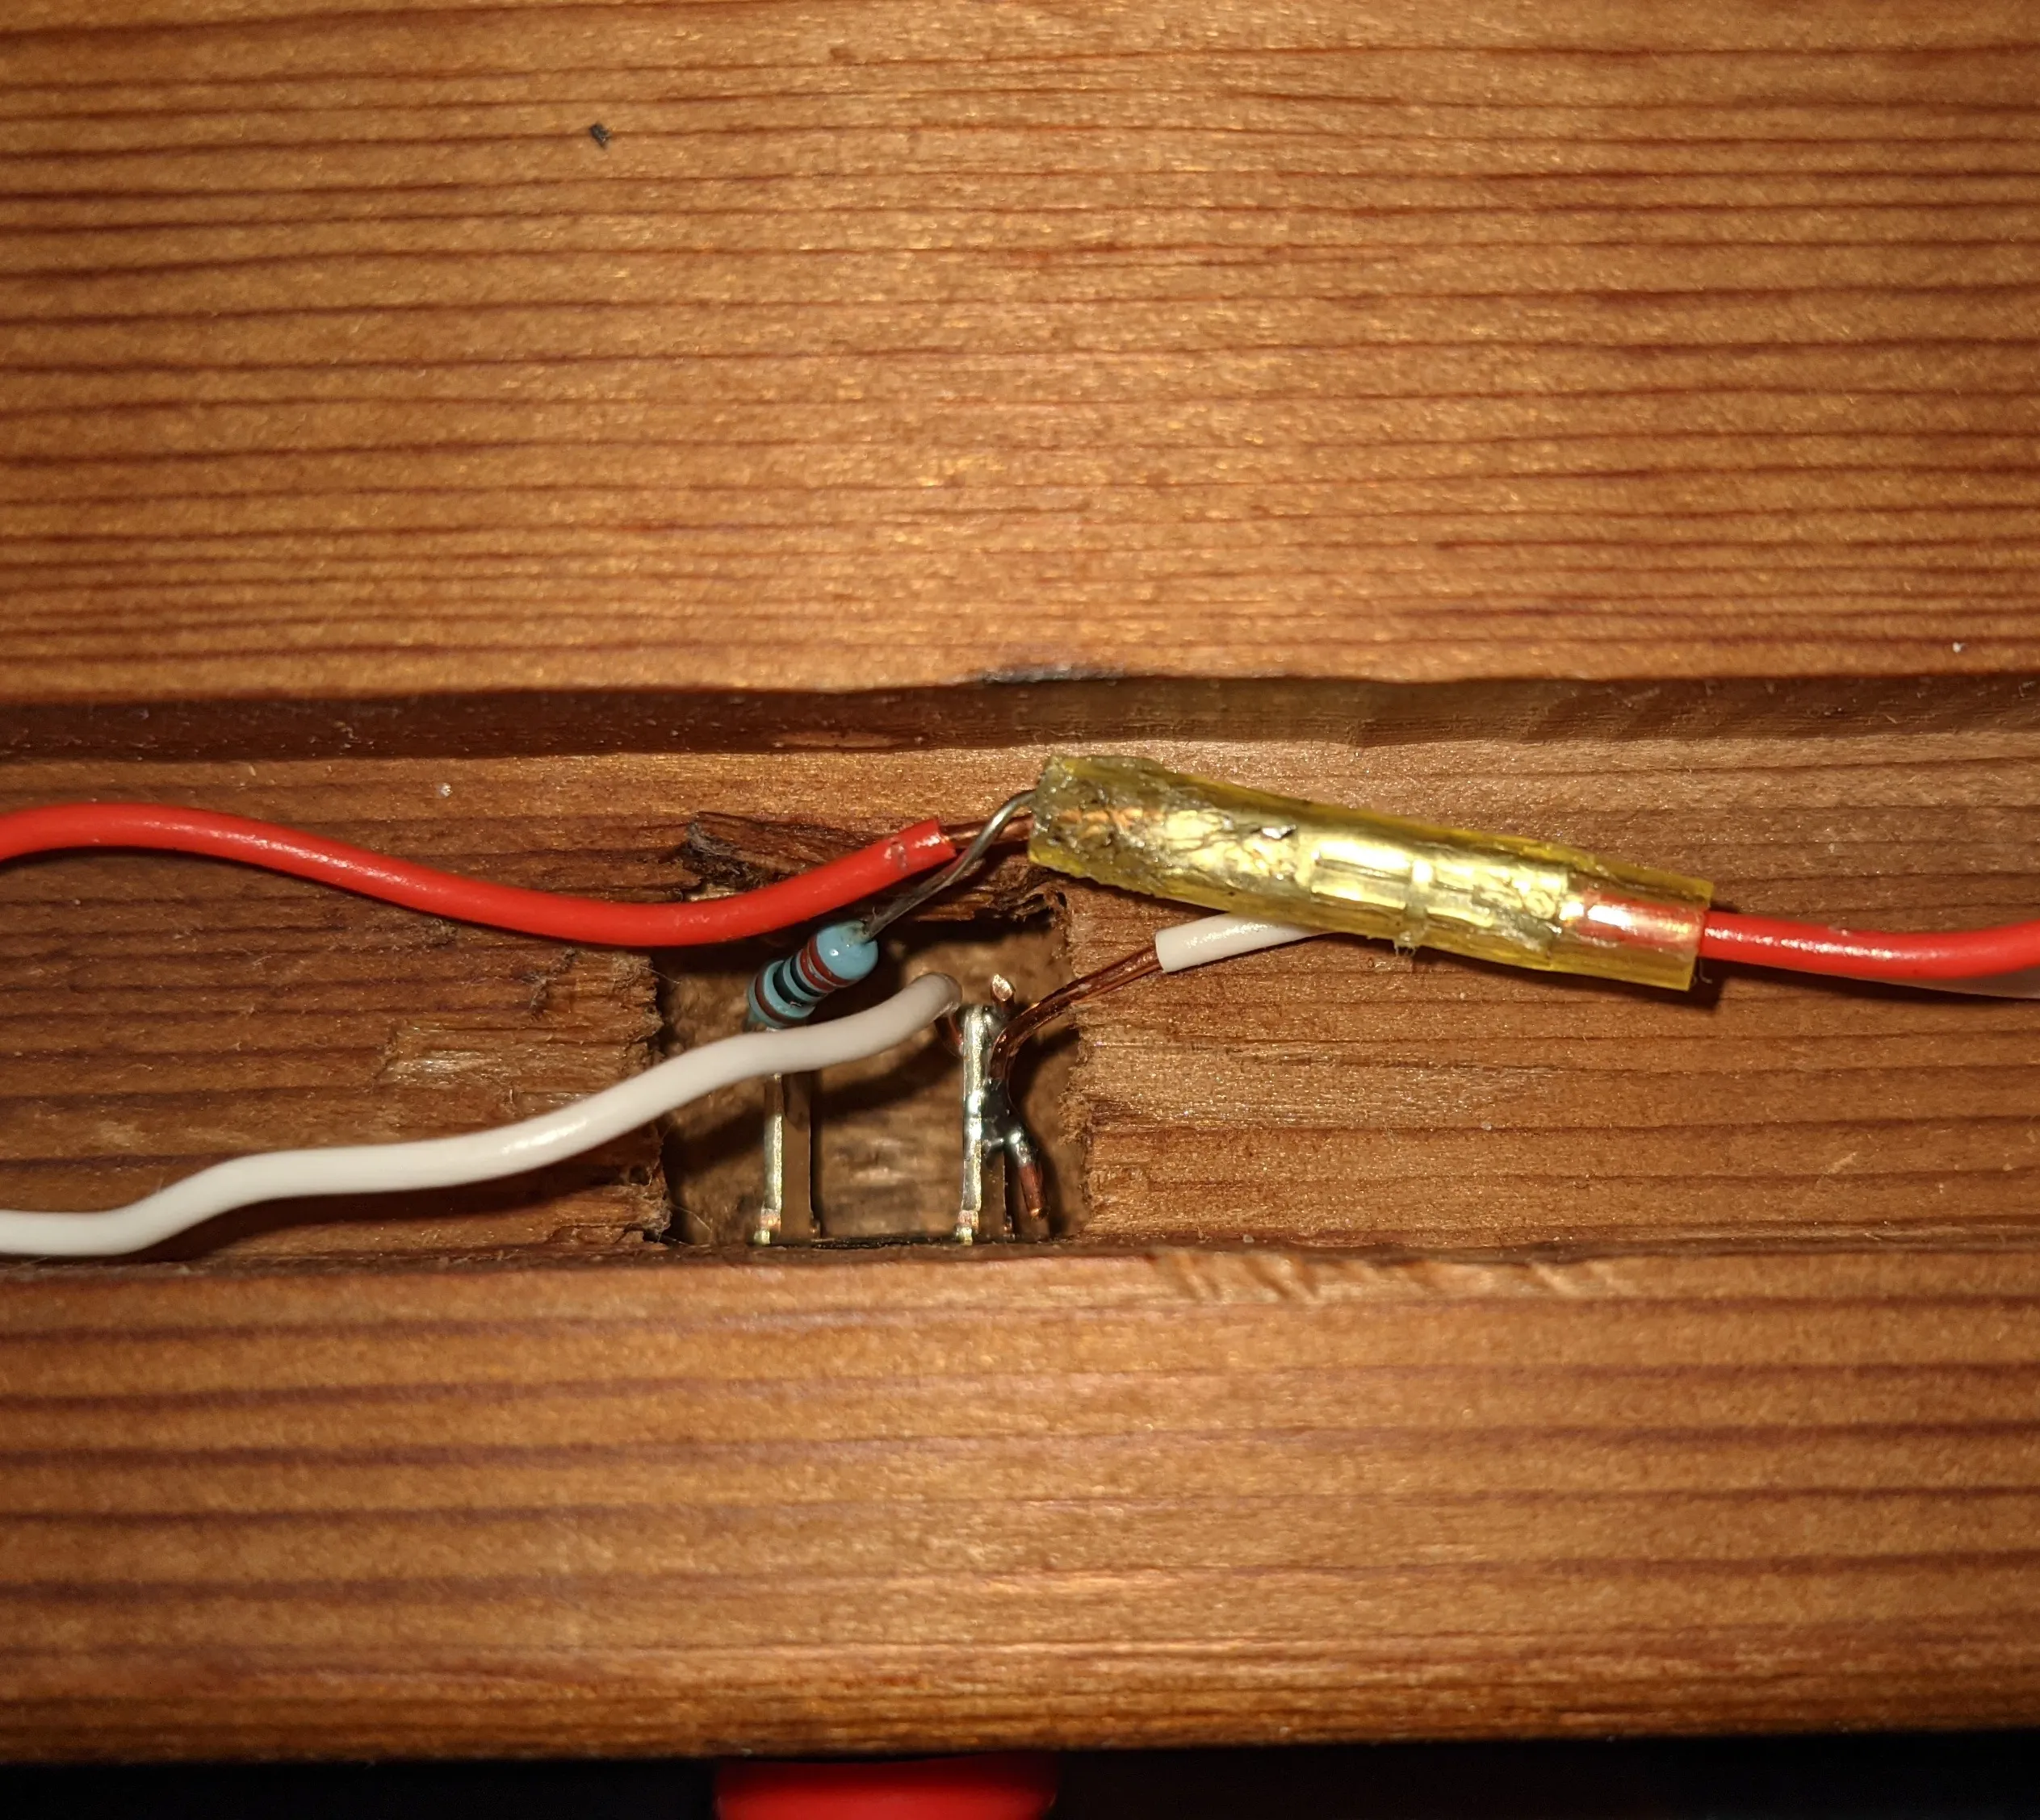
Next is wiring the potentiometers to control the HSB values, and the resistors in line with the buttons.
Finally, wiring it all together into the control box.
Testing
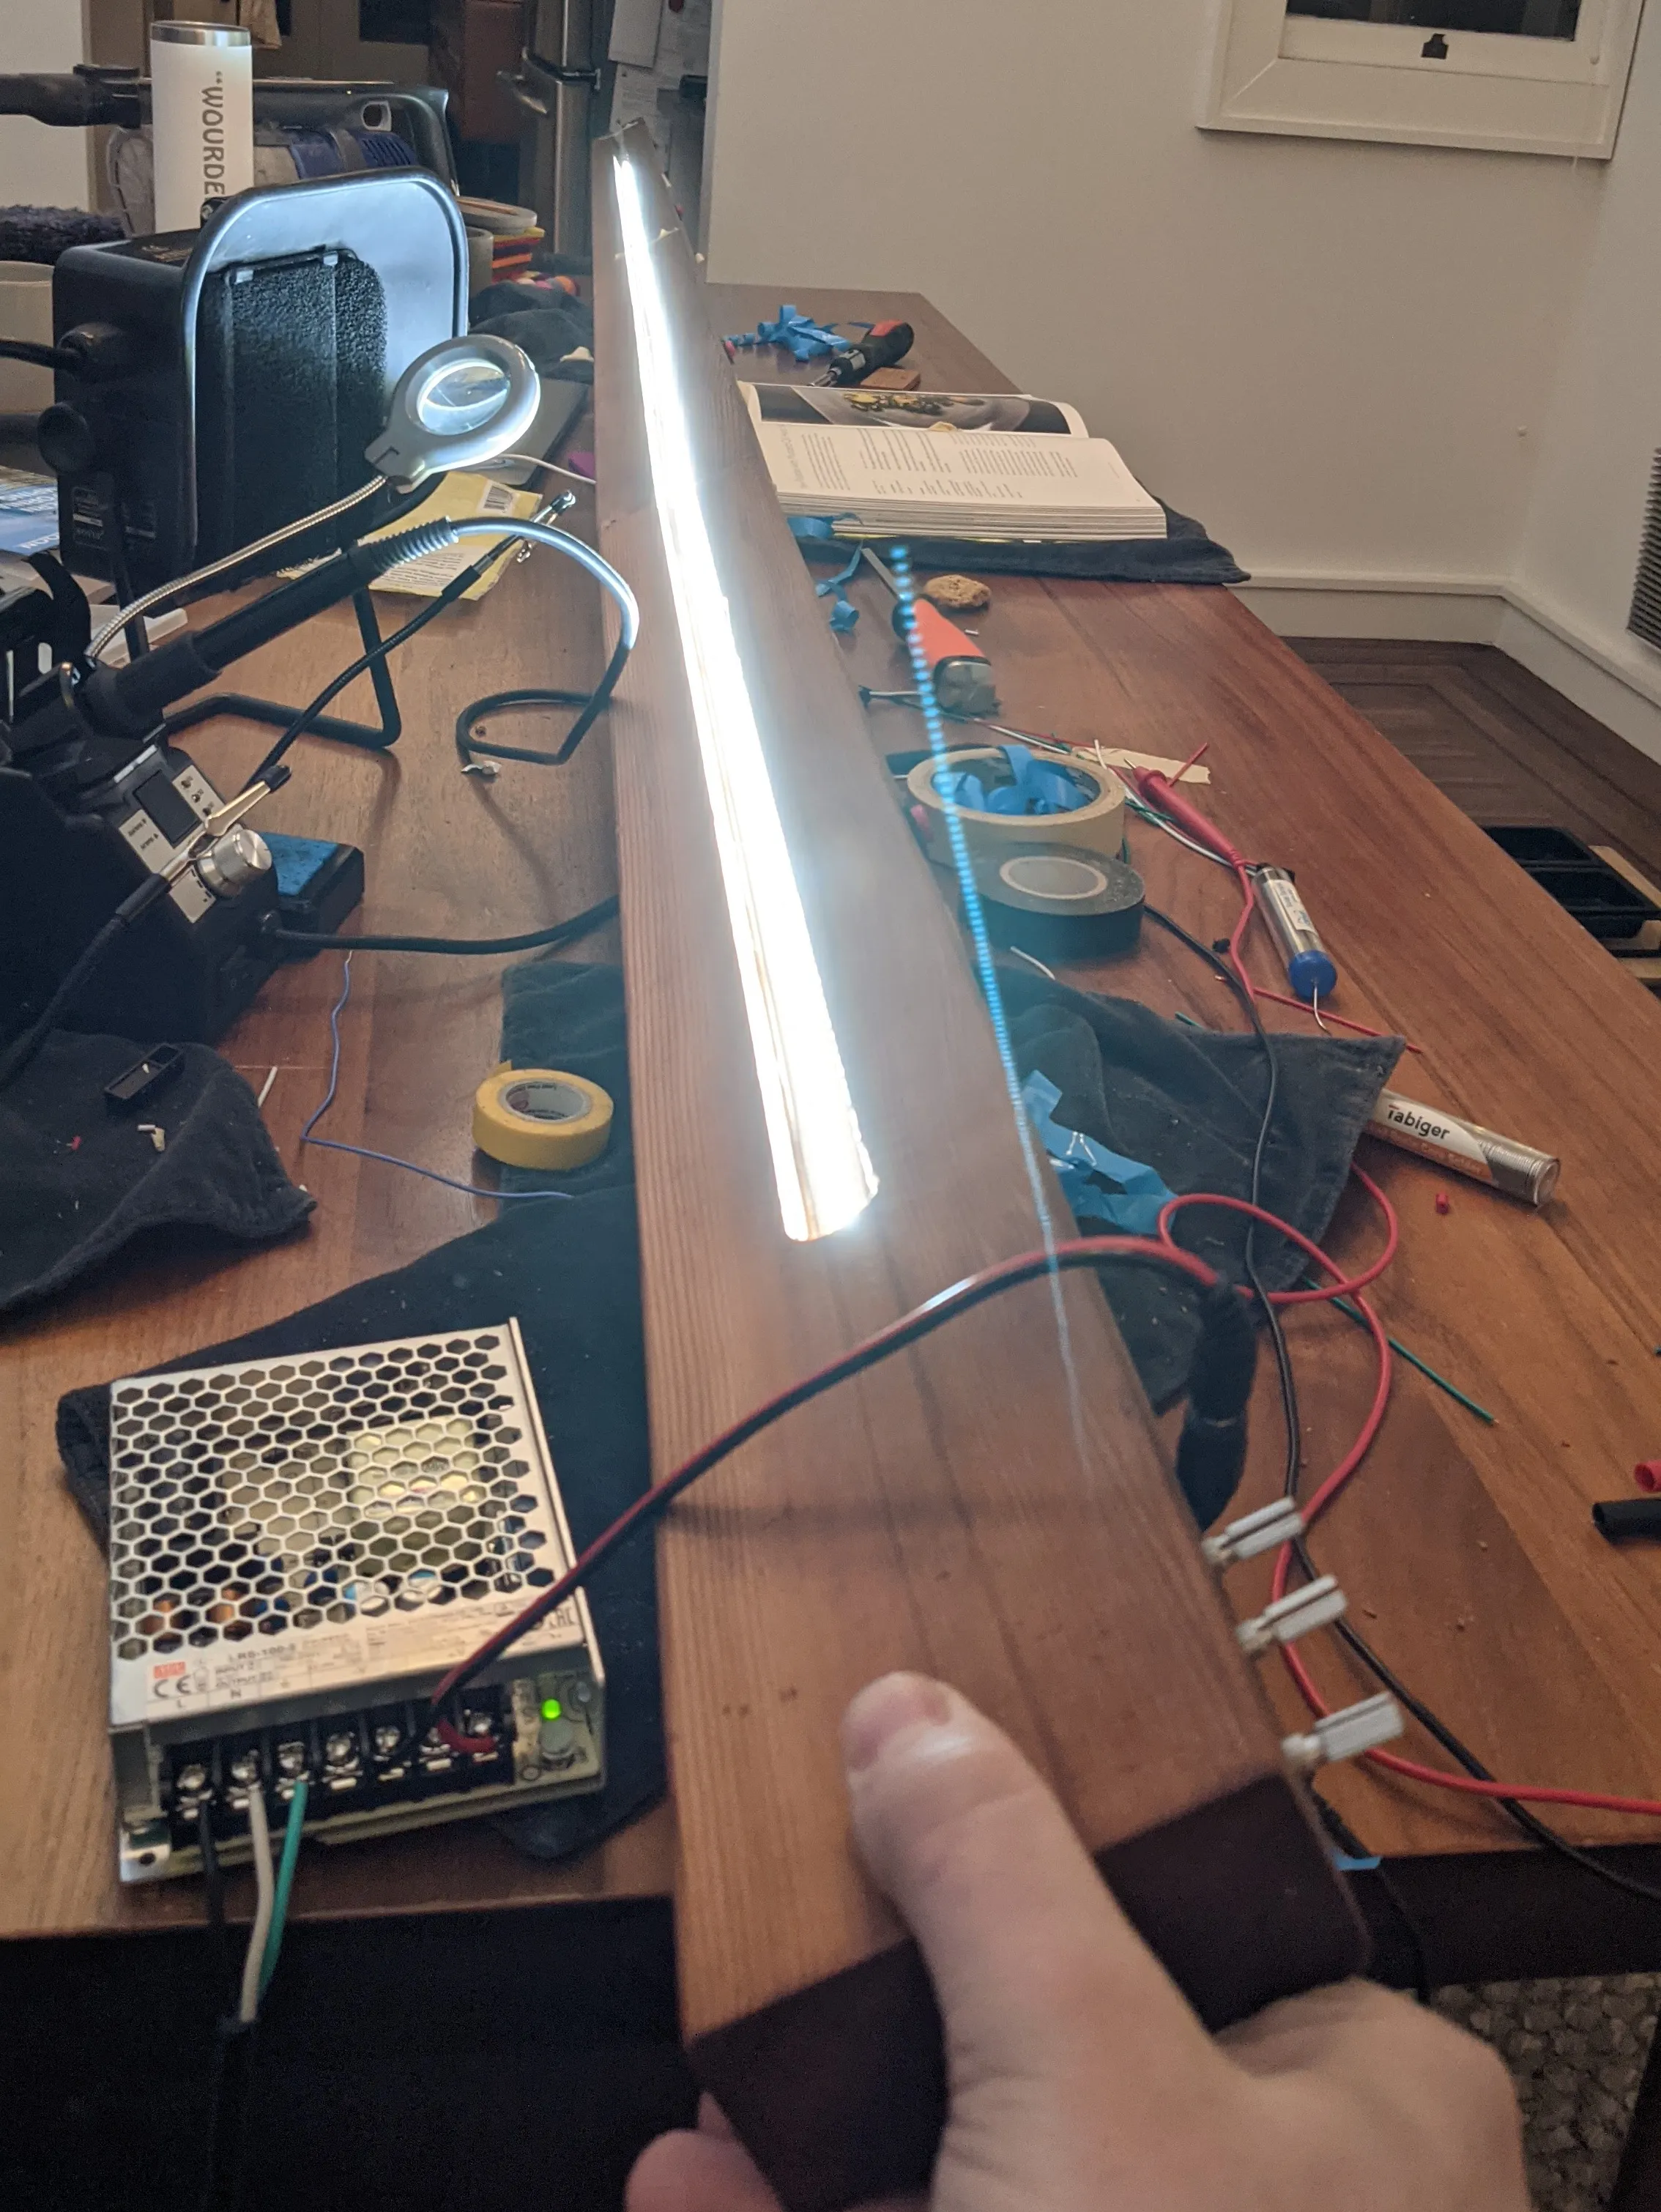
Testing the LEDs out - it works!
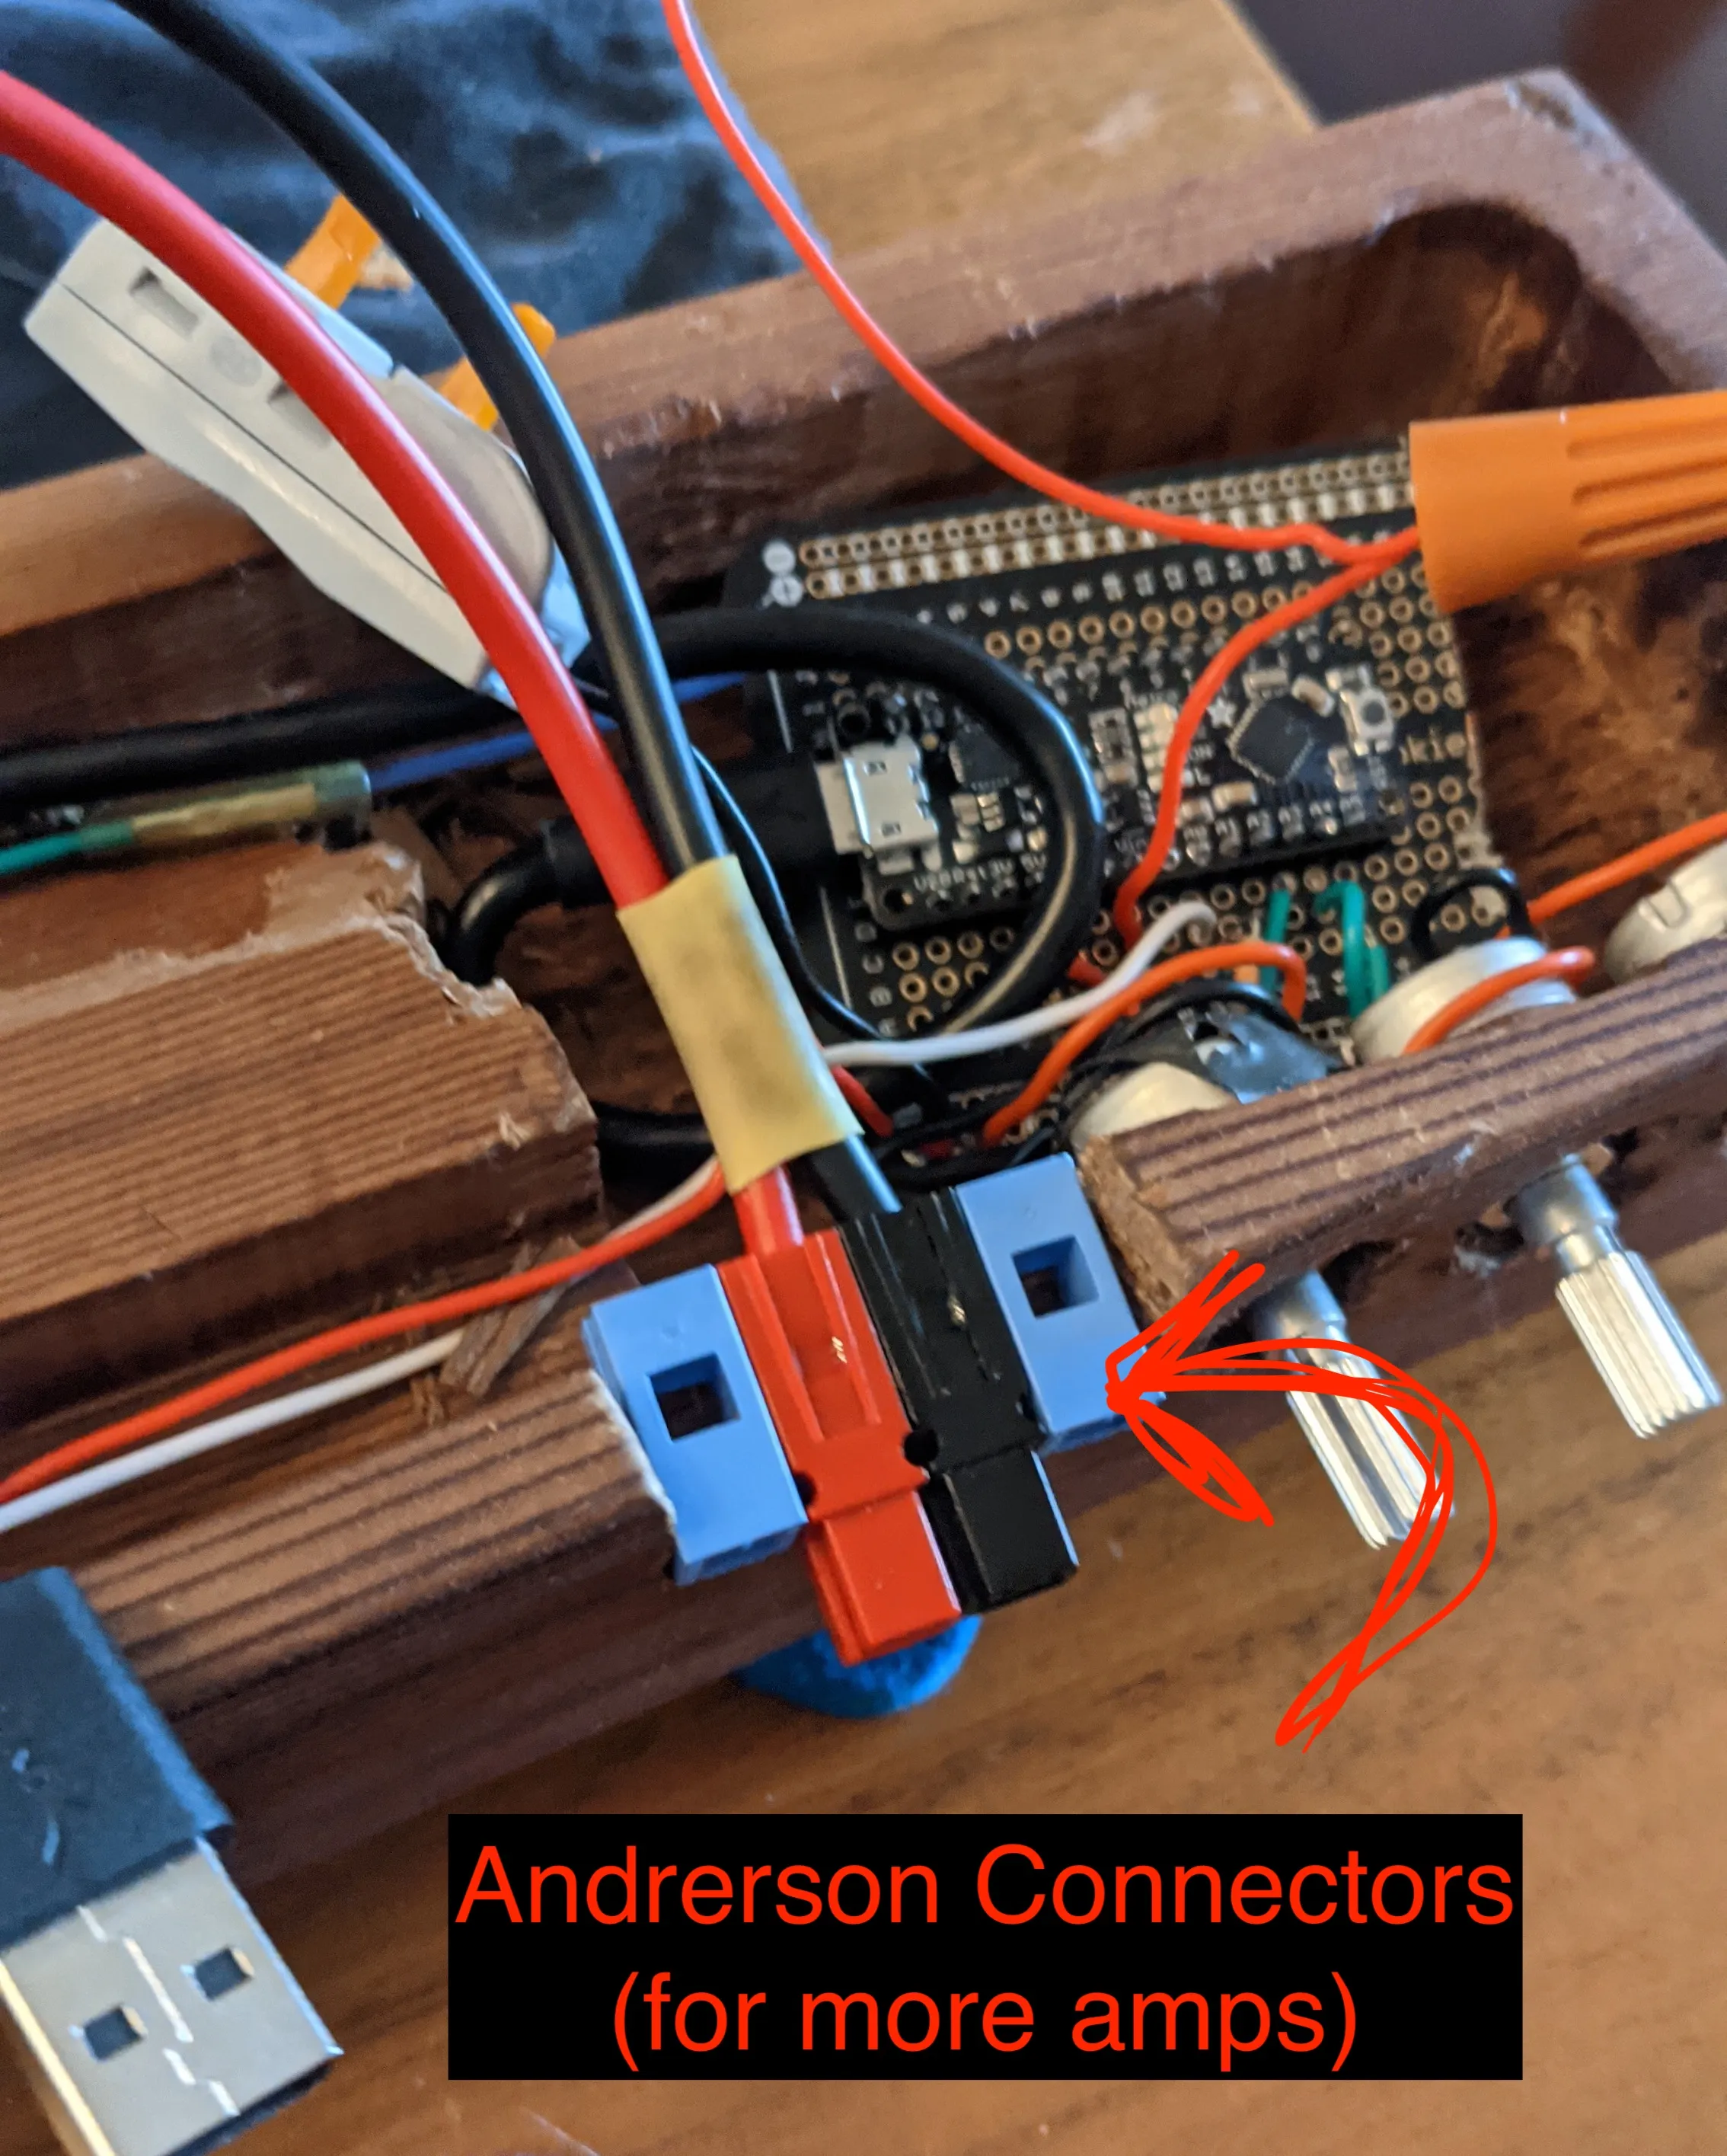
Upgrading the power
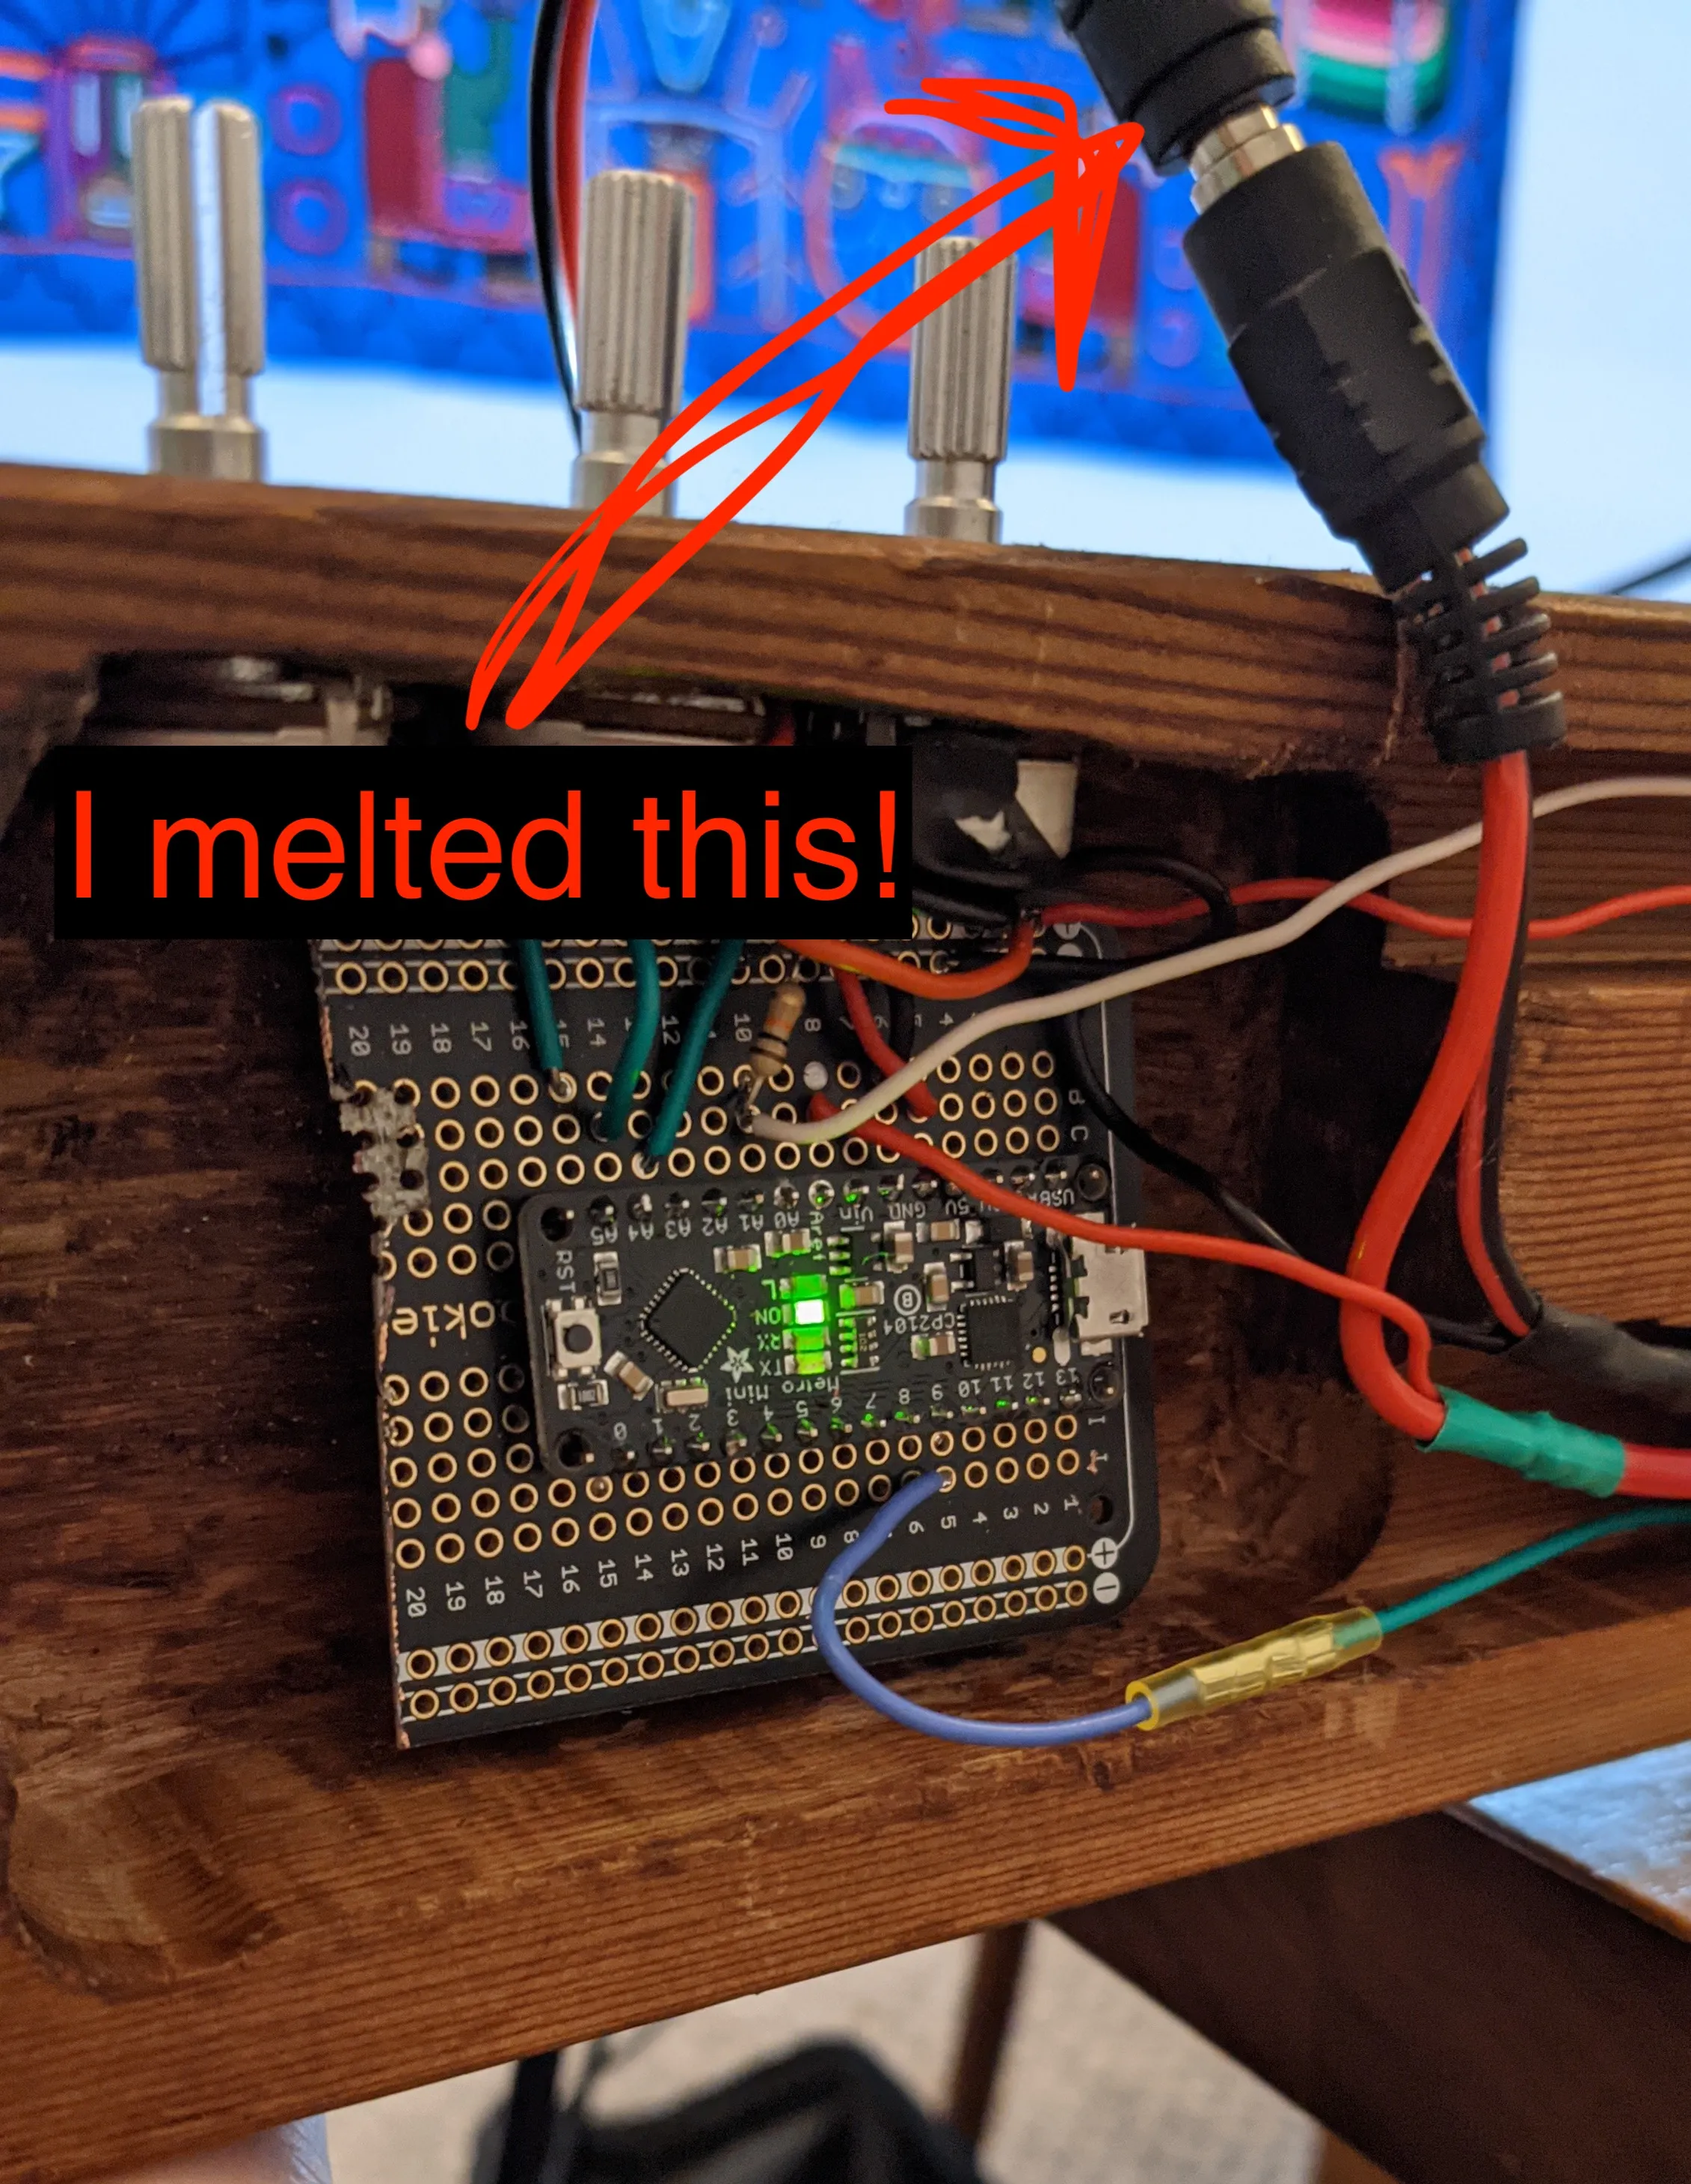
During testing, I drew too much power for the pigtail connector and had to remove it and upgrade to Anderson connectors. I don’t really like these, as they tend to not ‘connect’ very well, but they have high amperage, which is what I need.
Dispersion
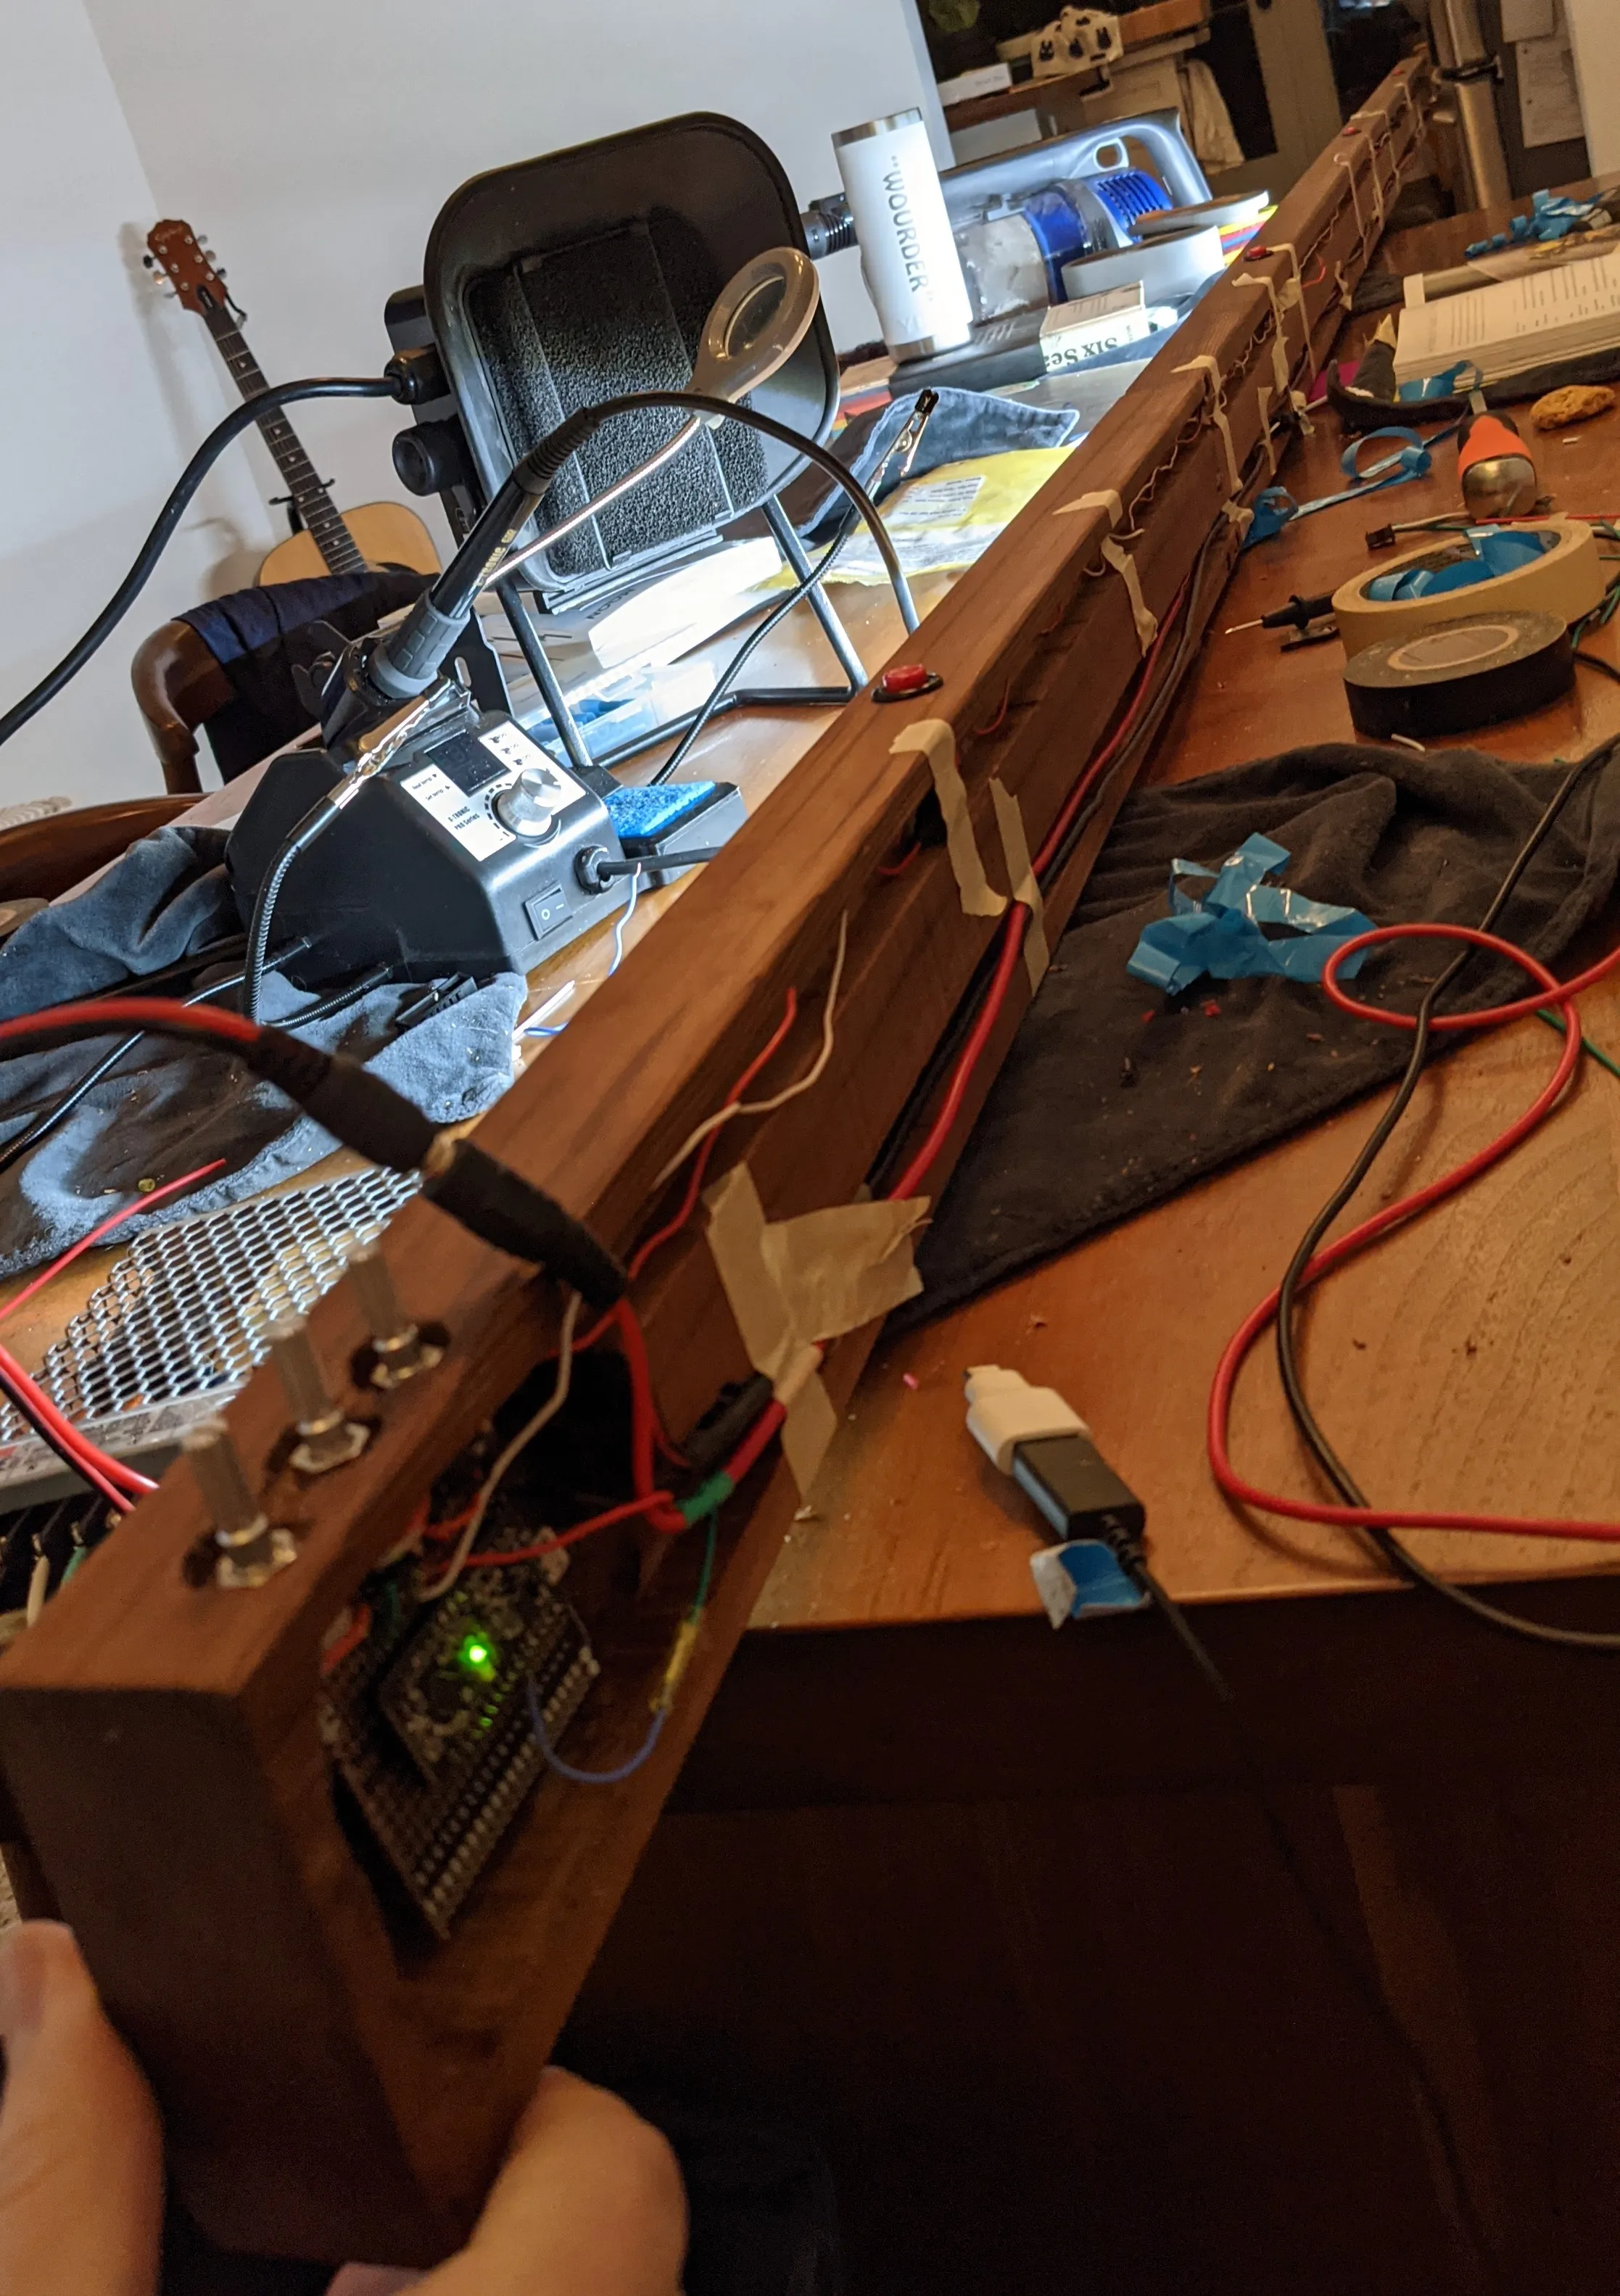
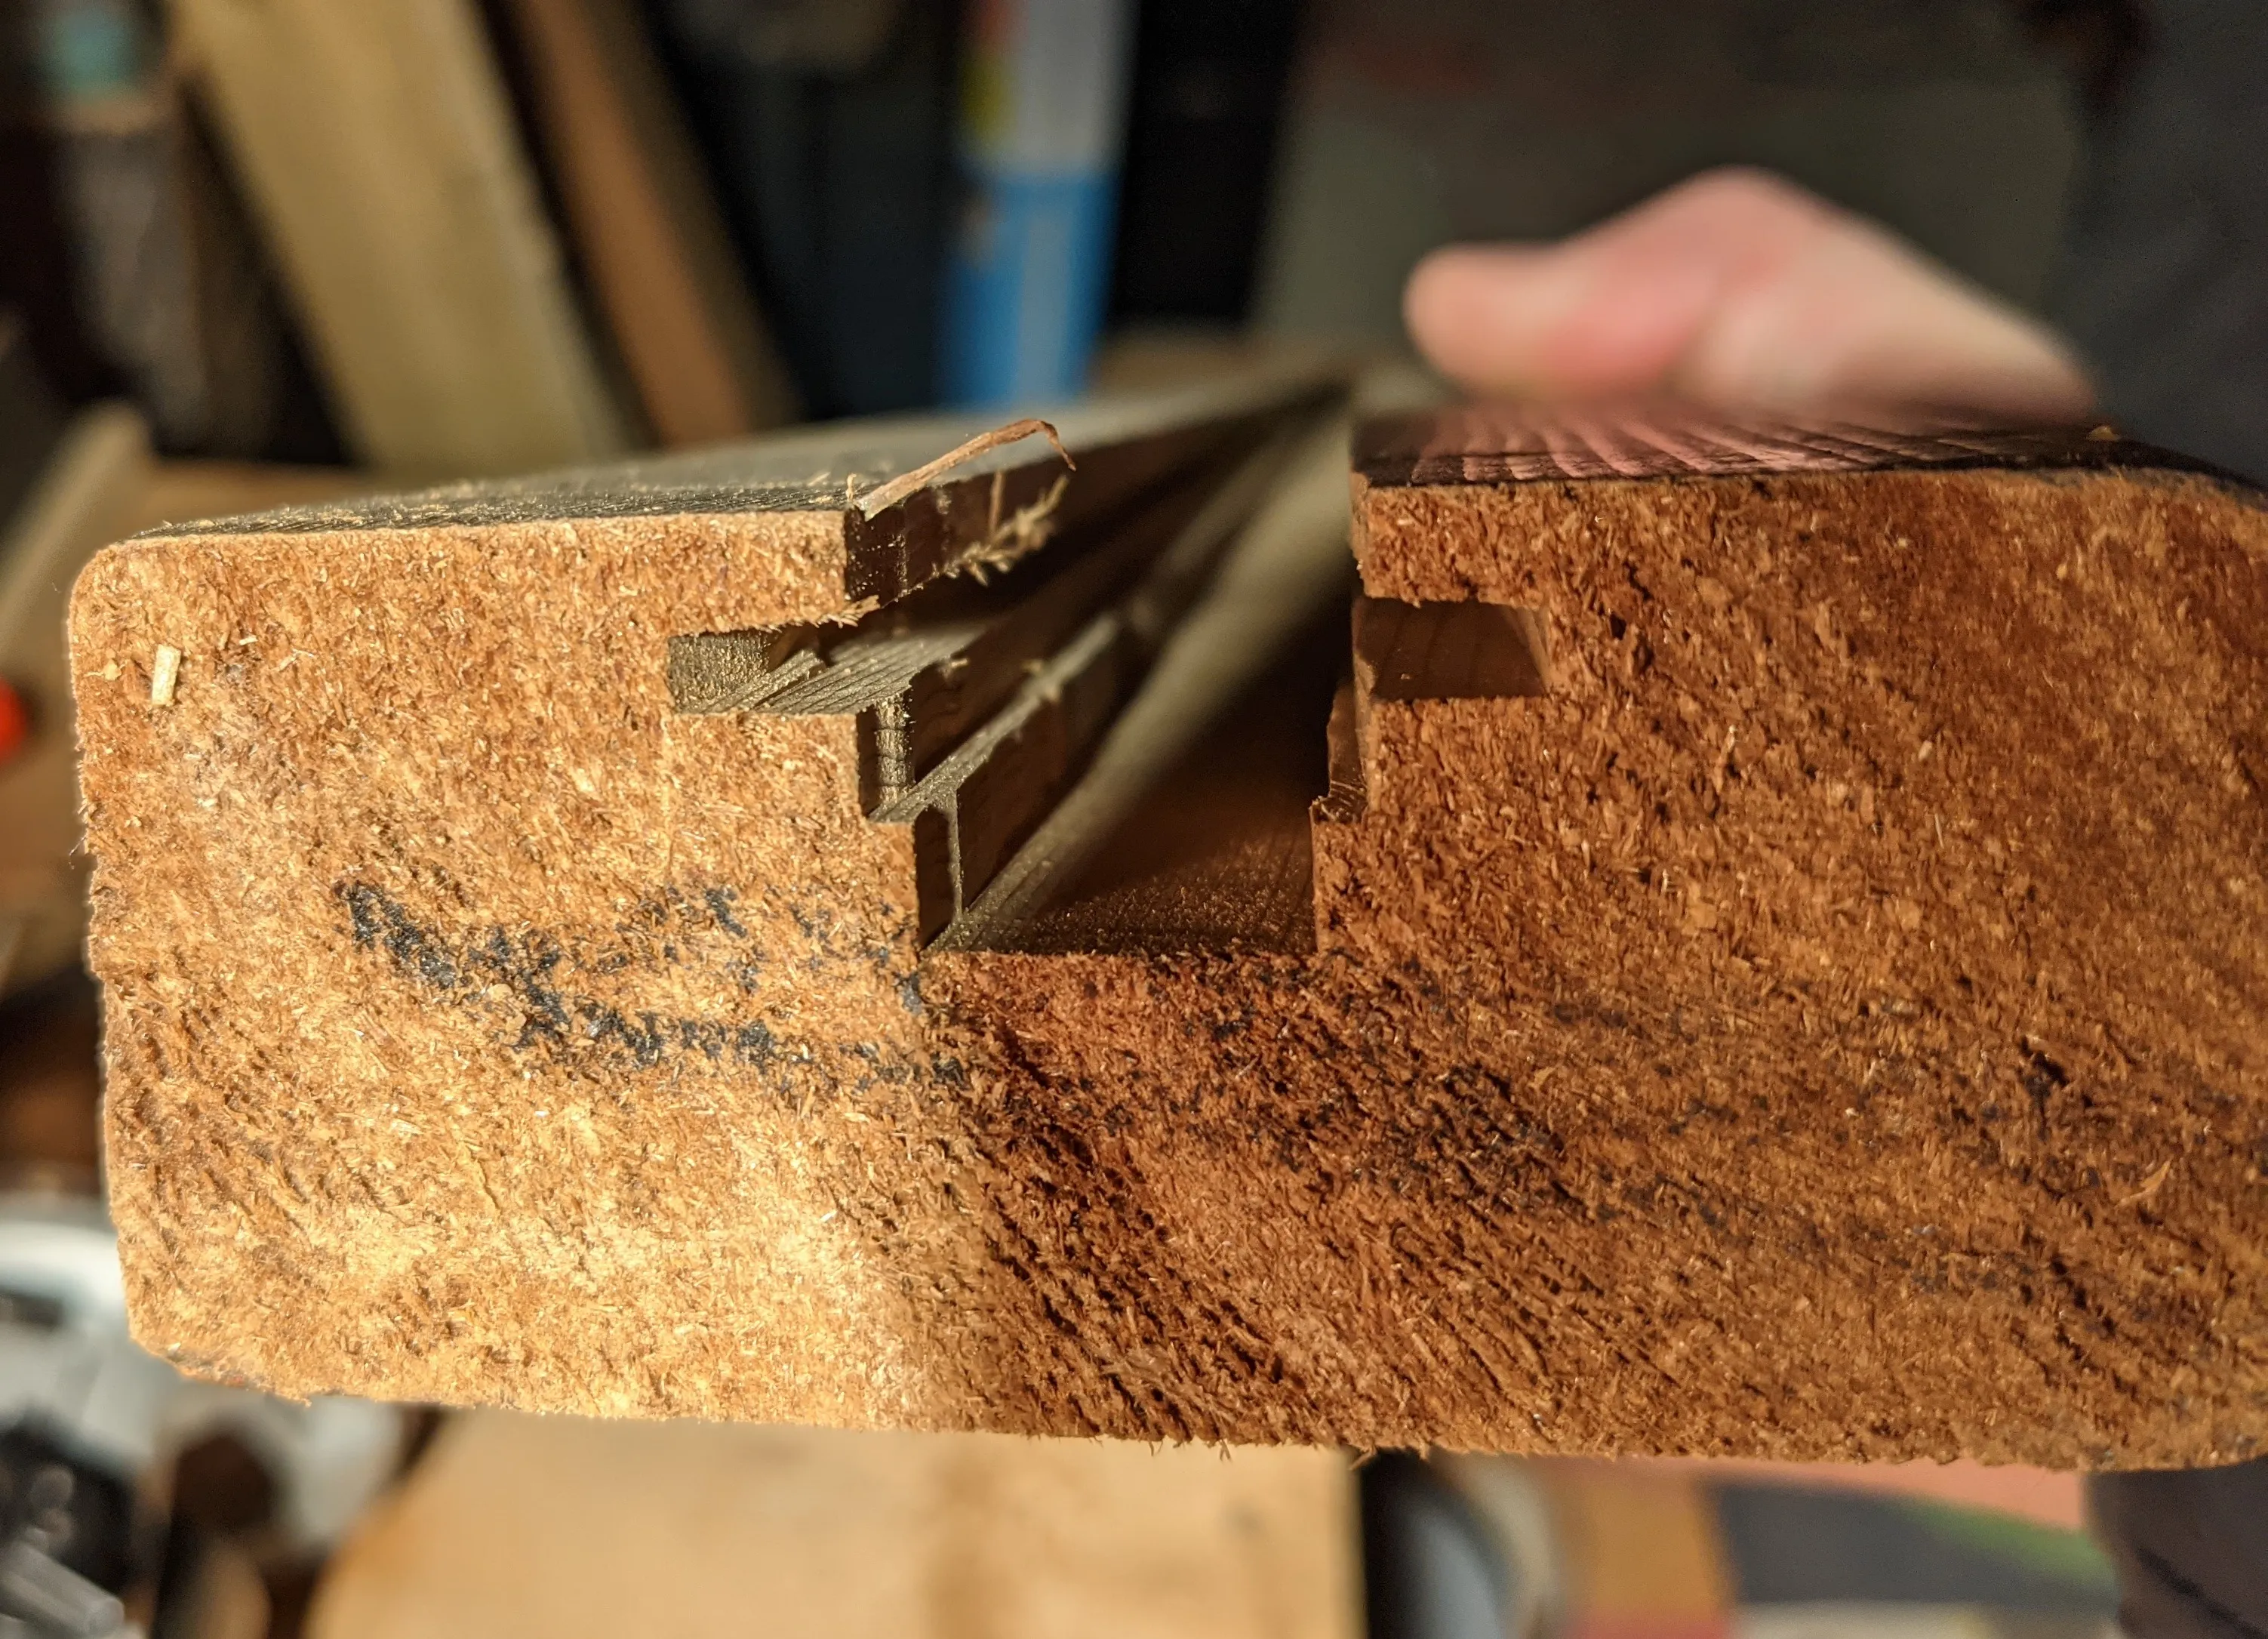
I needed something to disperse the light from the strip a bit to avoid seeing distinct LED light. I grabbed these covers which dispersed really well, but unfortunately were slightly too narrow for the (unplanned) slot I routed:
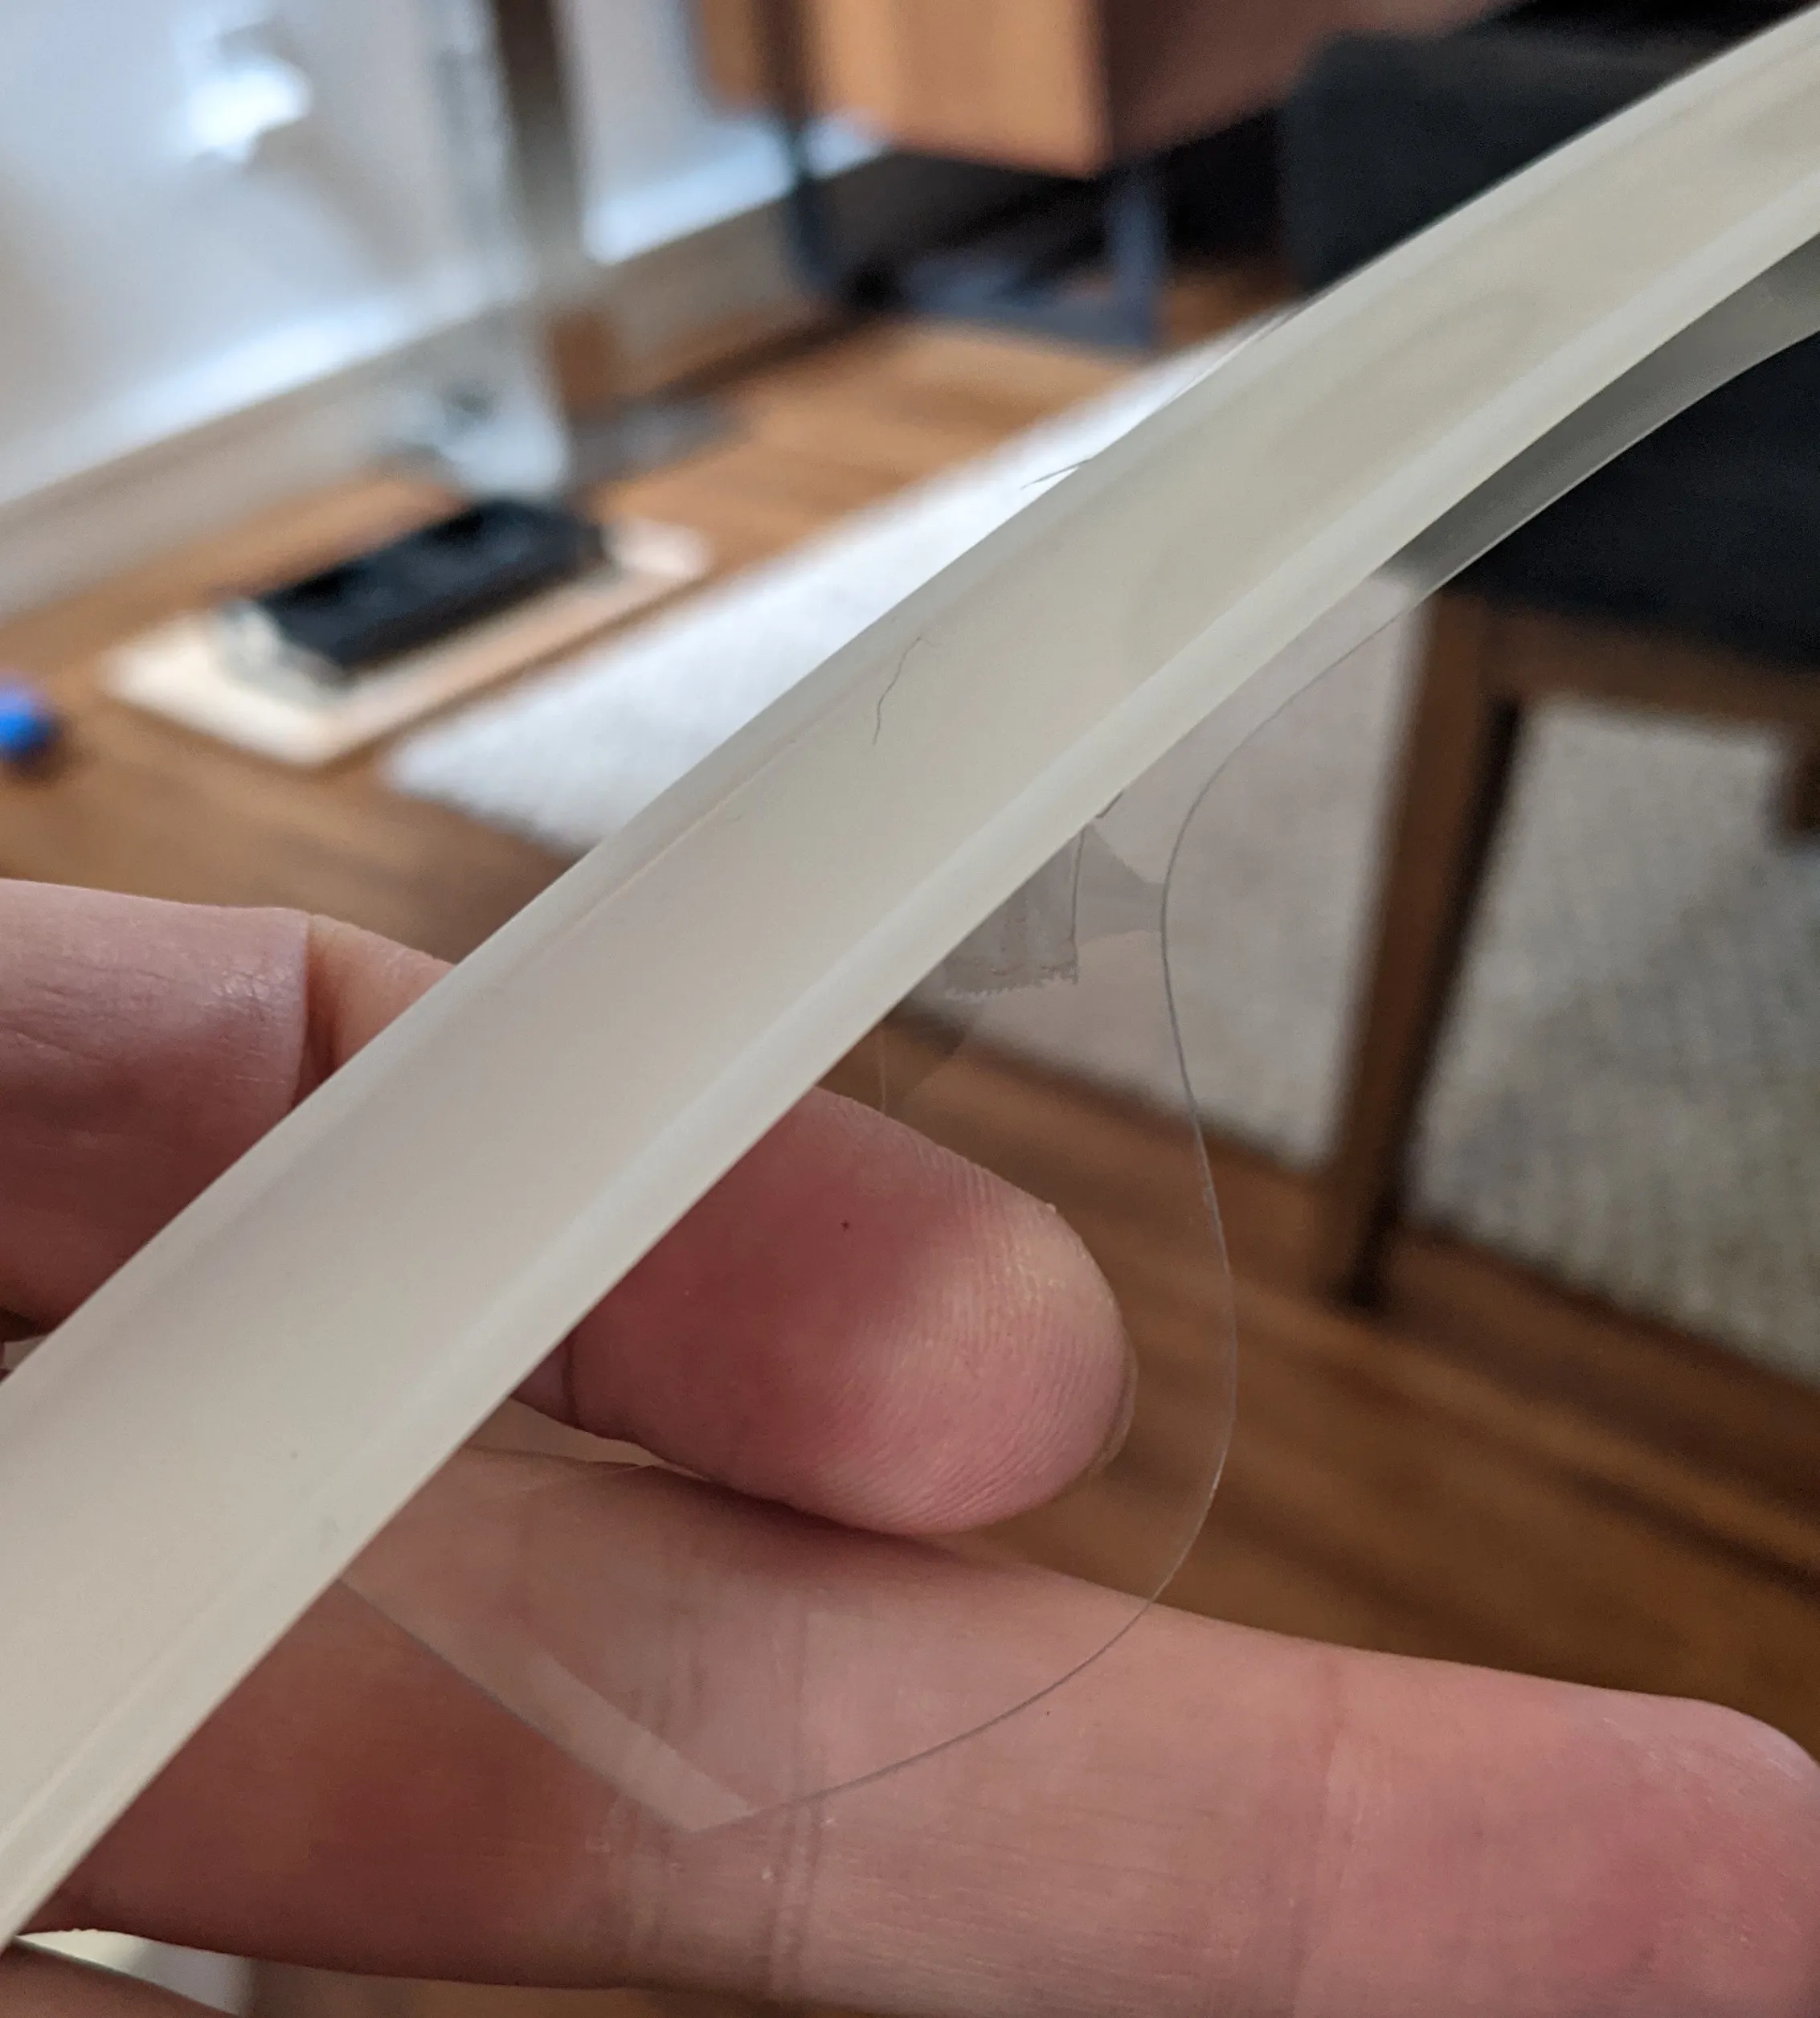
To increase the width of the strip a bit, I used double-sided tape to attach some acetate sheets (projector sheets) that I cut into strips. It worked really well!

Only thing left is to install under the cabinet!
Published: Mon Dec 27 2021 00:00:00 GMT+0000 (Coordinated Universal Time)