Finishing up the wood (Cabinet Light Pt. 4)
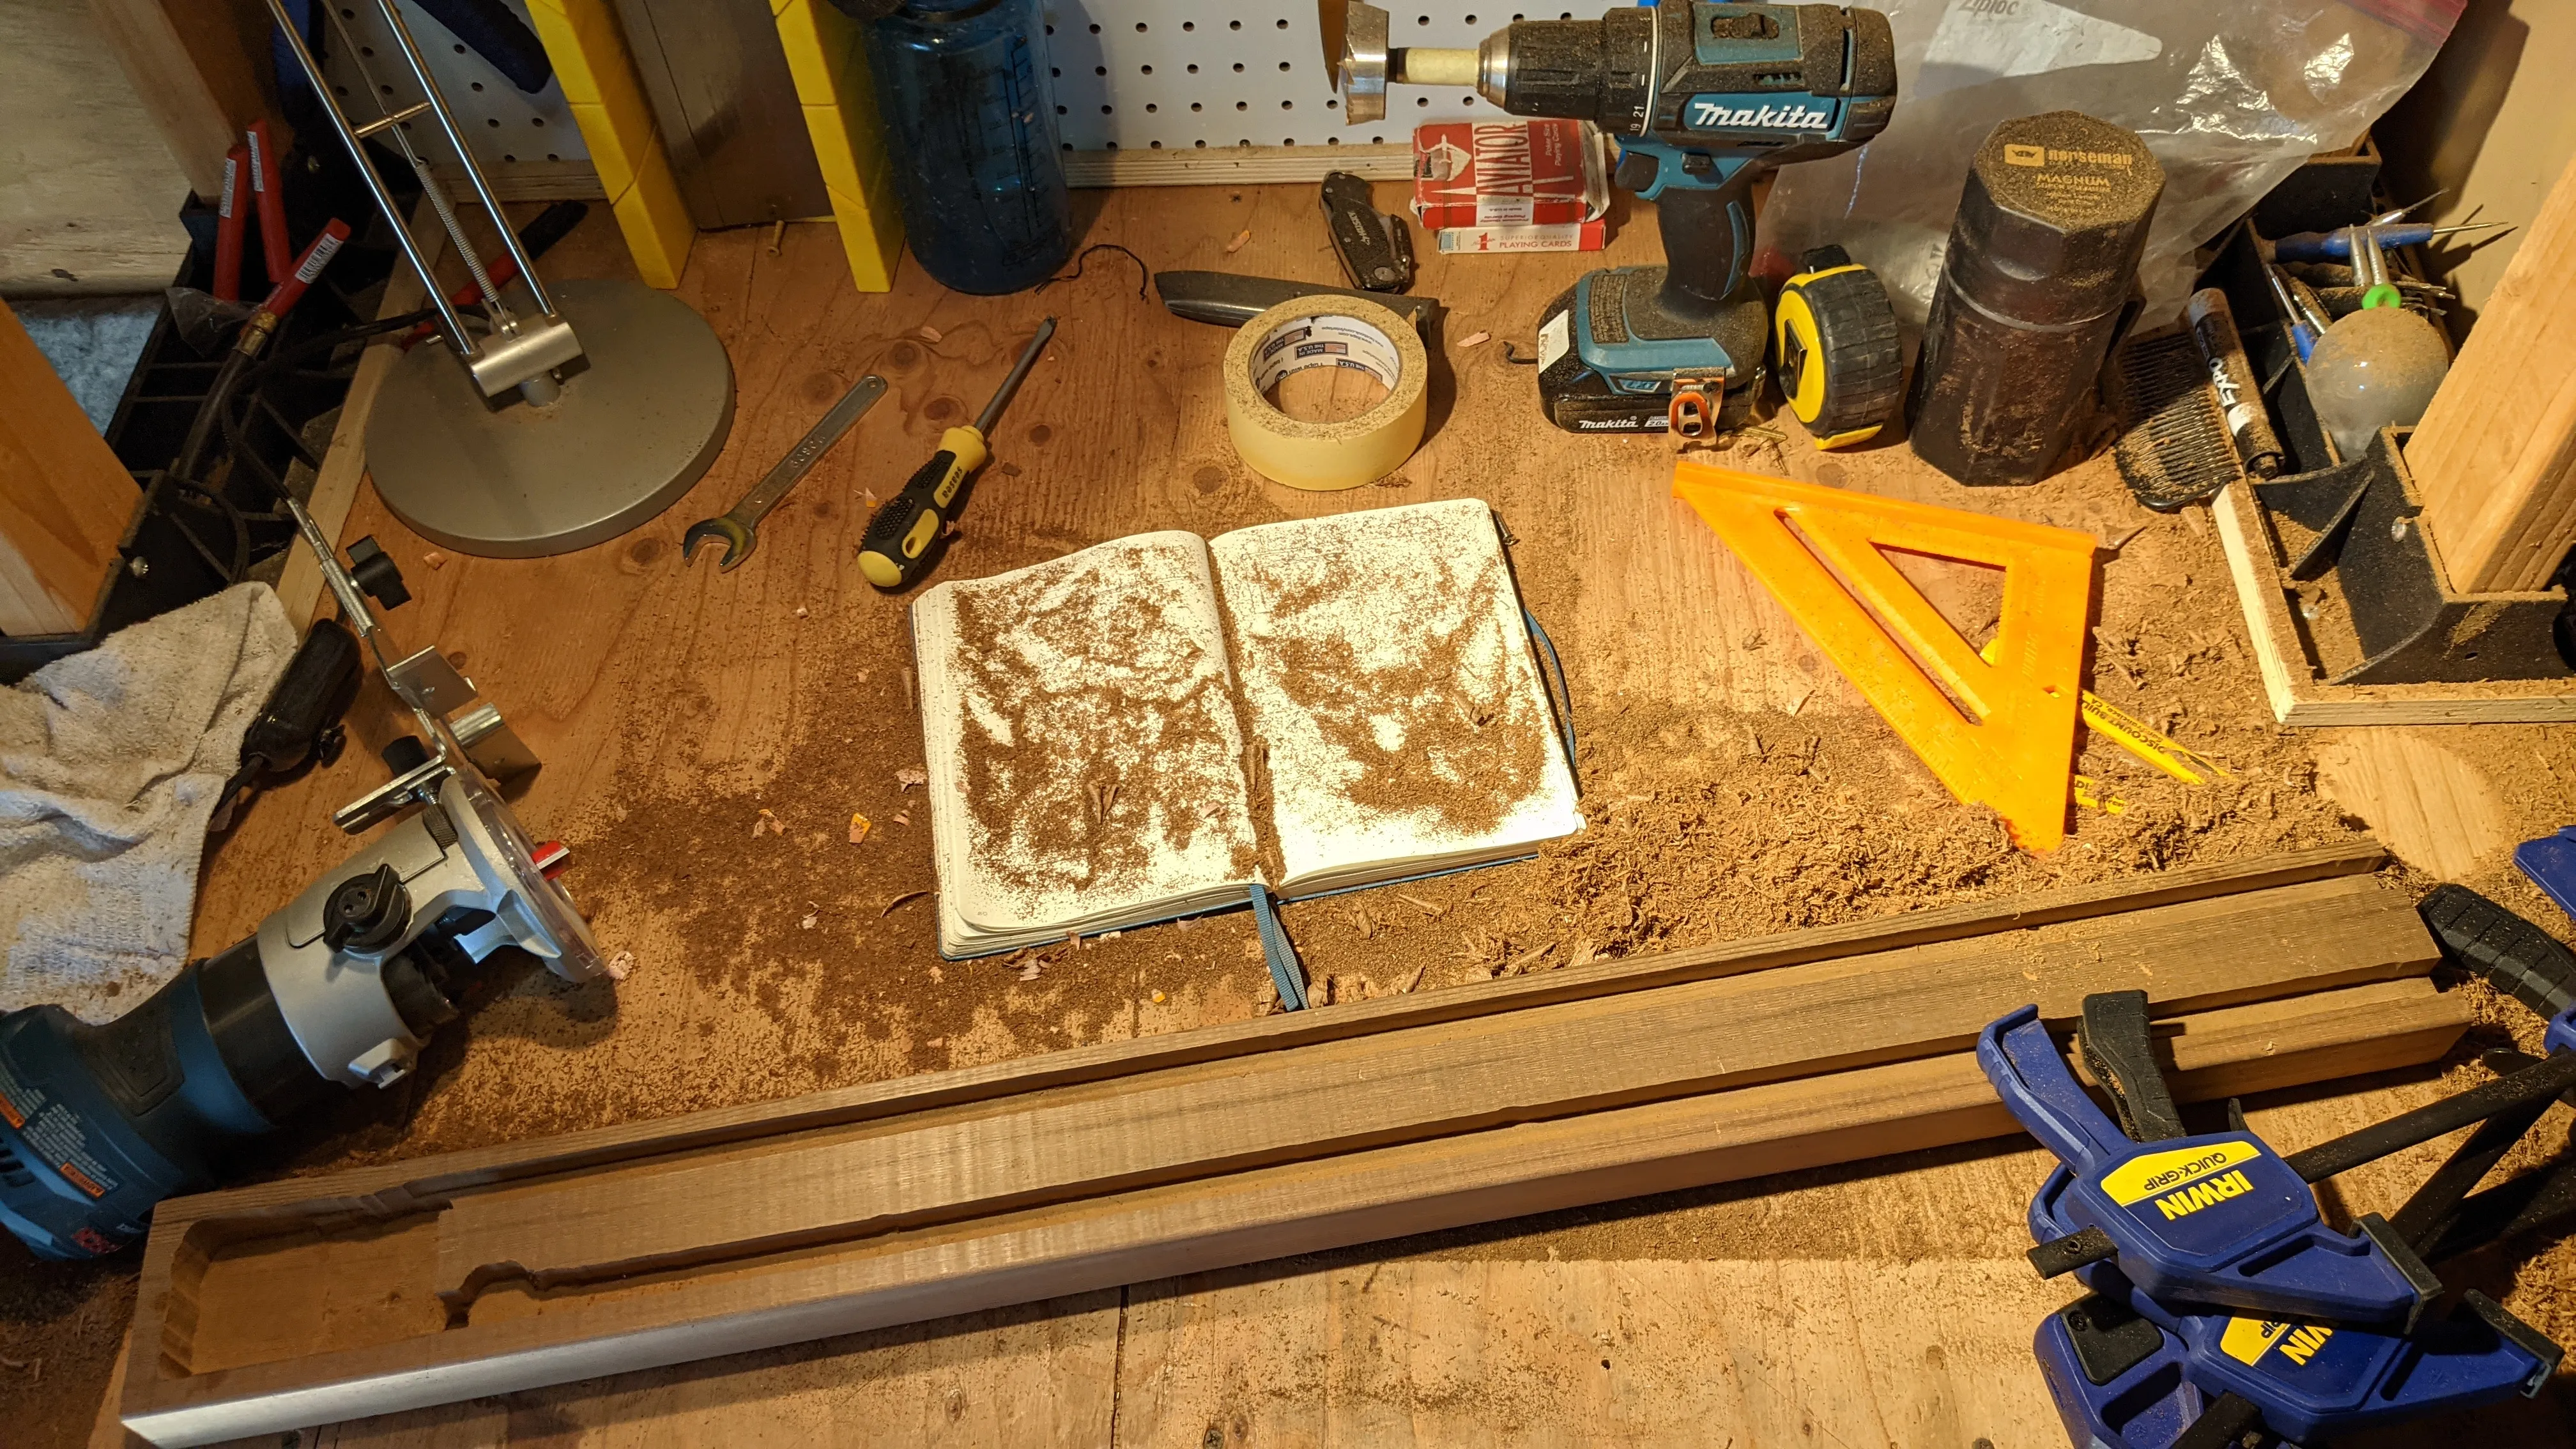
I need to put the power supply, control circuit, and wires somewhere! To have enough room, I decided to route out a little box at one end of the light, and then two wire channels down the length of the light.
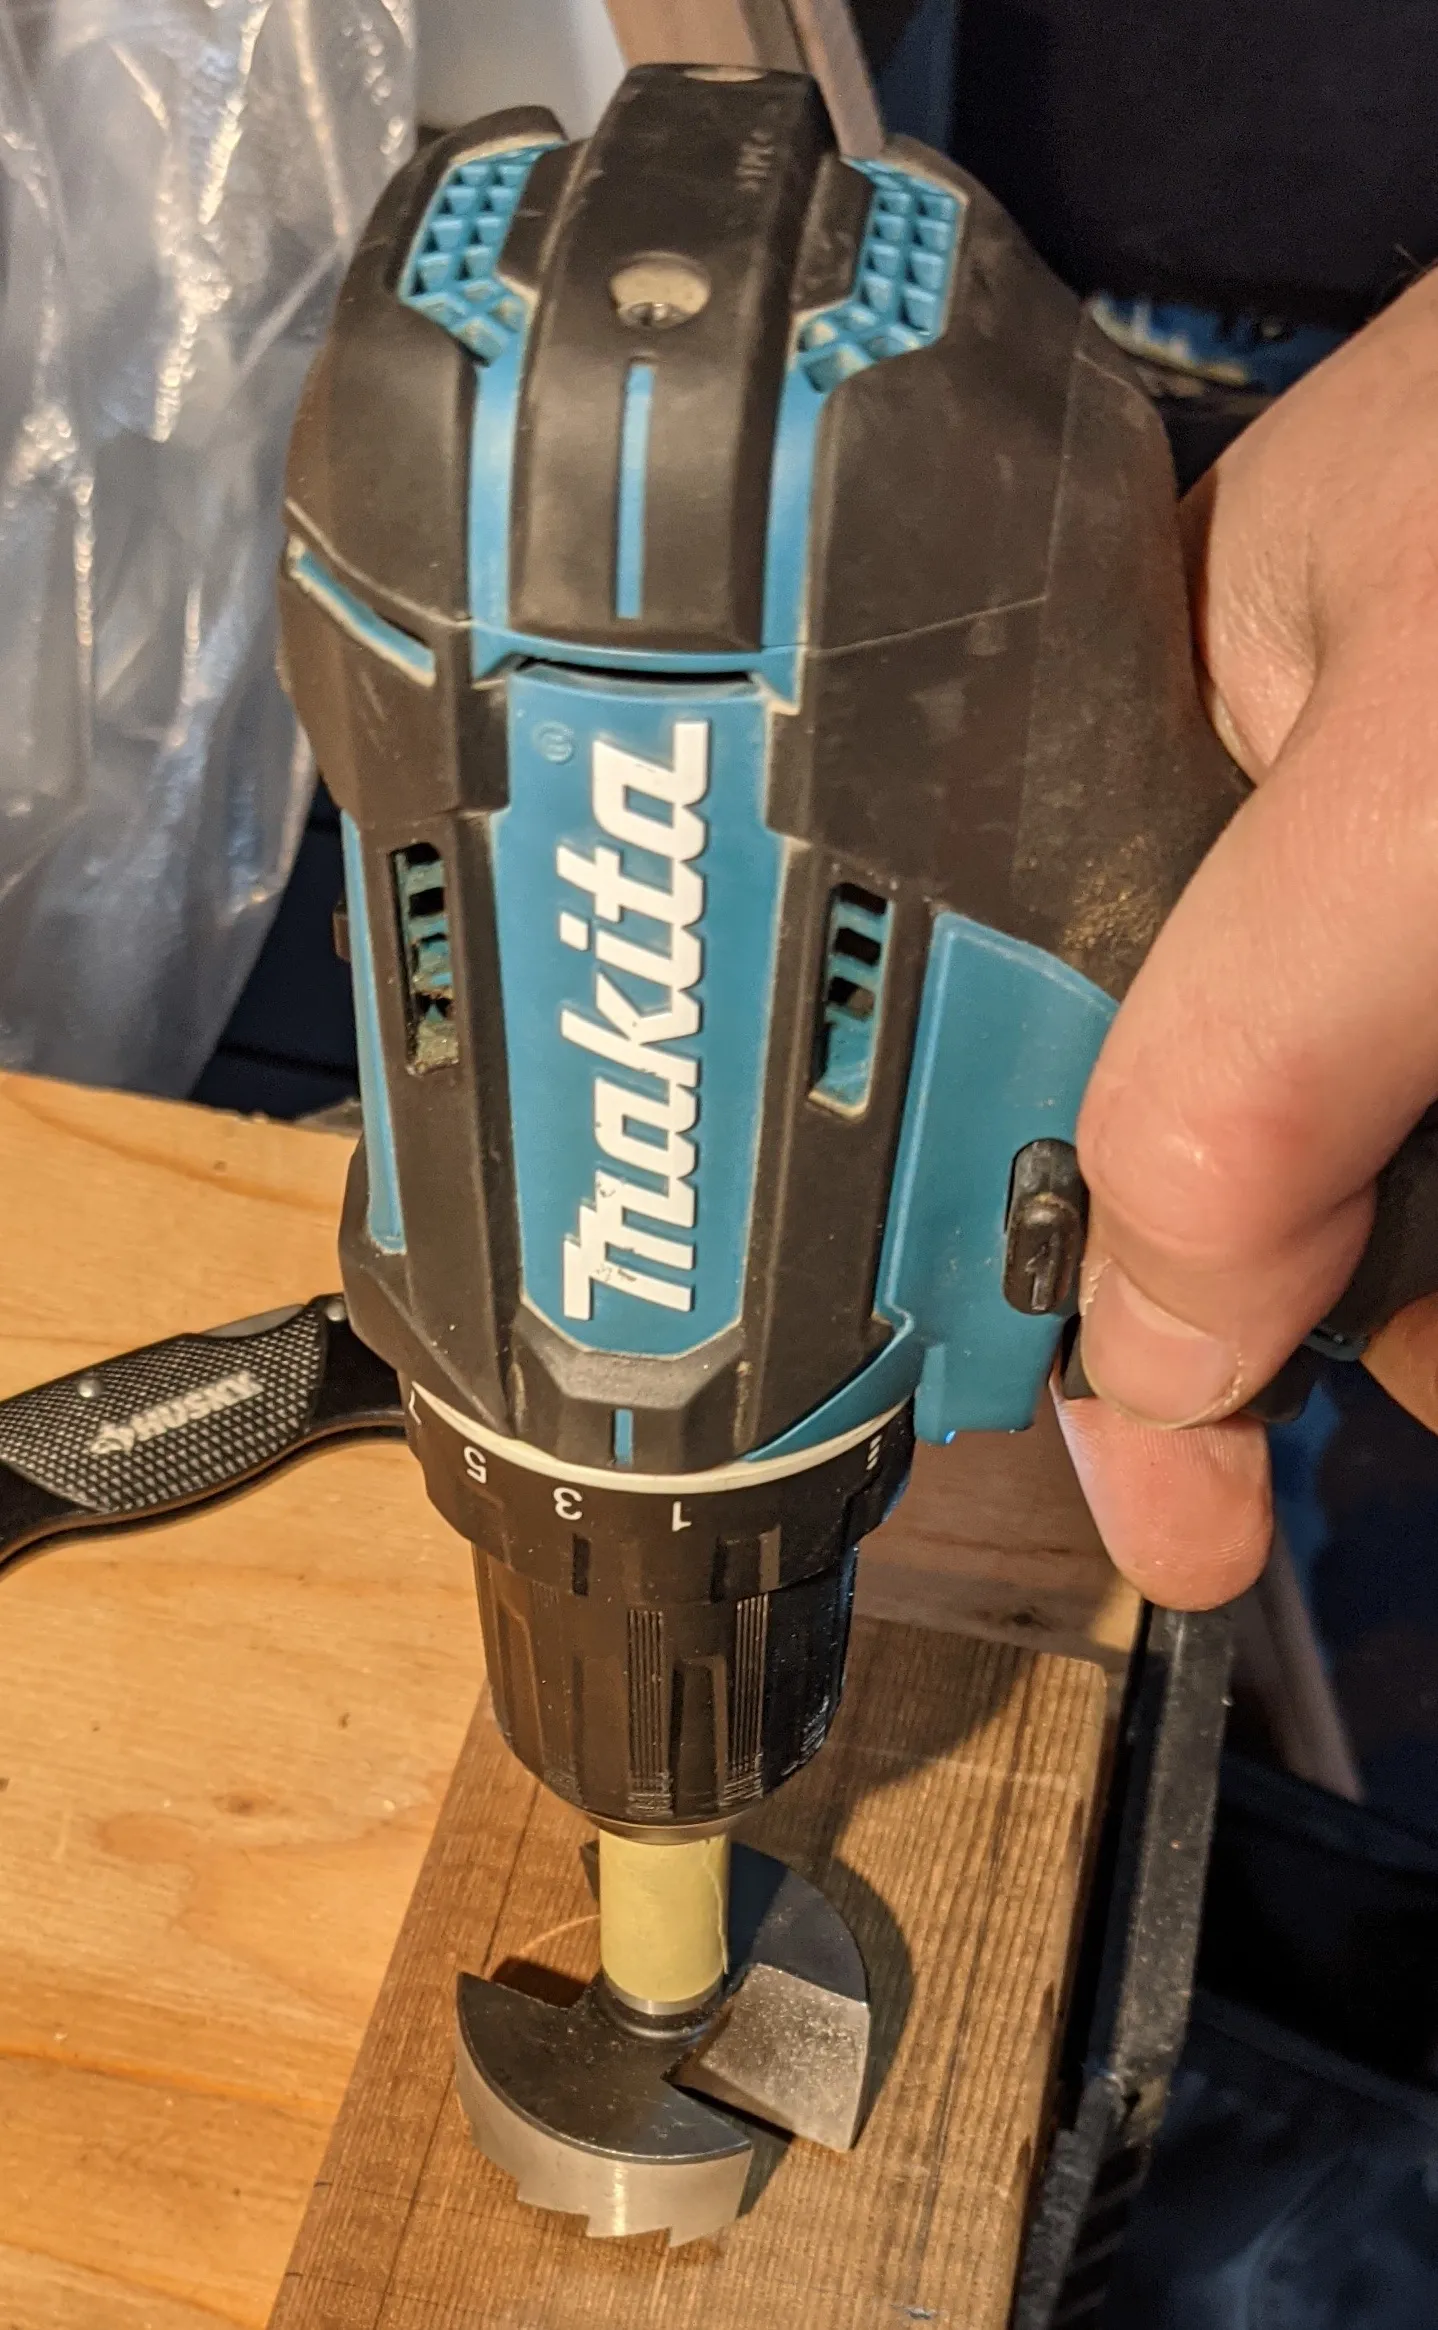
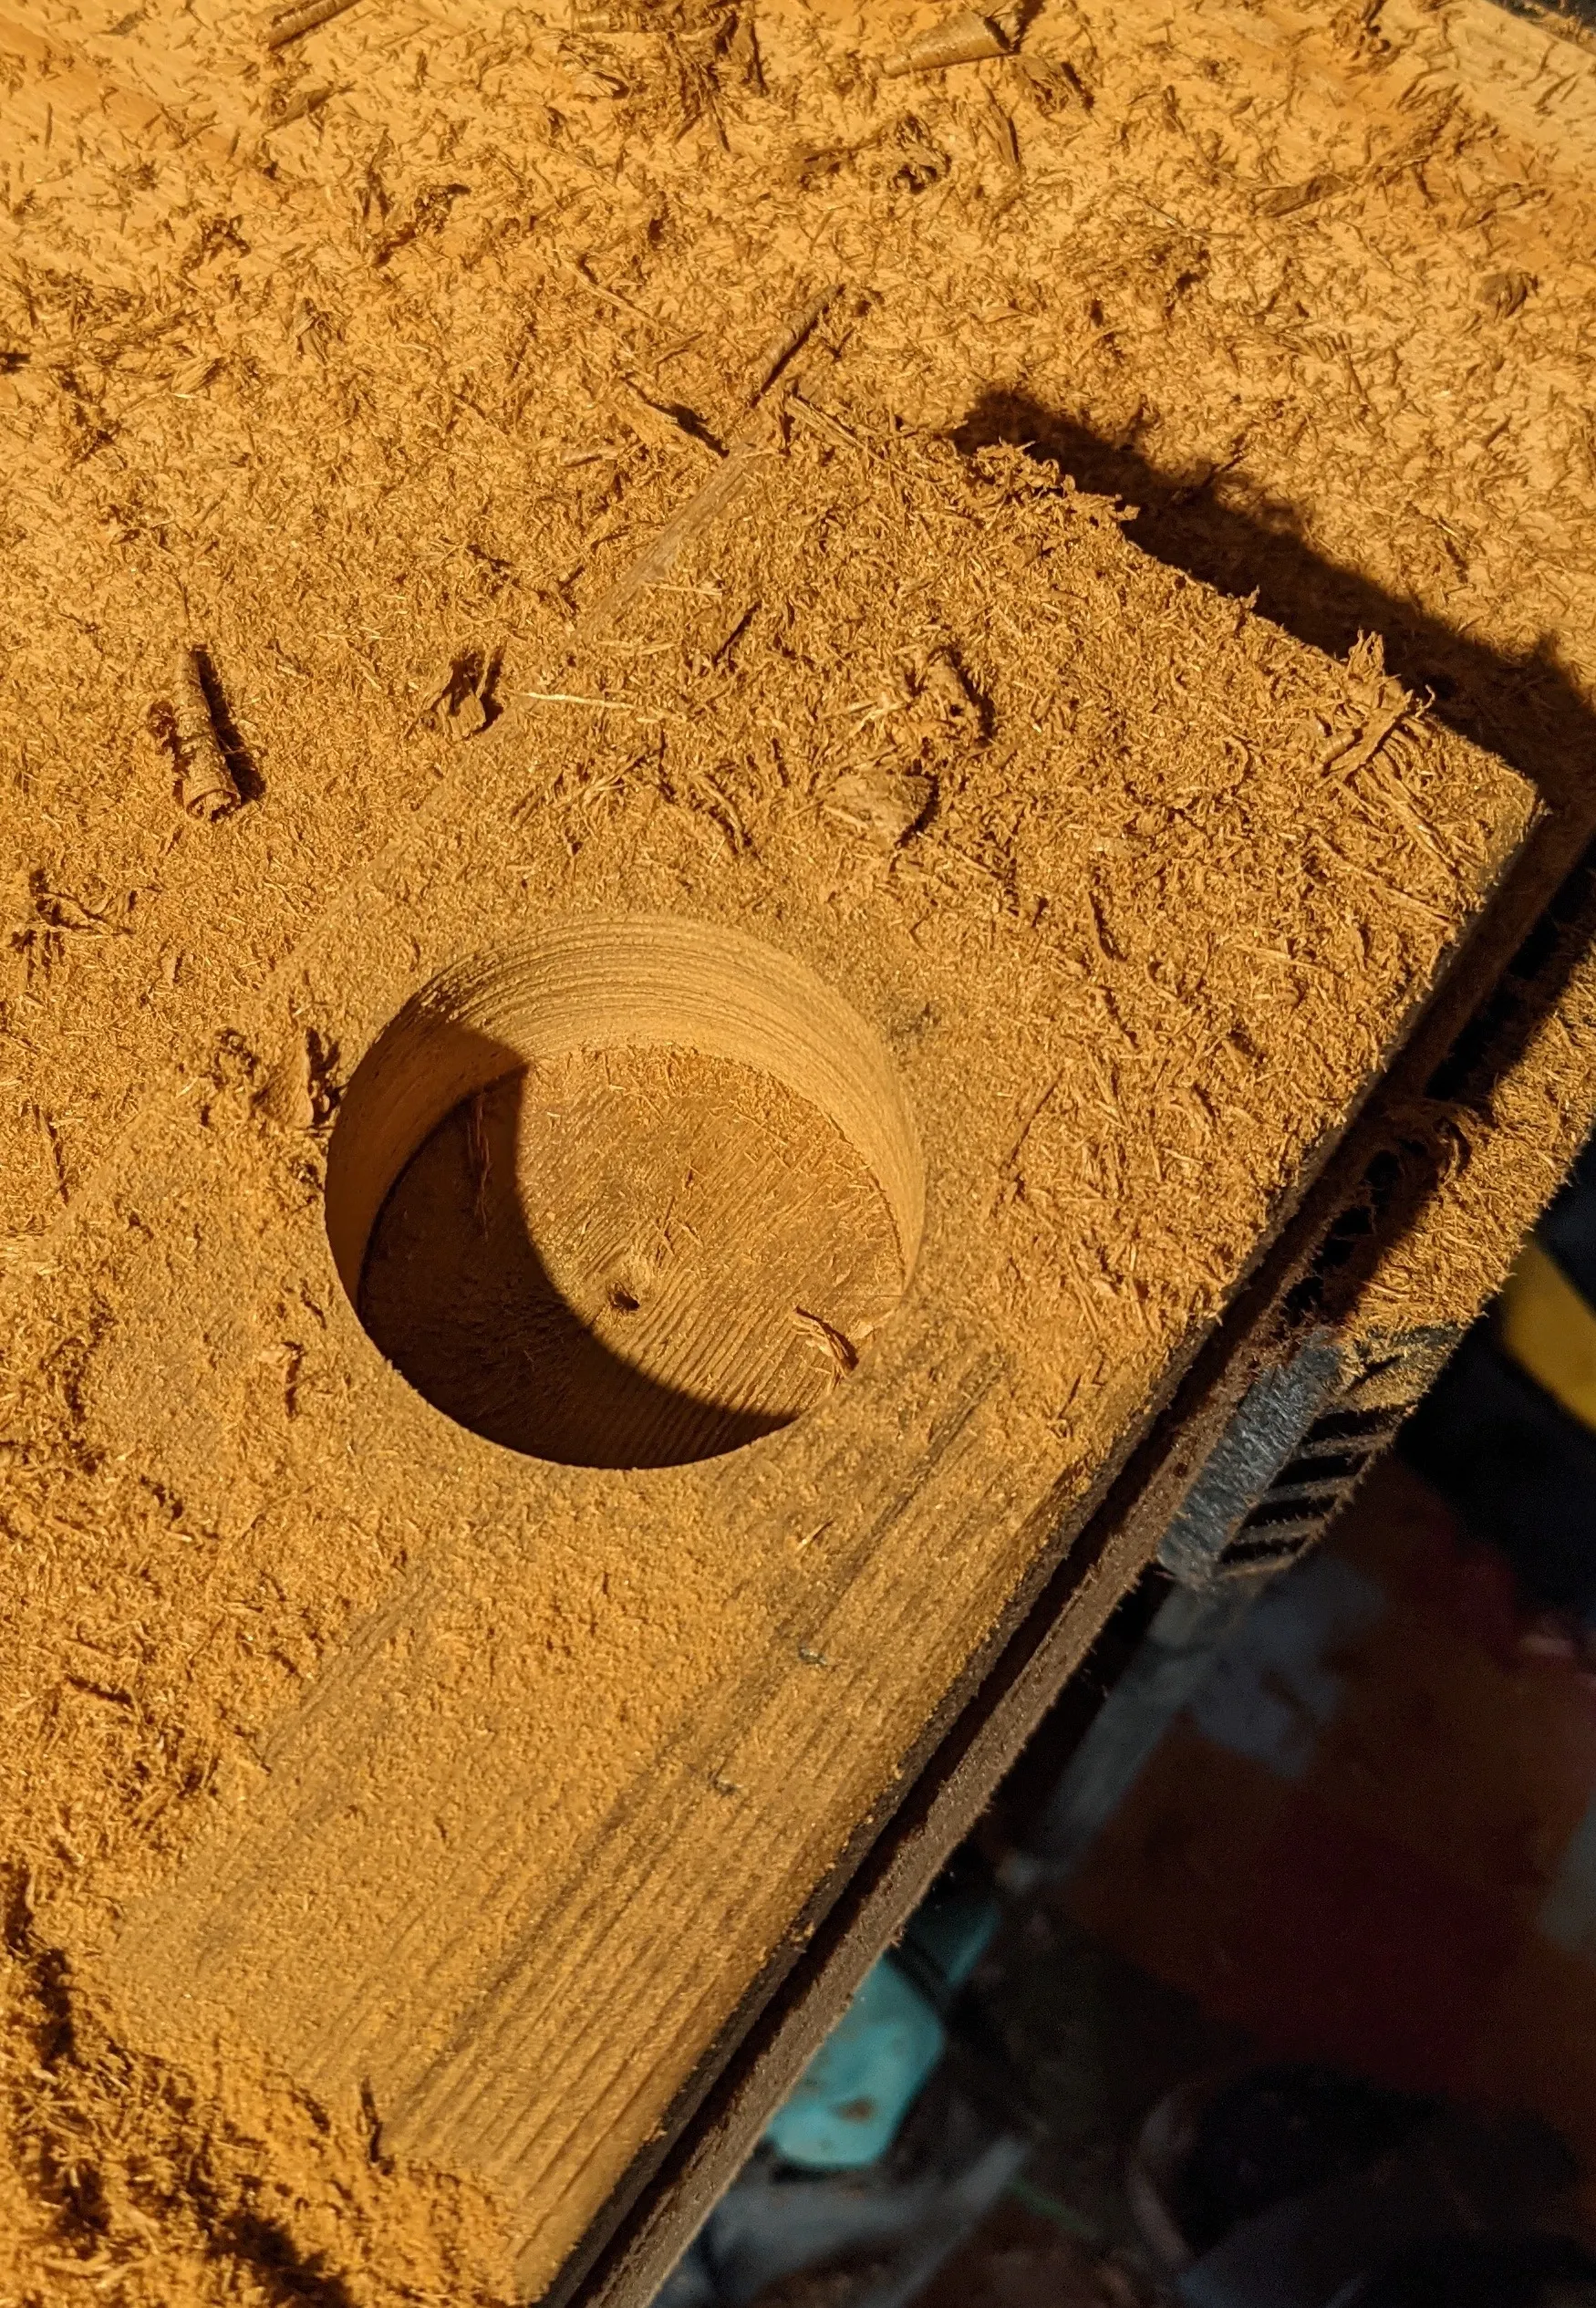
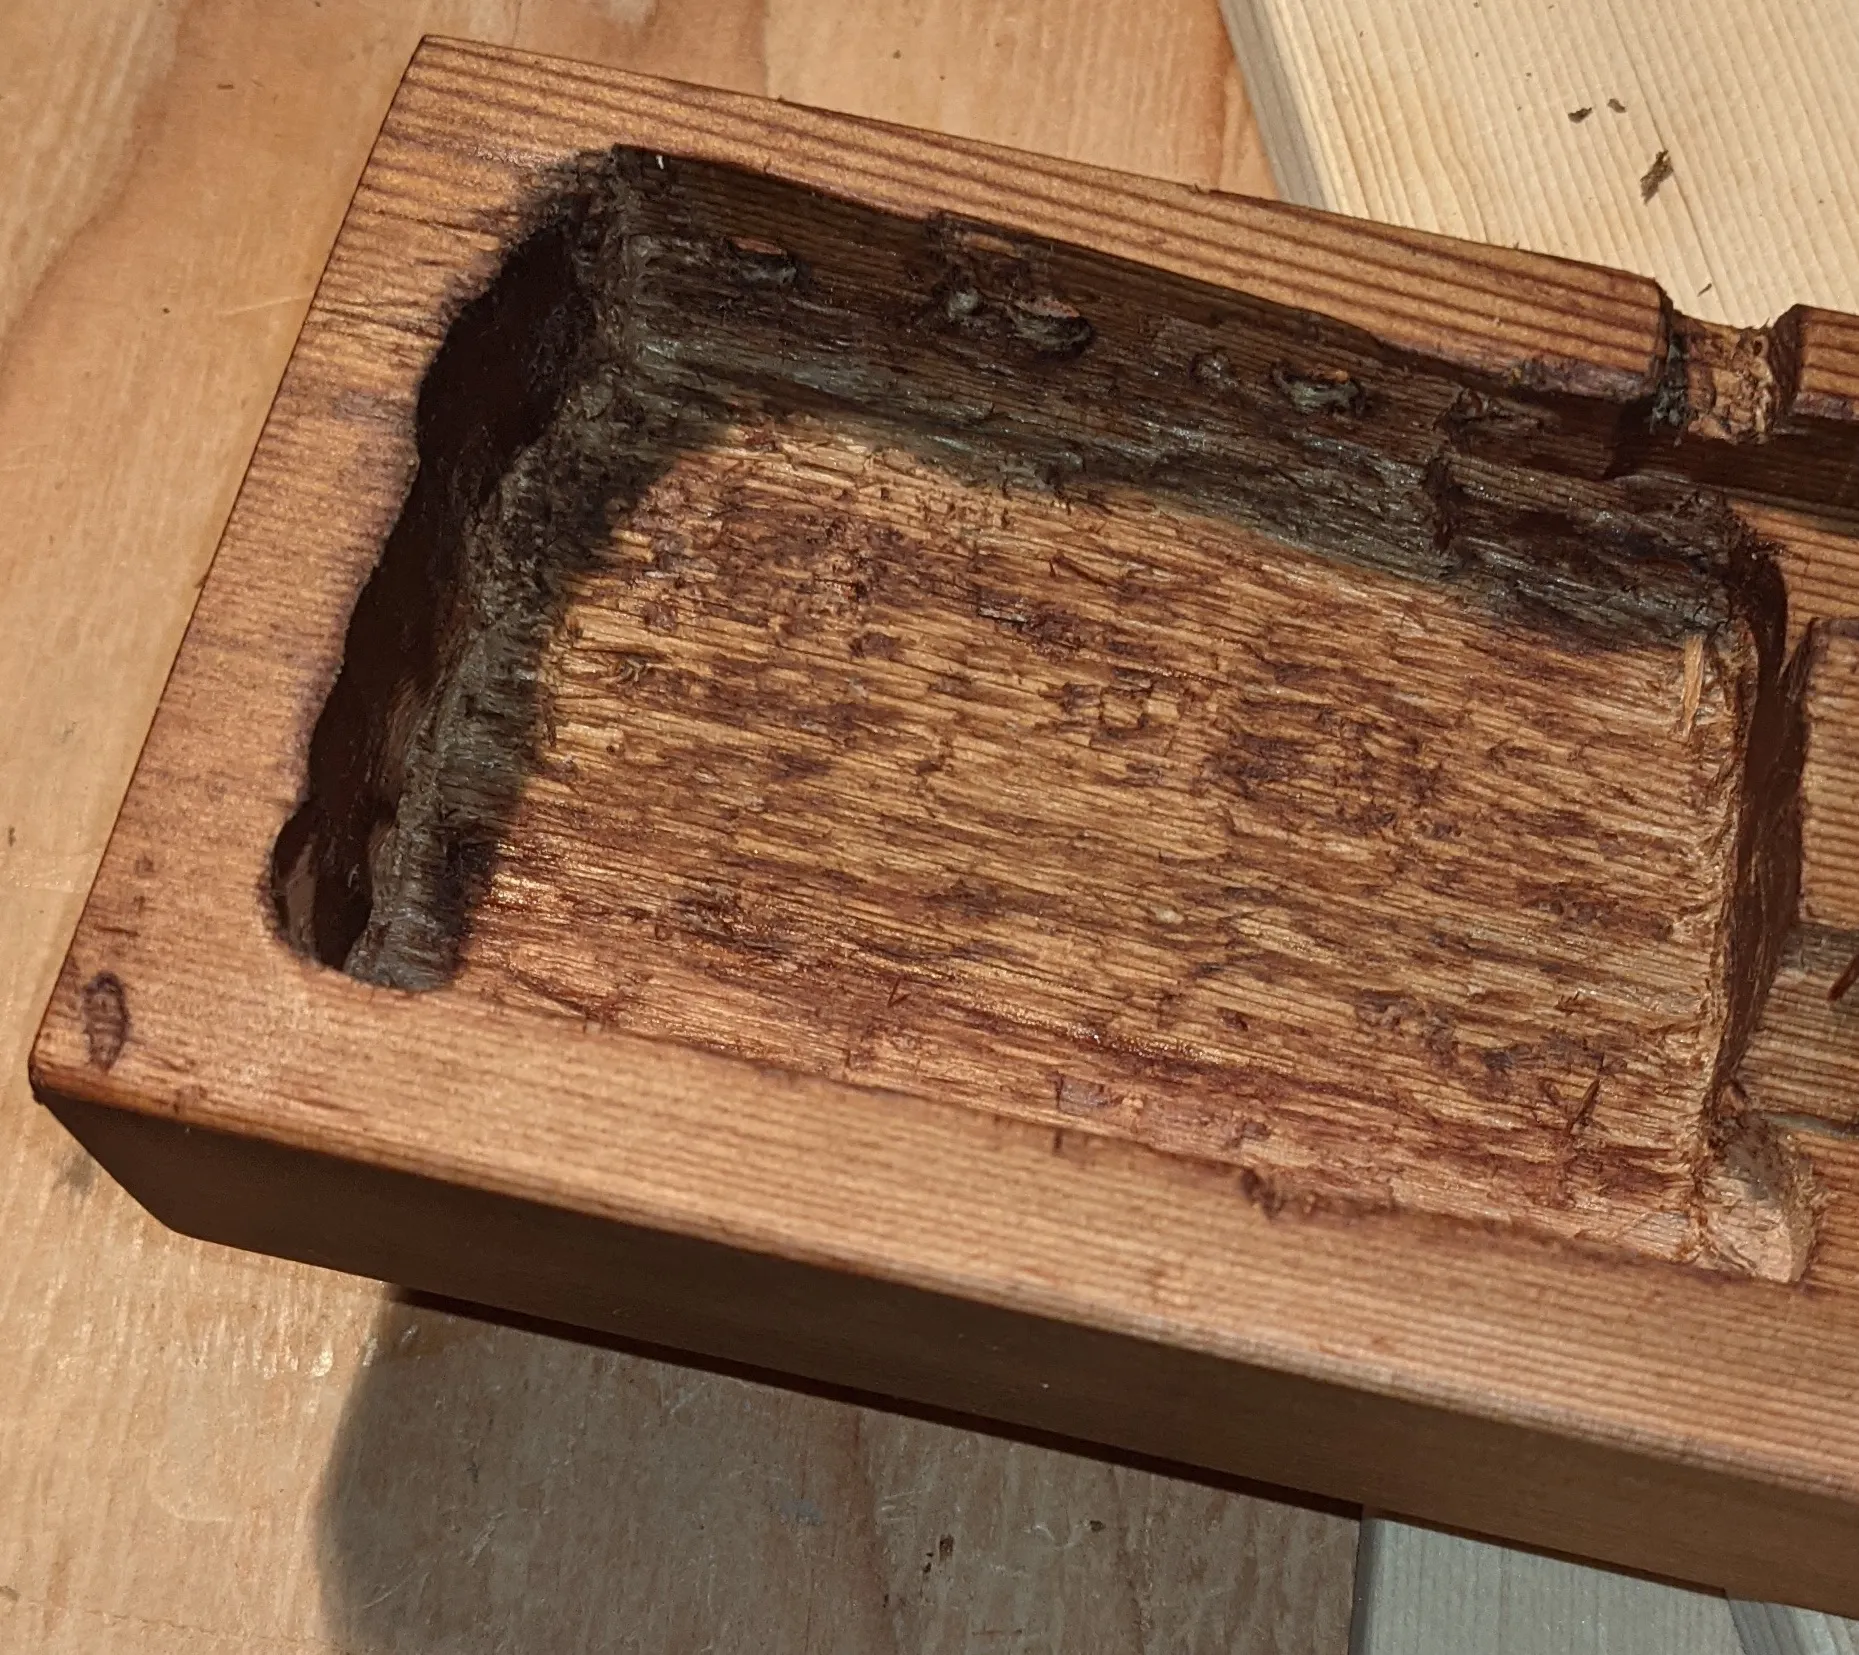
Drilling the circuit box
First step is to start the circuit box with a nice big hole.
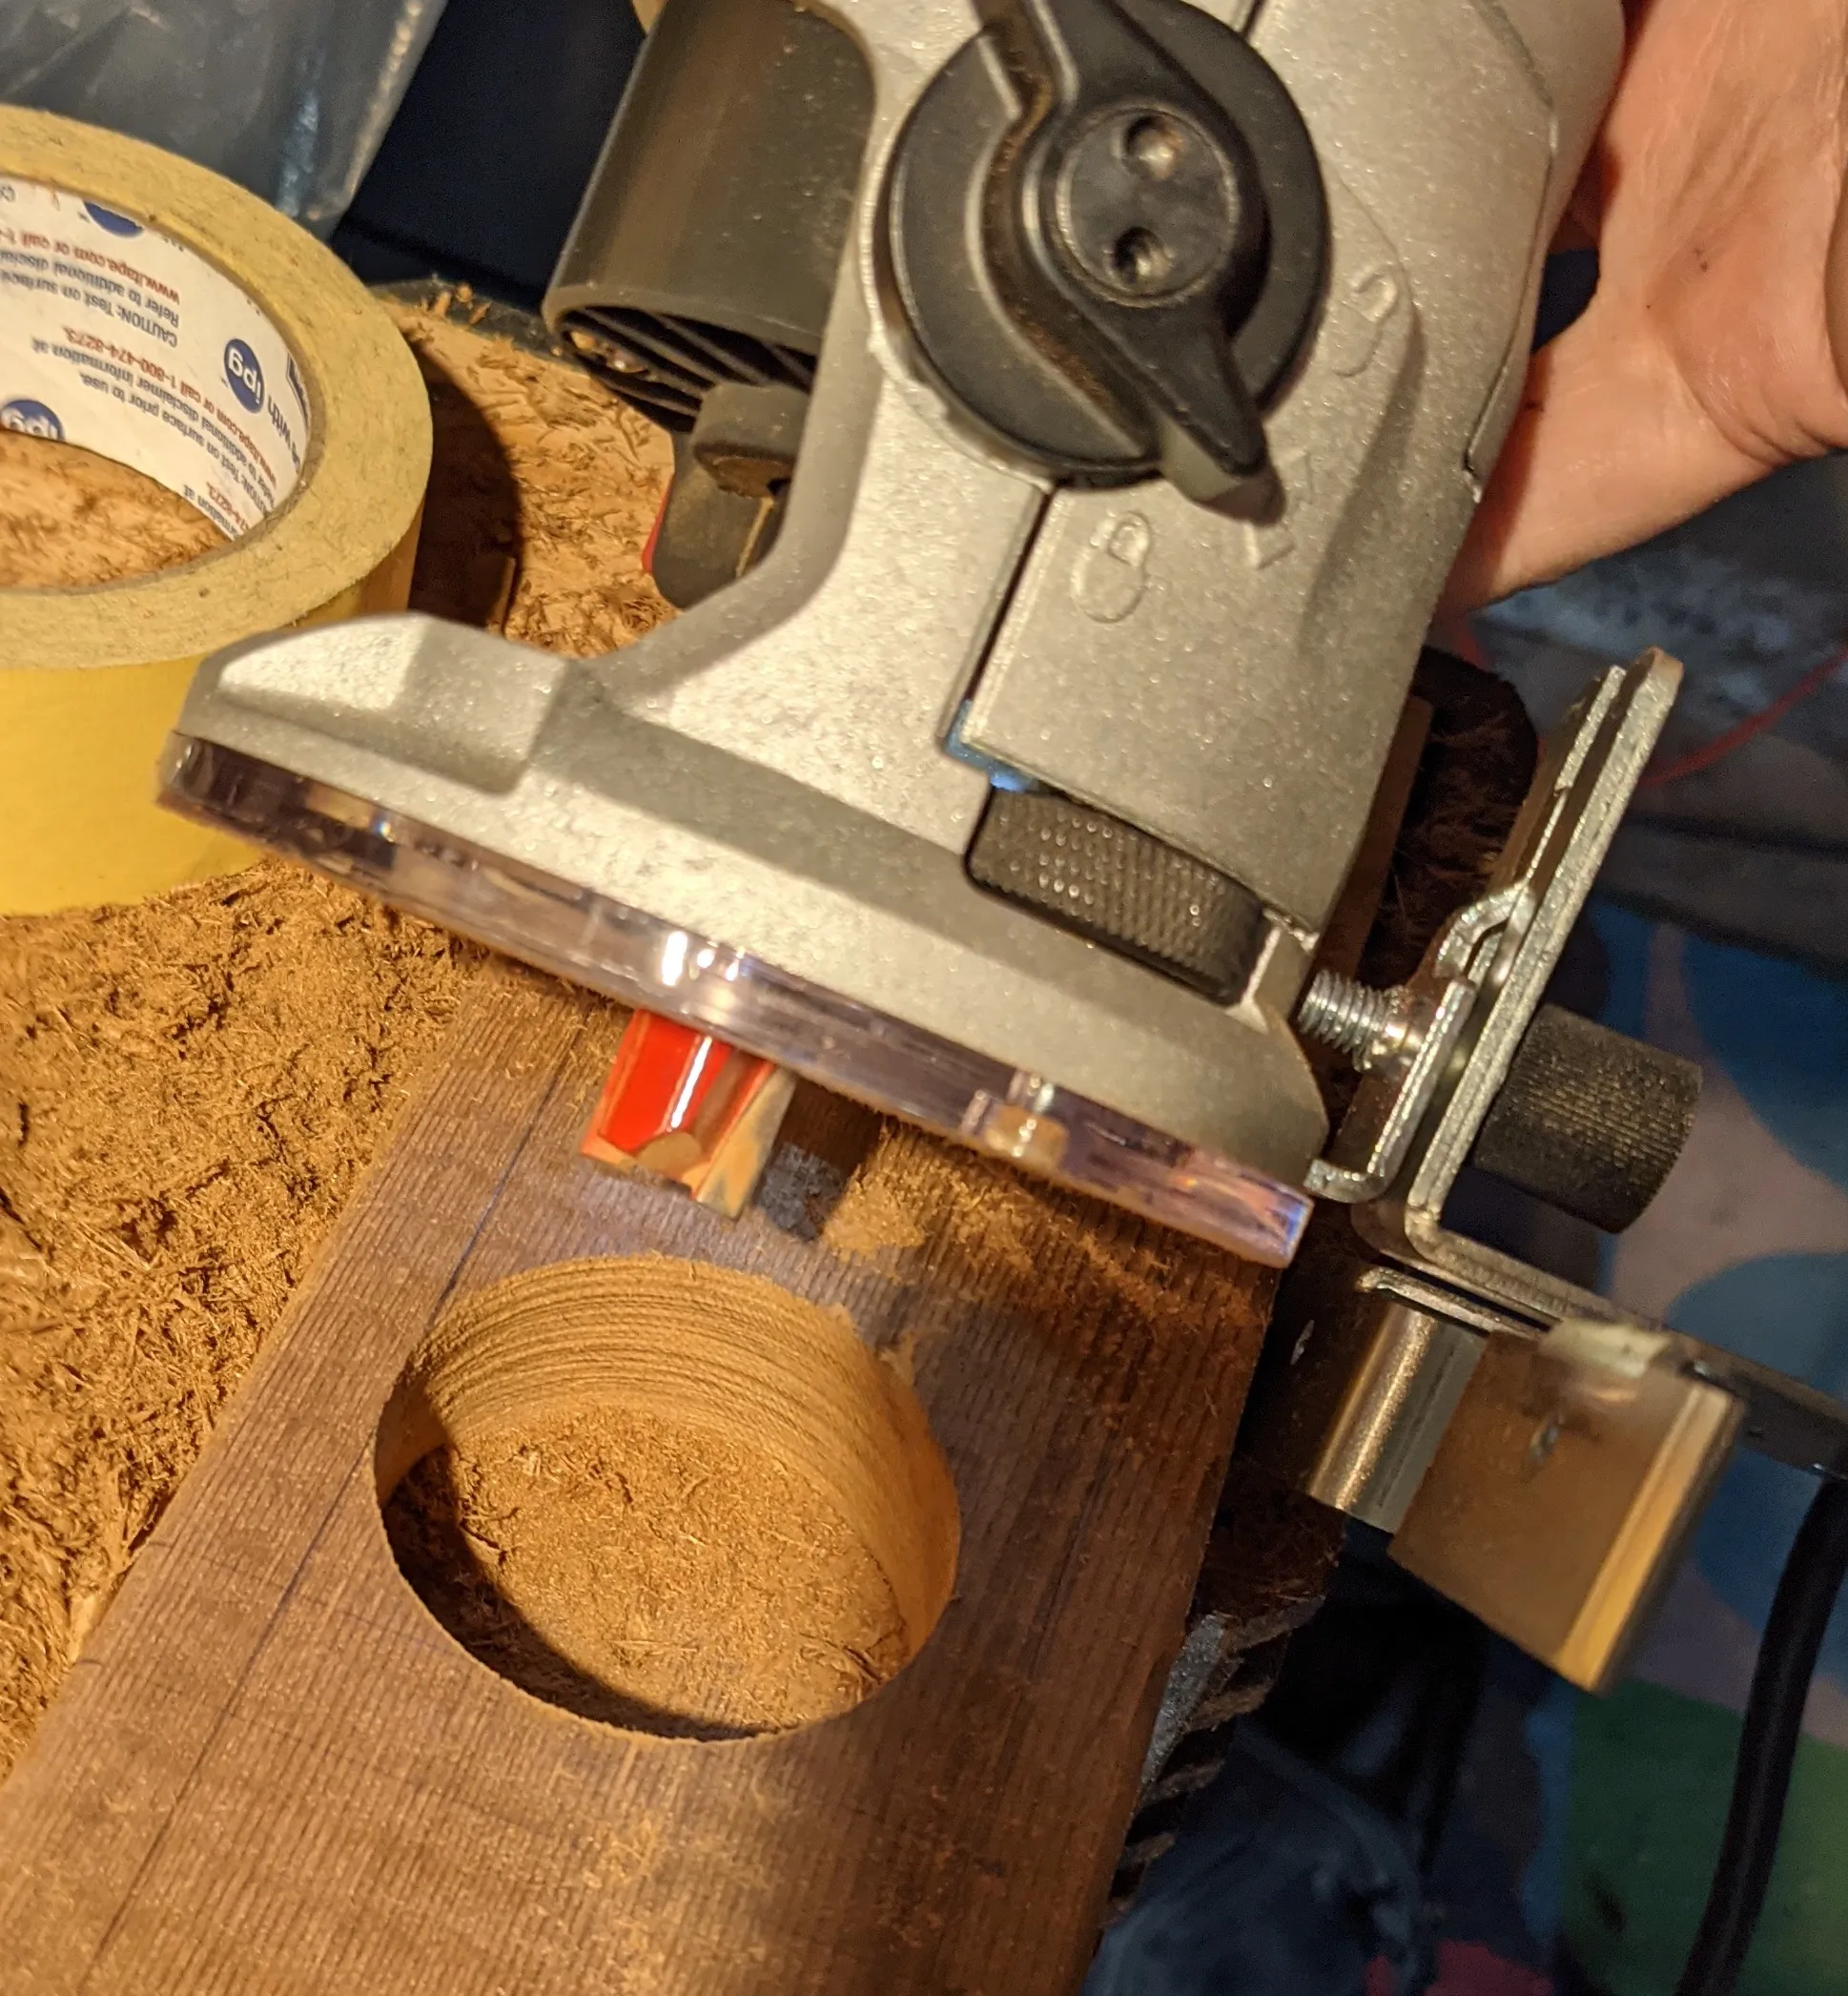
Routing the box
Next, I can route out the rest of the box with a hand router.
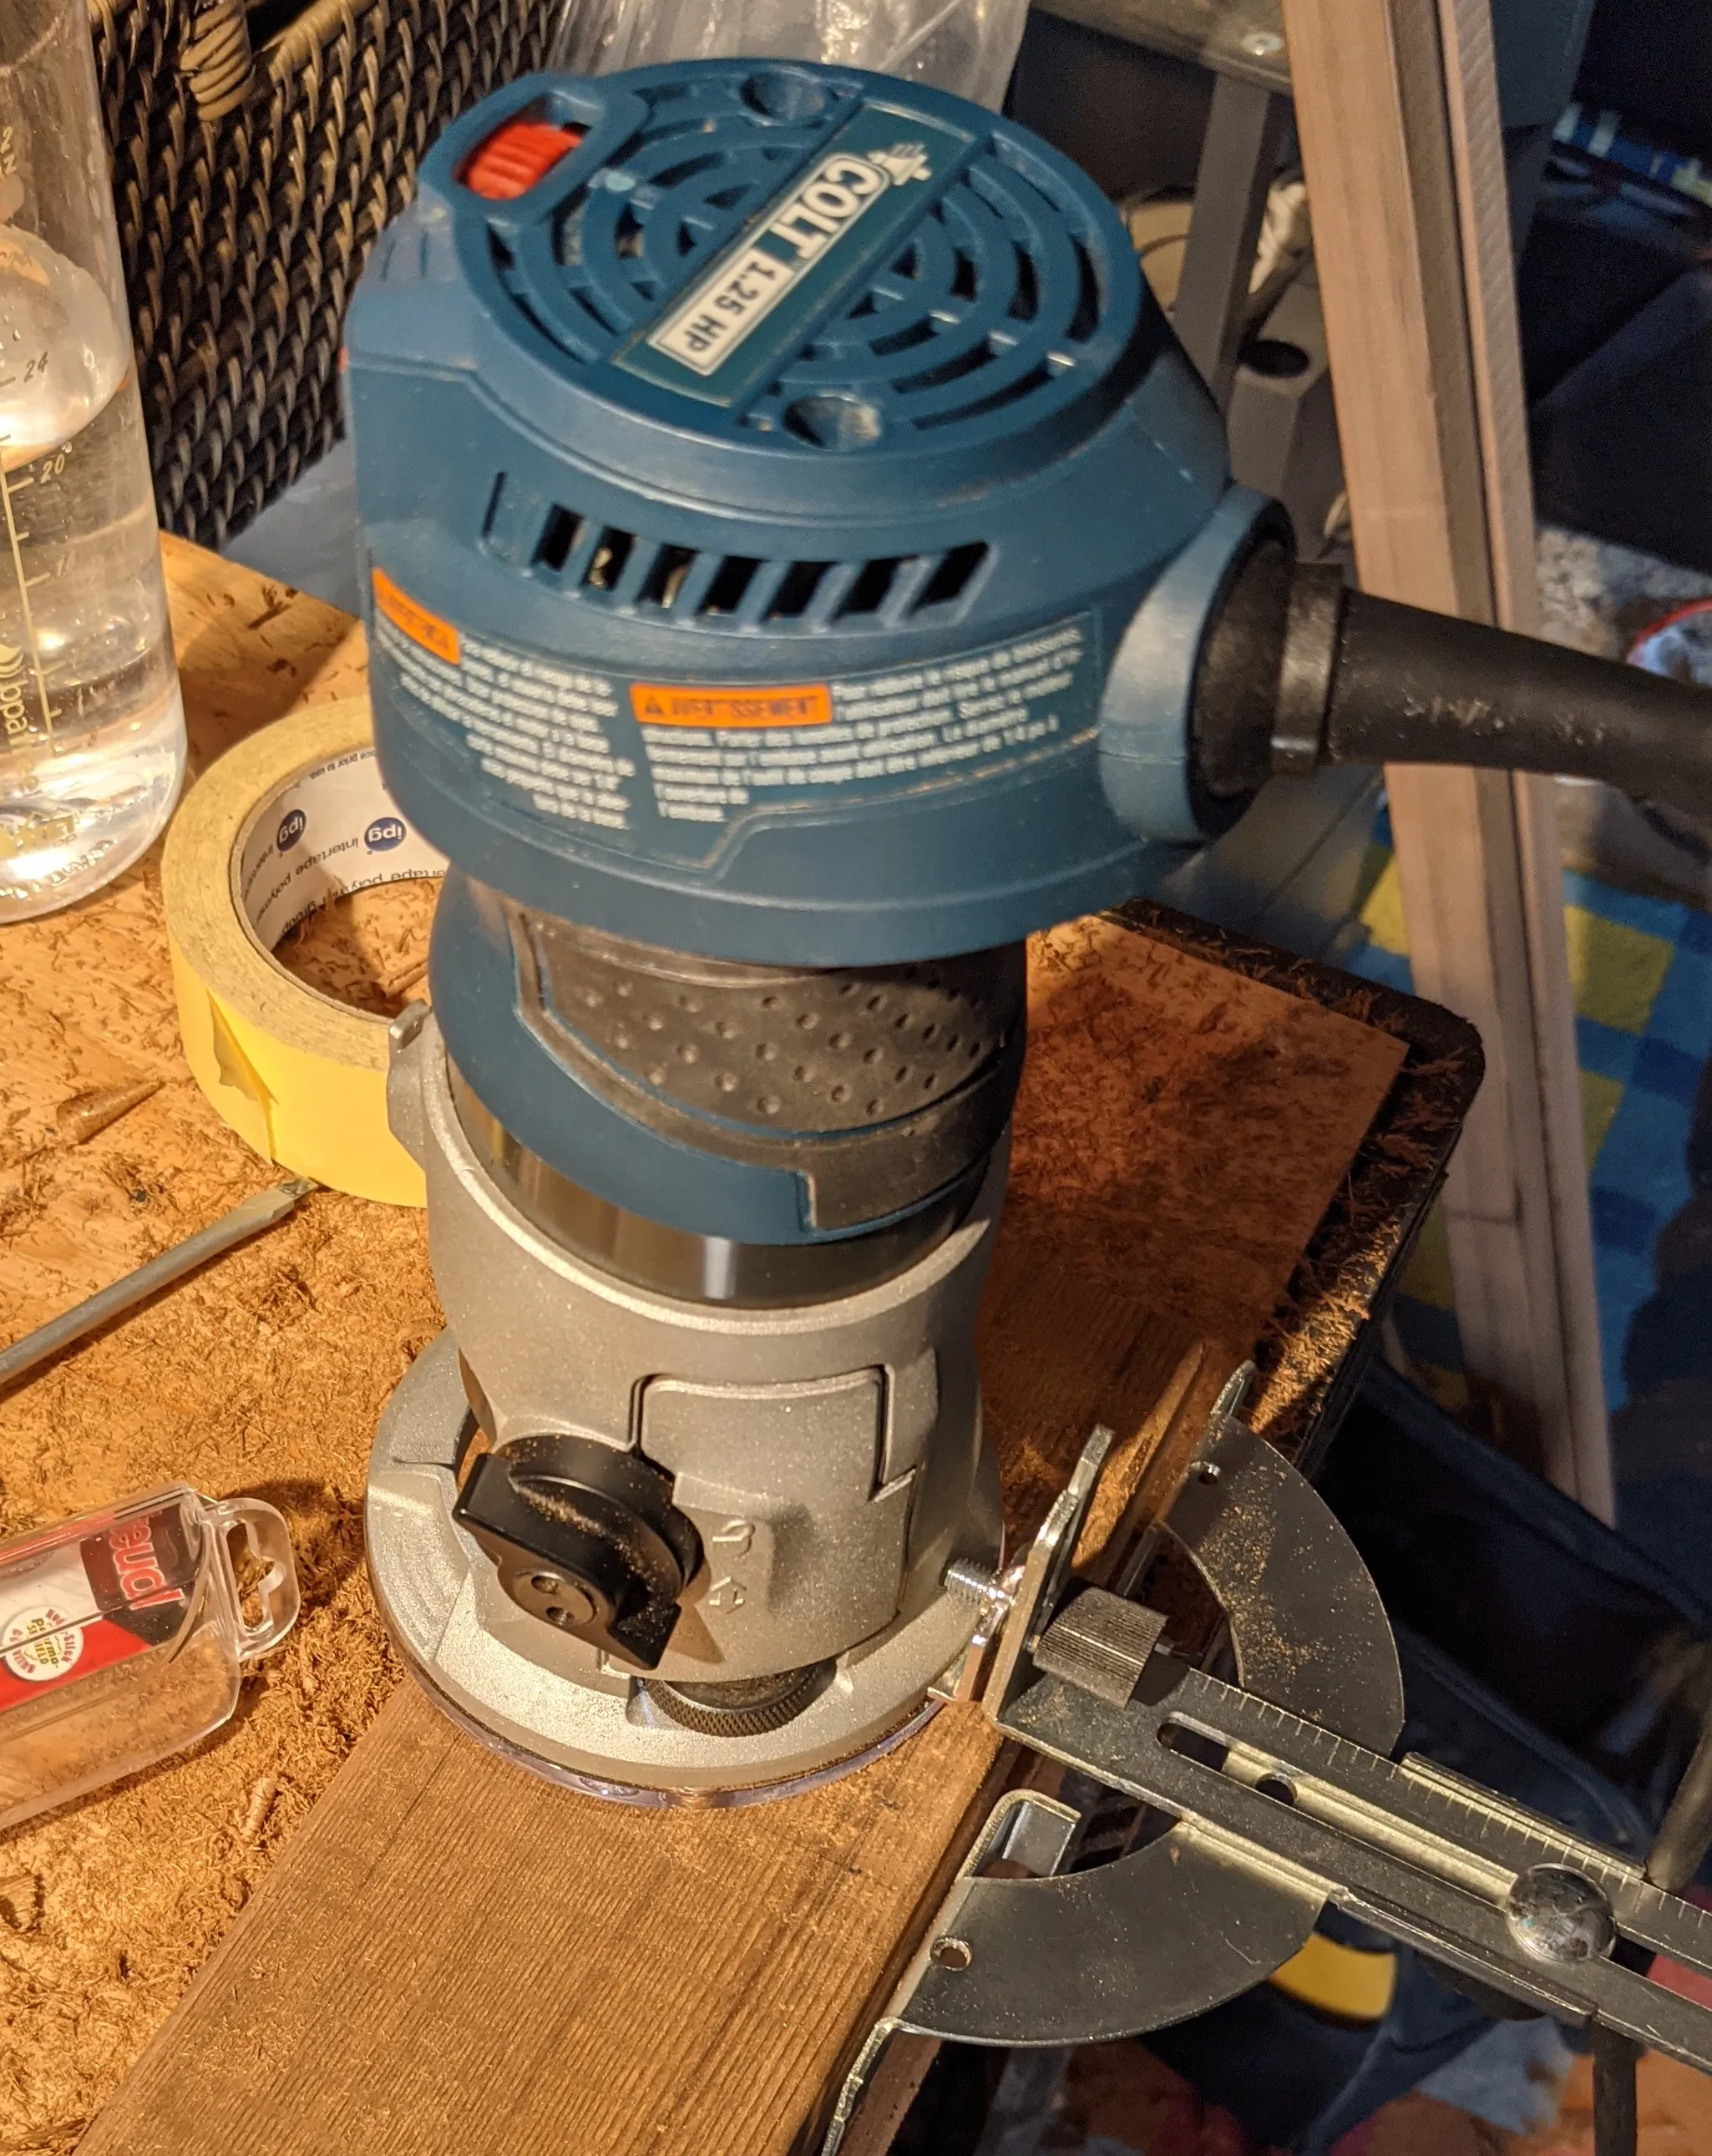
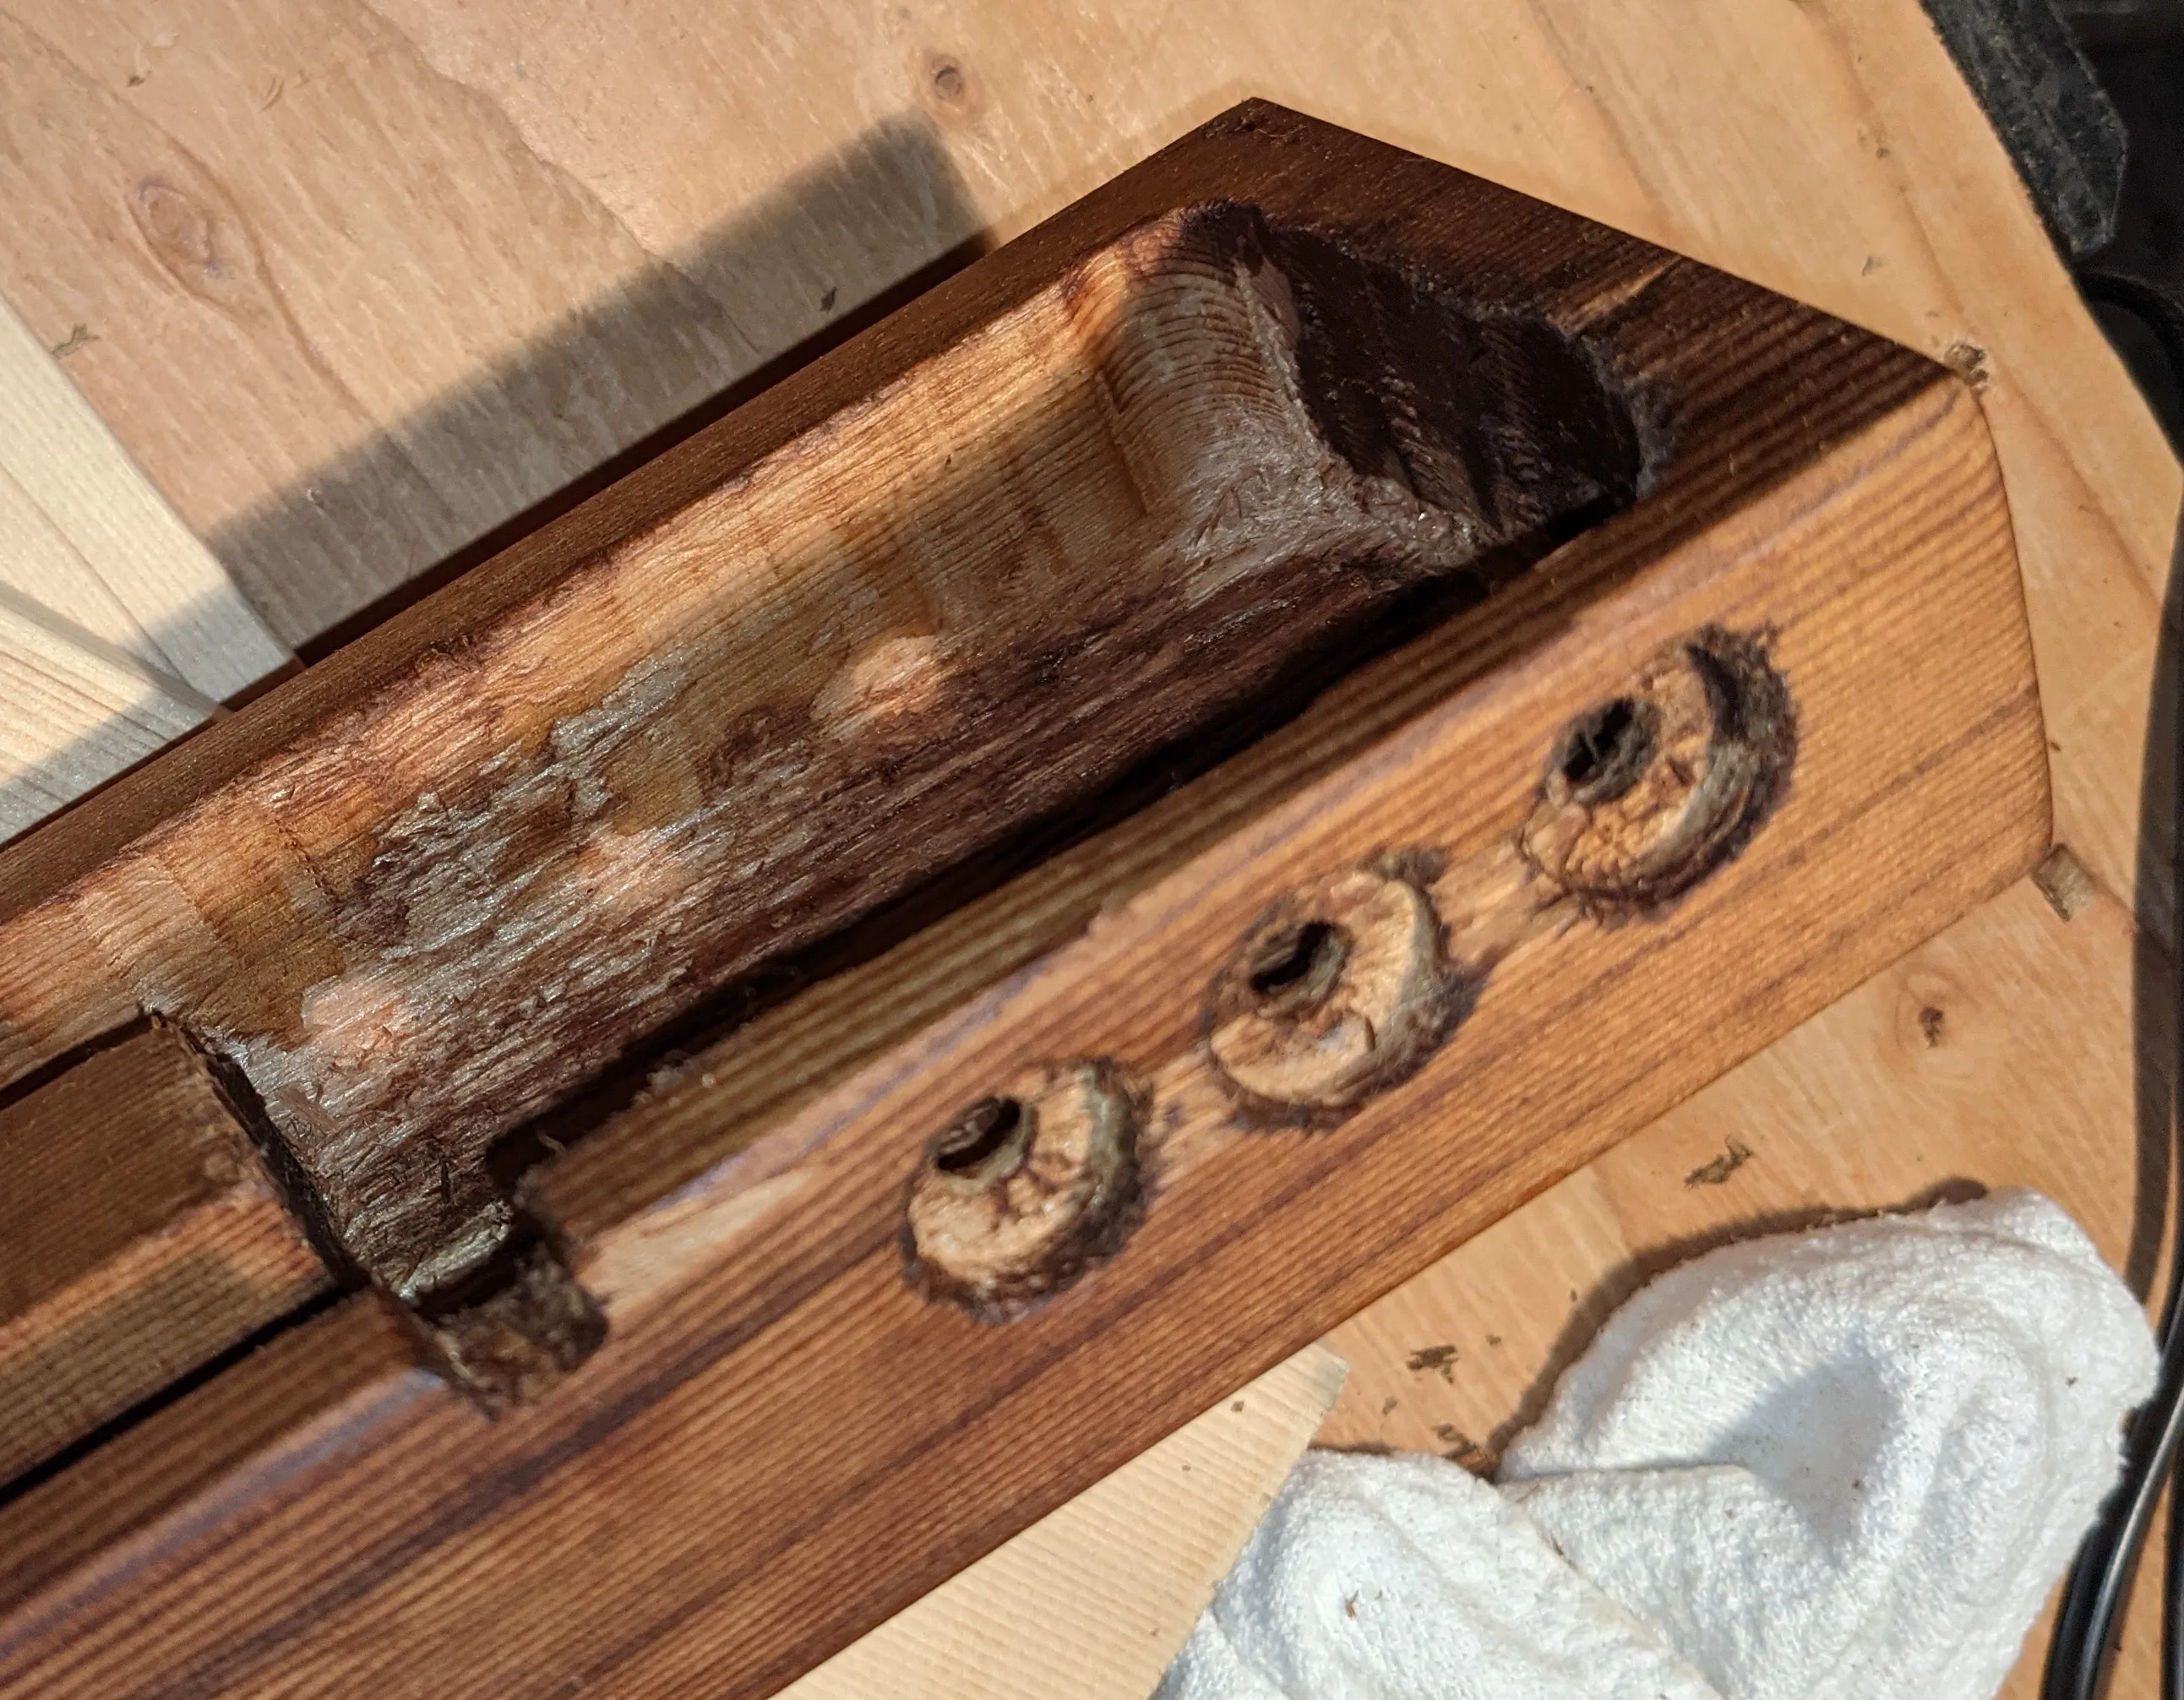
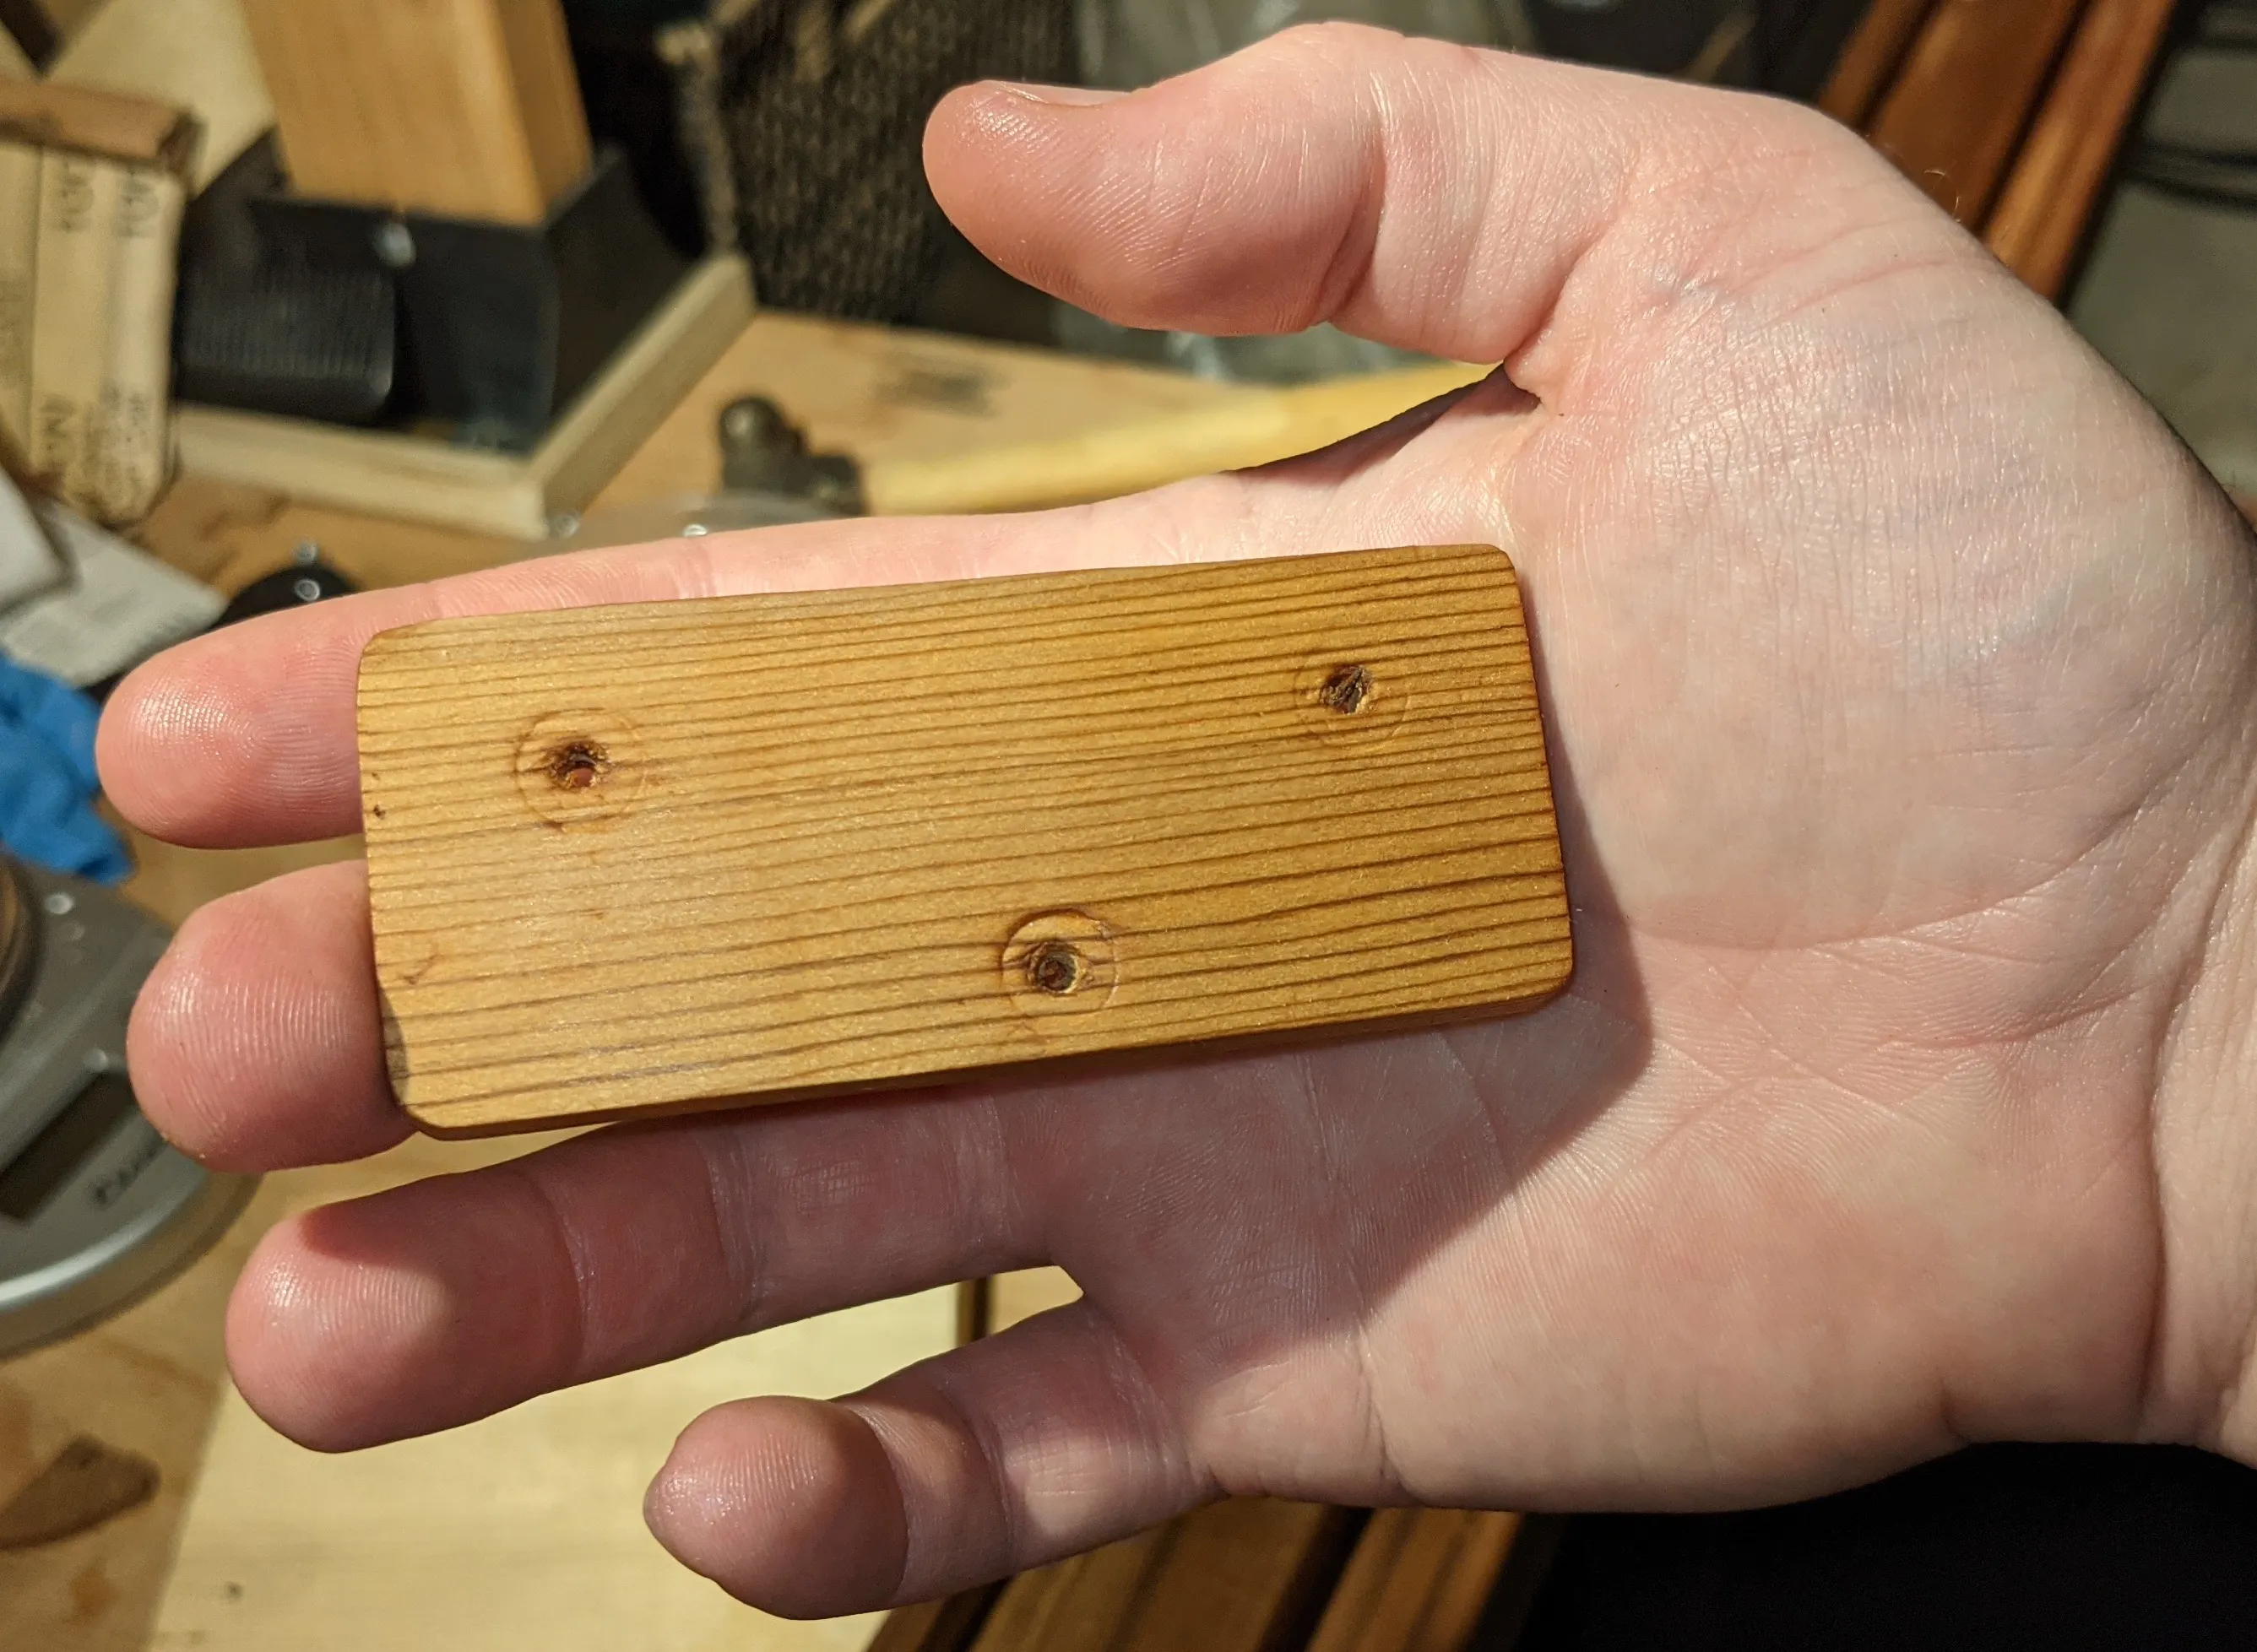
Channels
Finally, I routed out some simple channels on the back of the wood to house the wires that will run down the length of the strip to power it, and connect to the buttons.
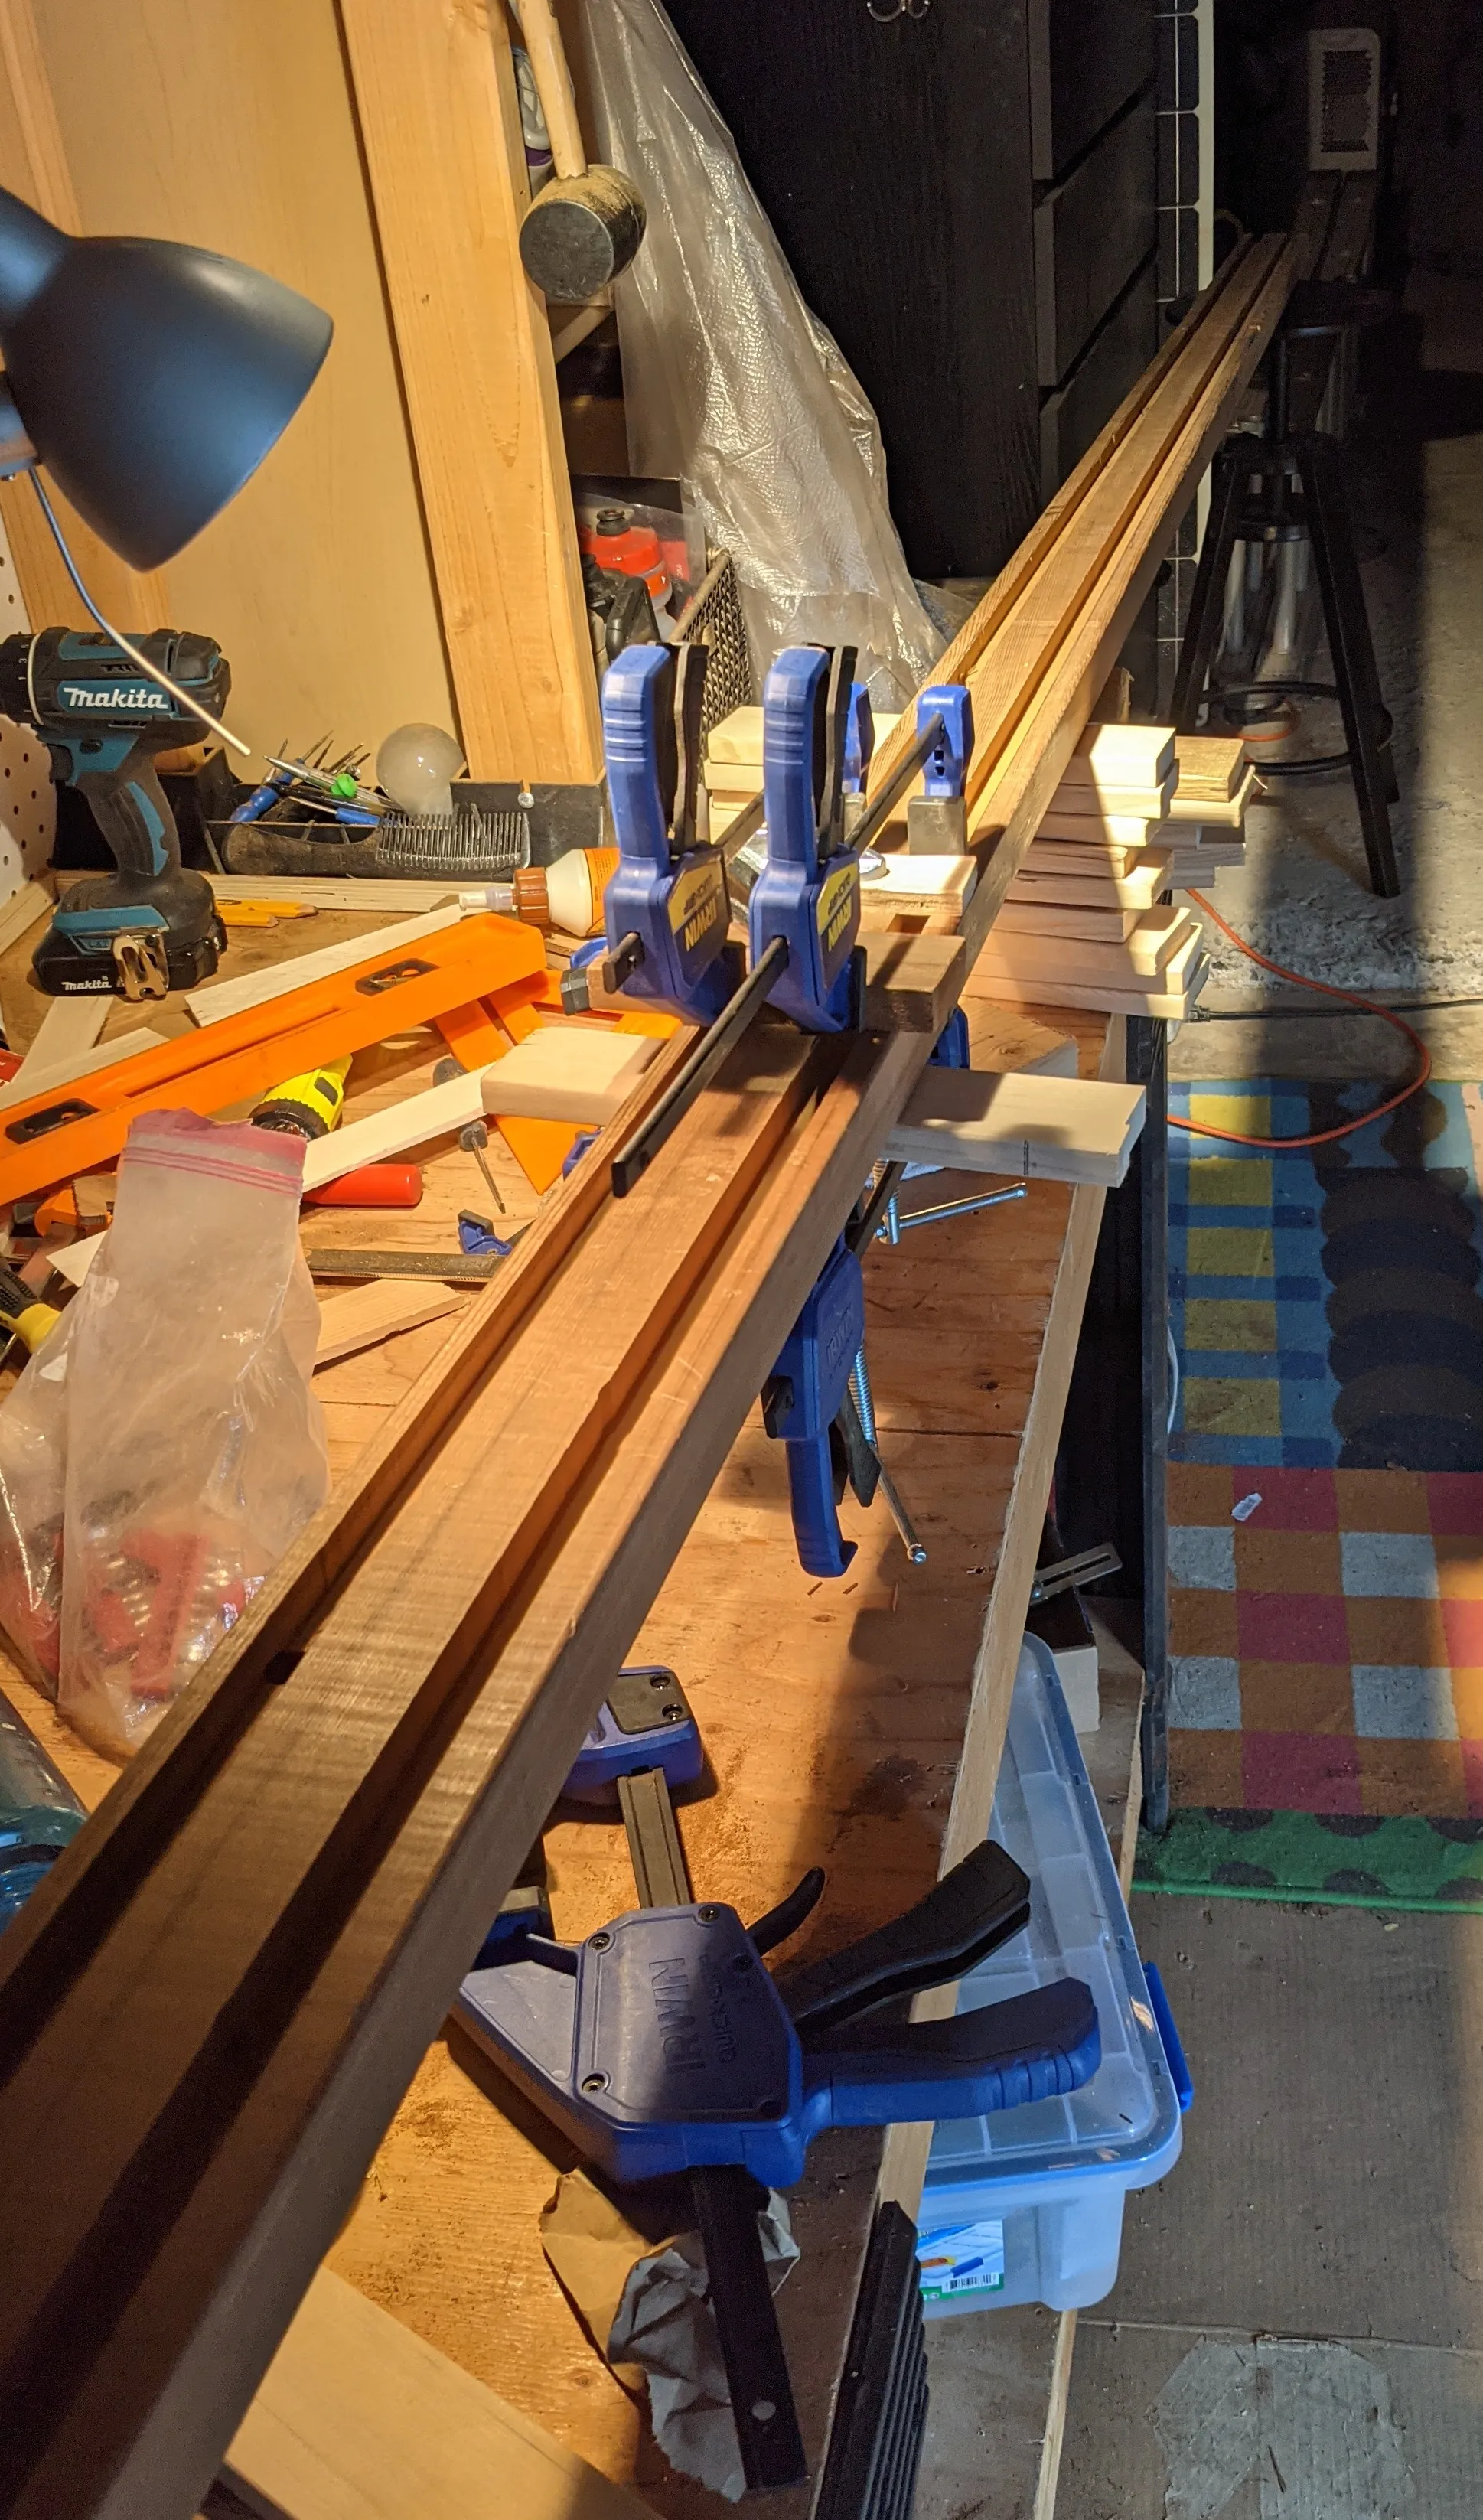
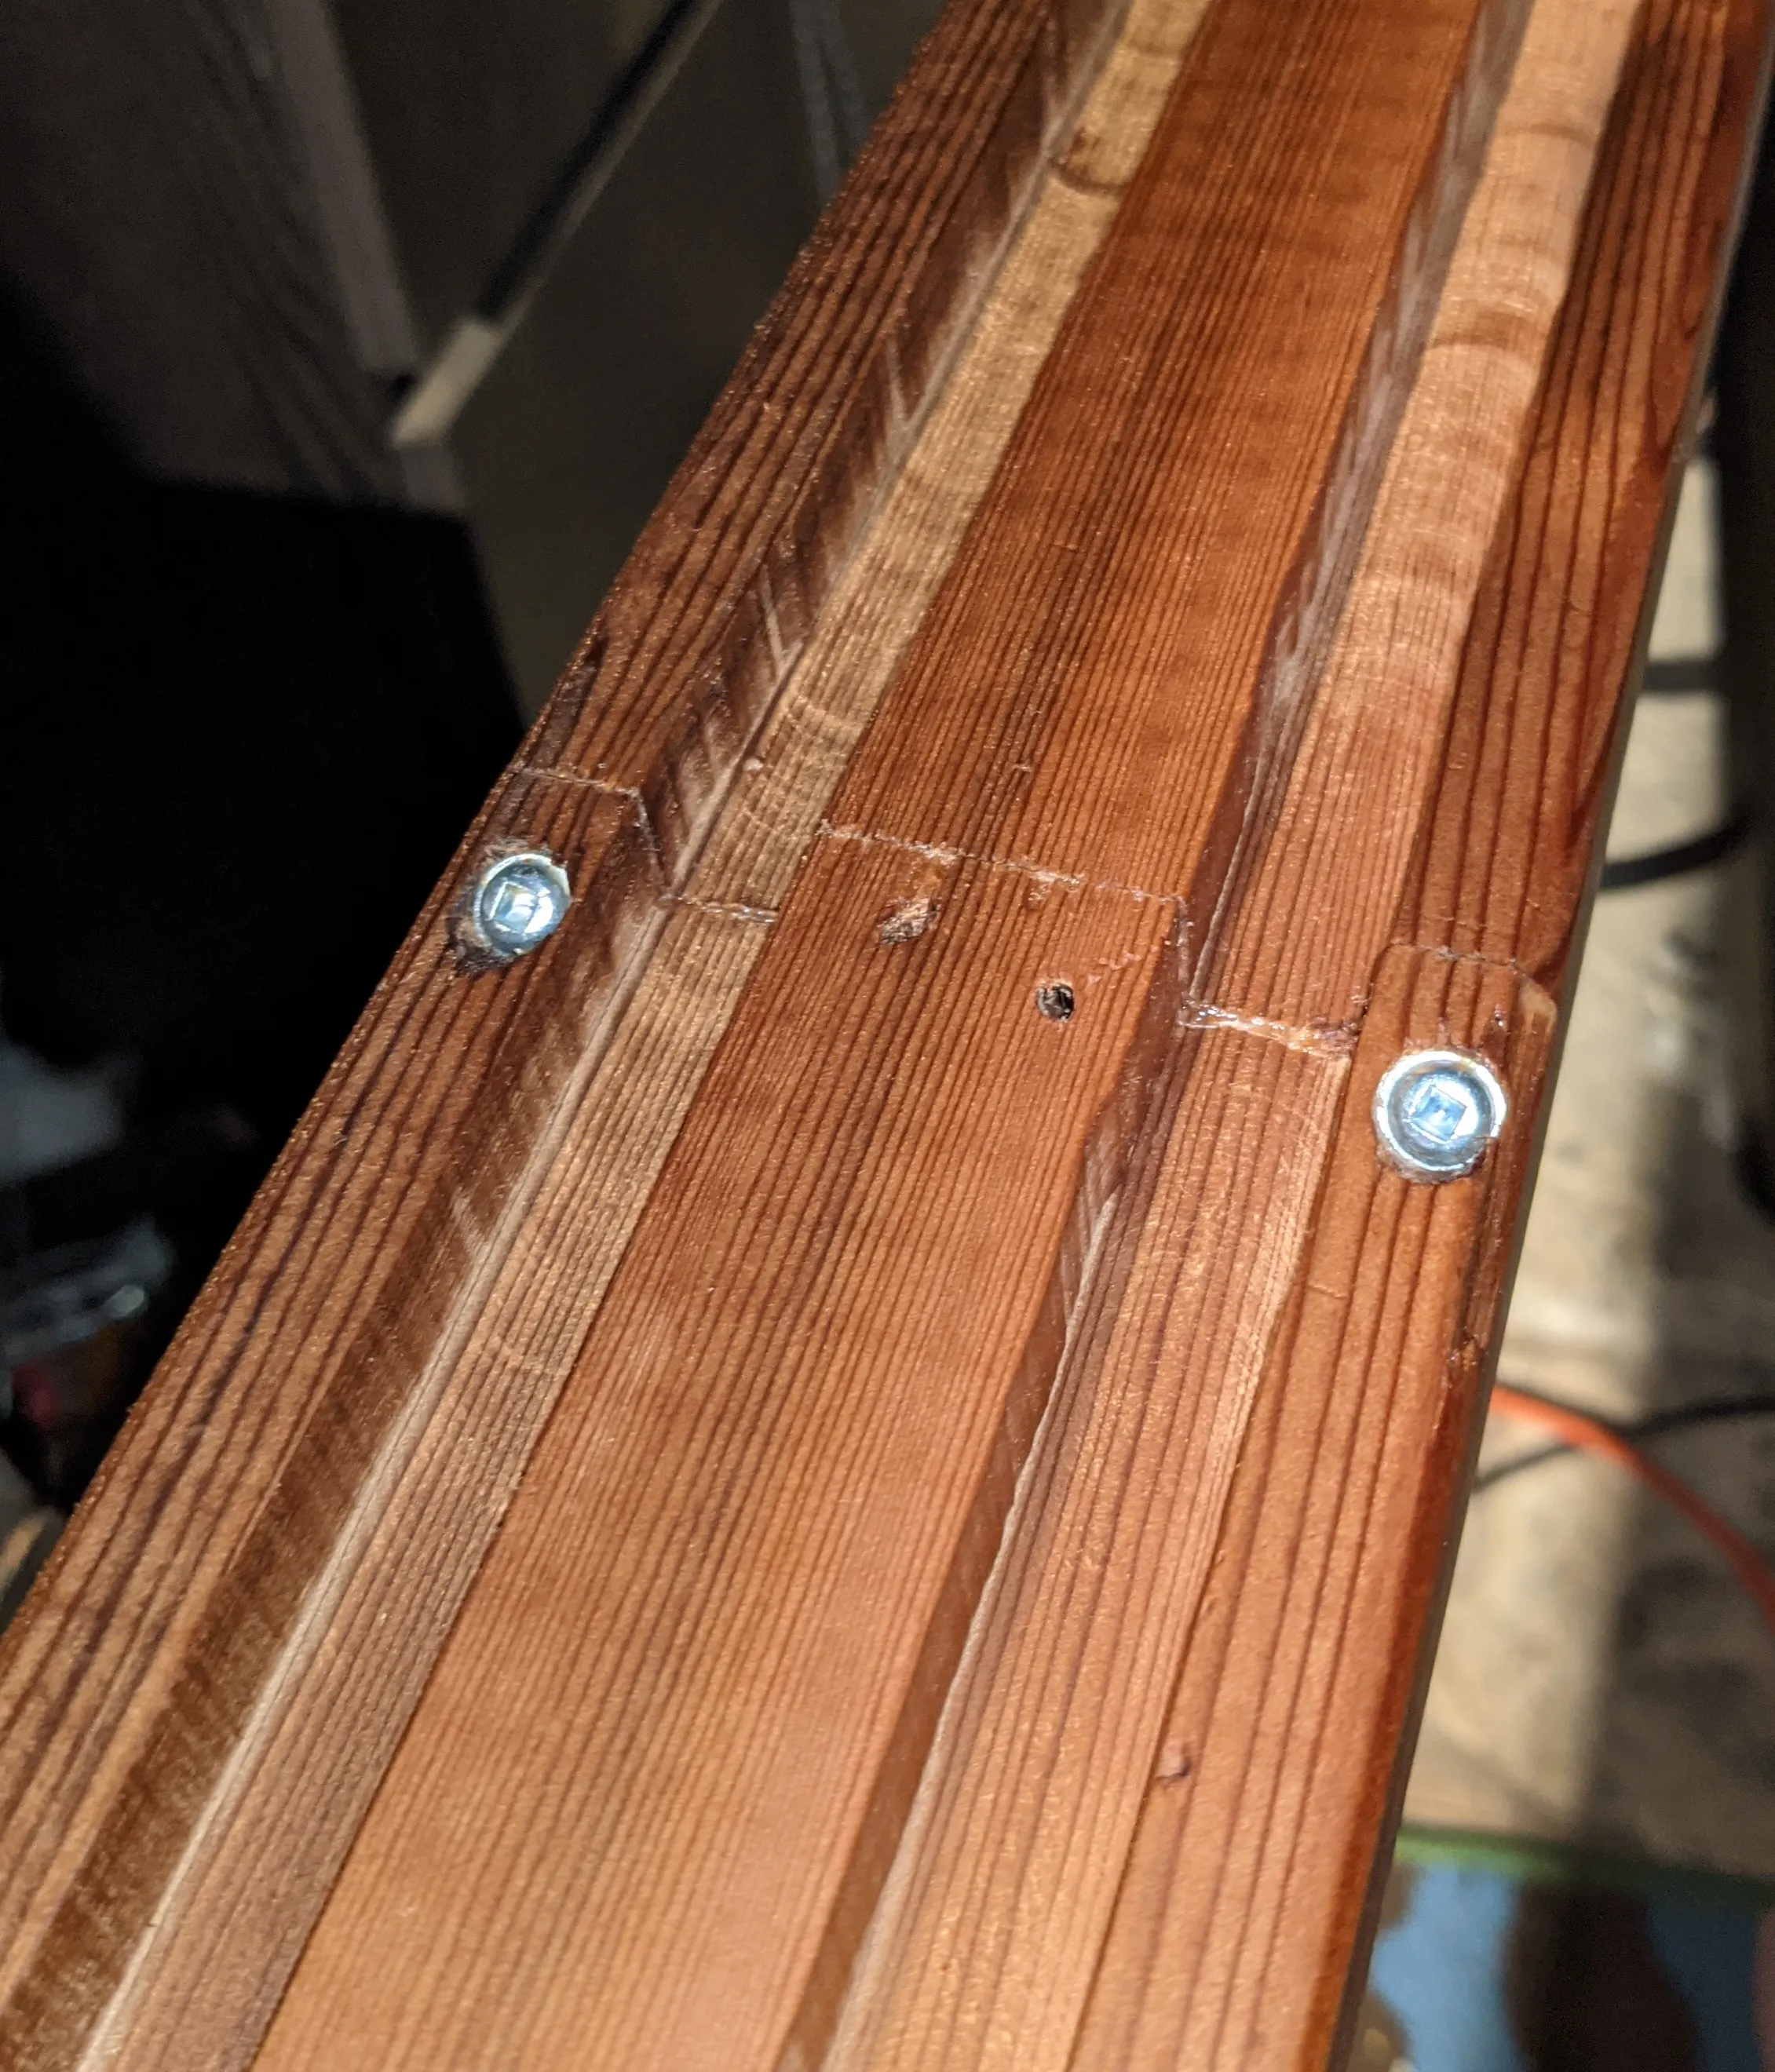
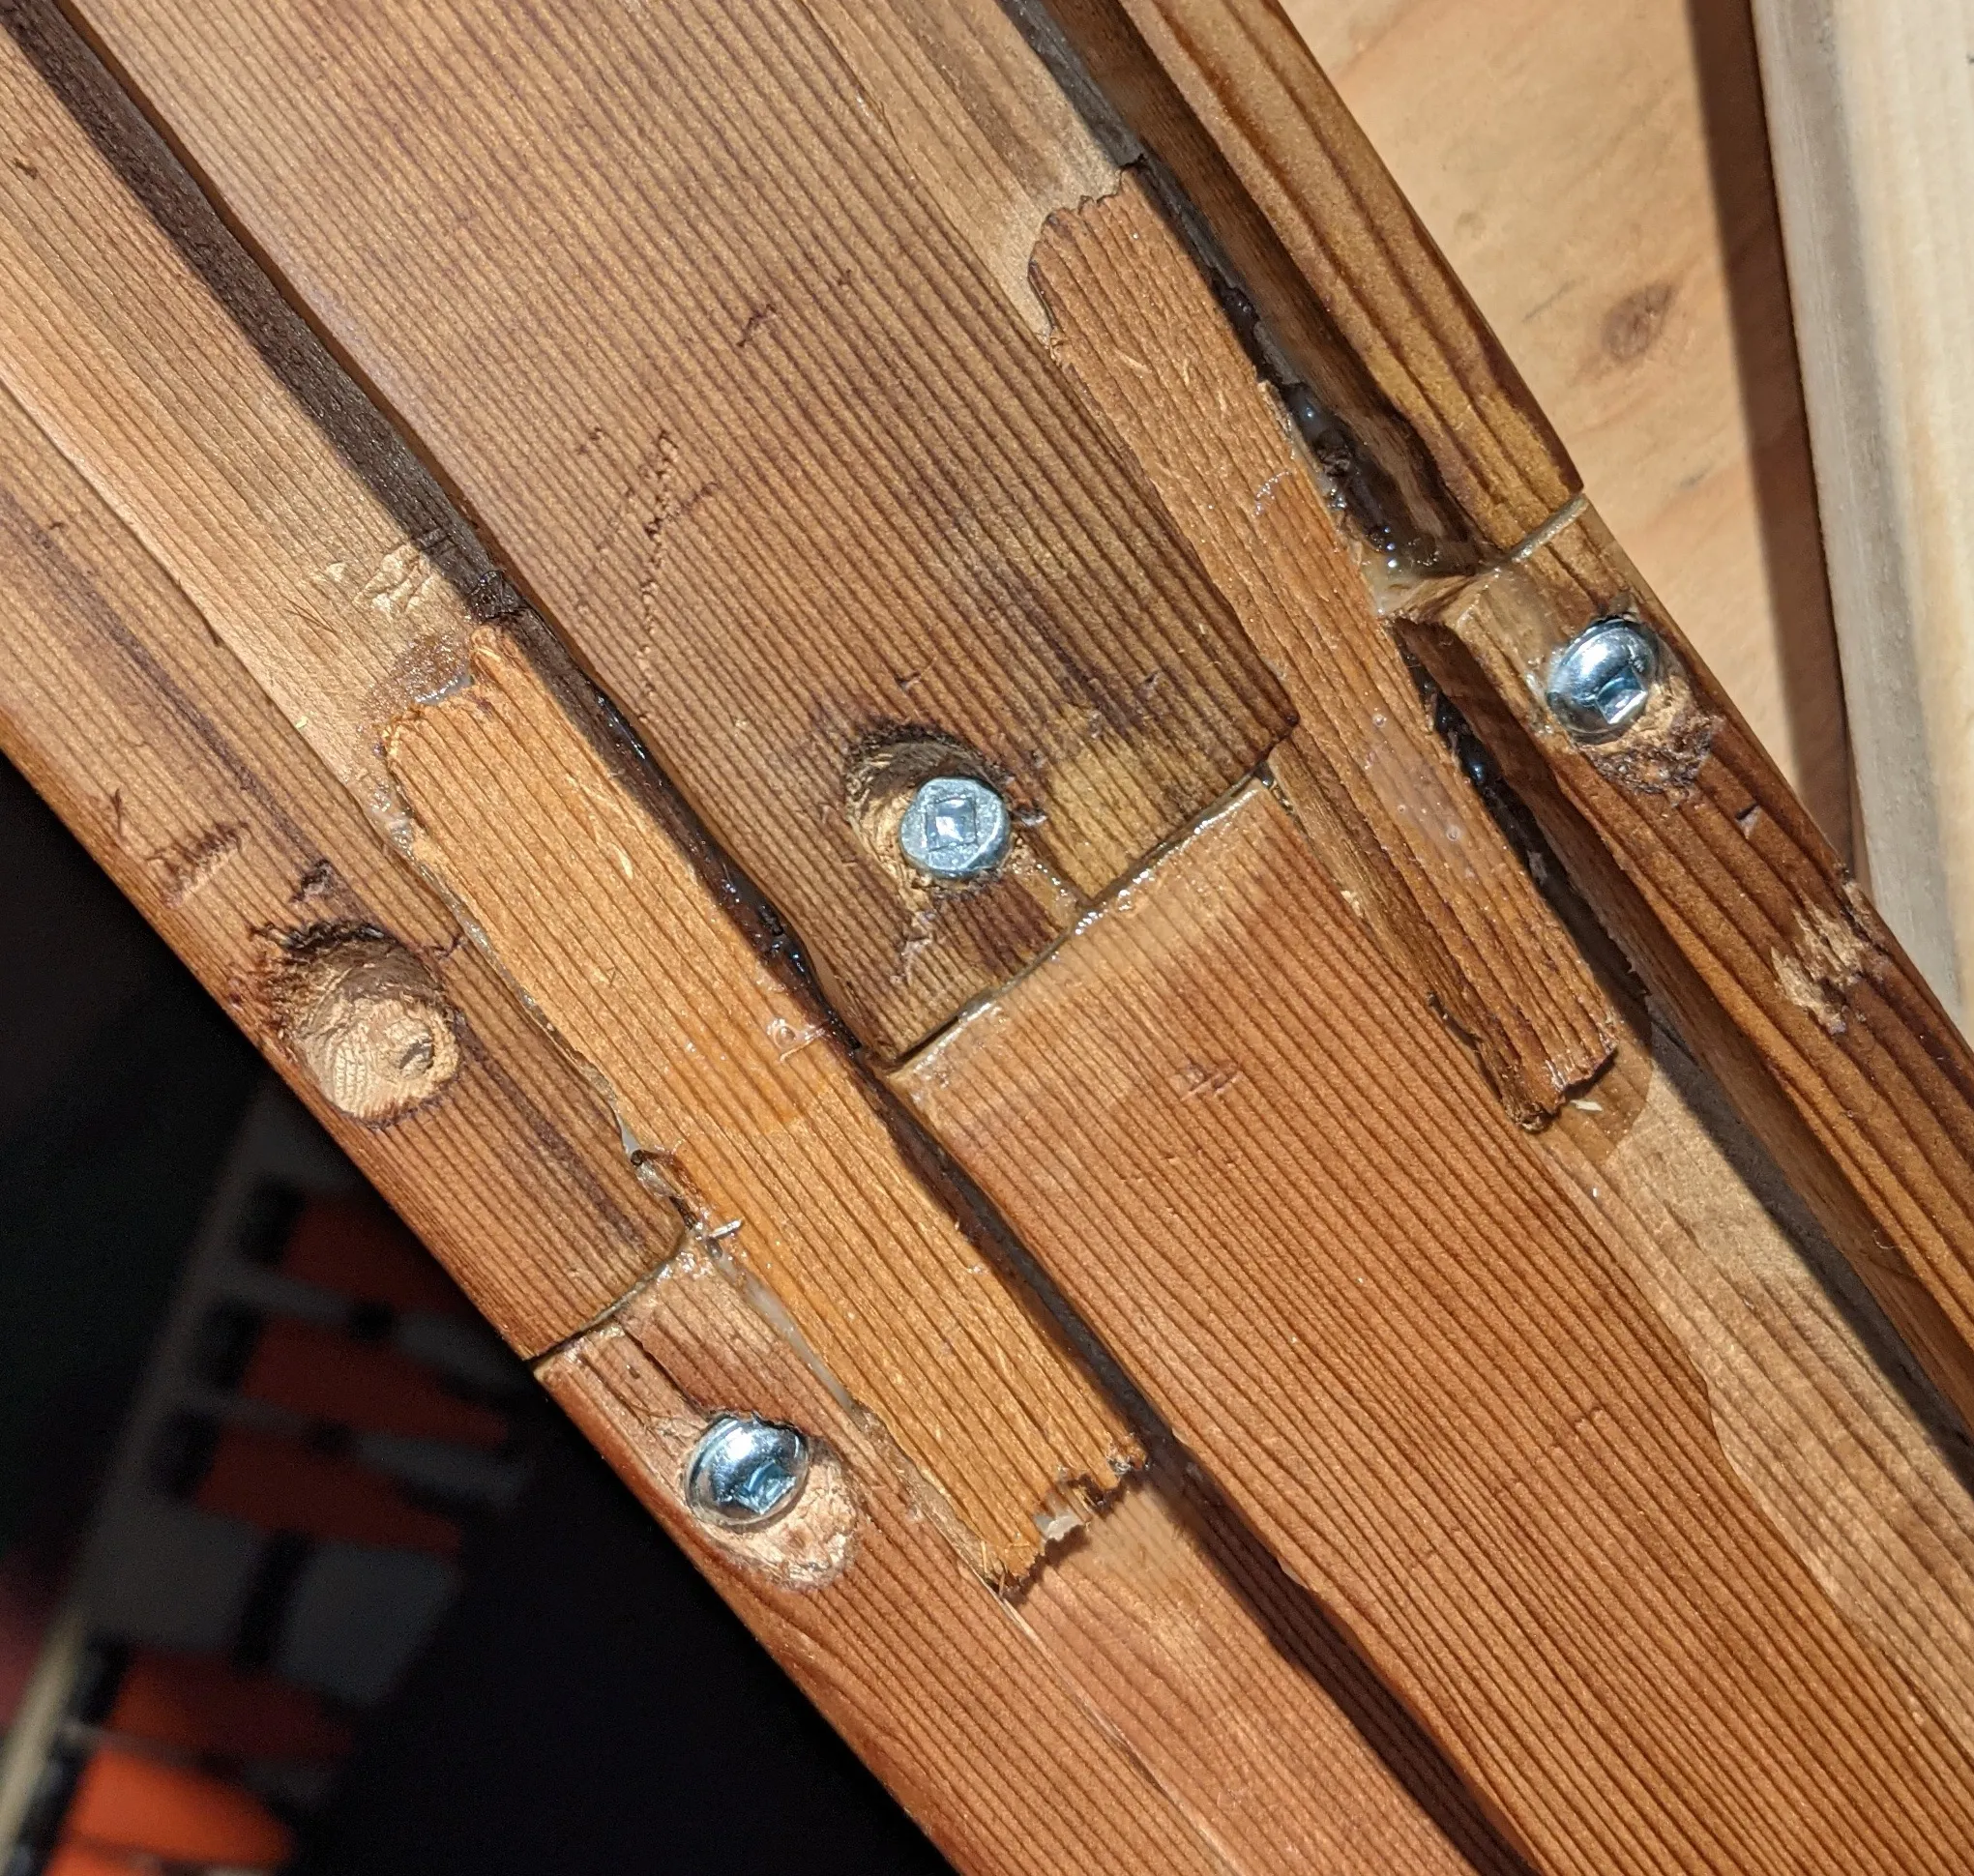
Mistake - Cutting the 2x4
I made some mistakes here. First, I made a mistake by cutting the 2x4 into 3 pieces instead of keeping it one big piece. Second, I just tried to glue these together without dowels. It was VERY hard to keep these pieces from breaking apart, and I had to re-glue and reinforce one of these connections multiple times. It also didn't help that I didn't have a proper miter saw, which meant the cuts were not flat.
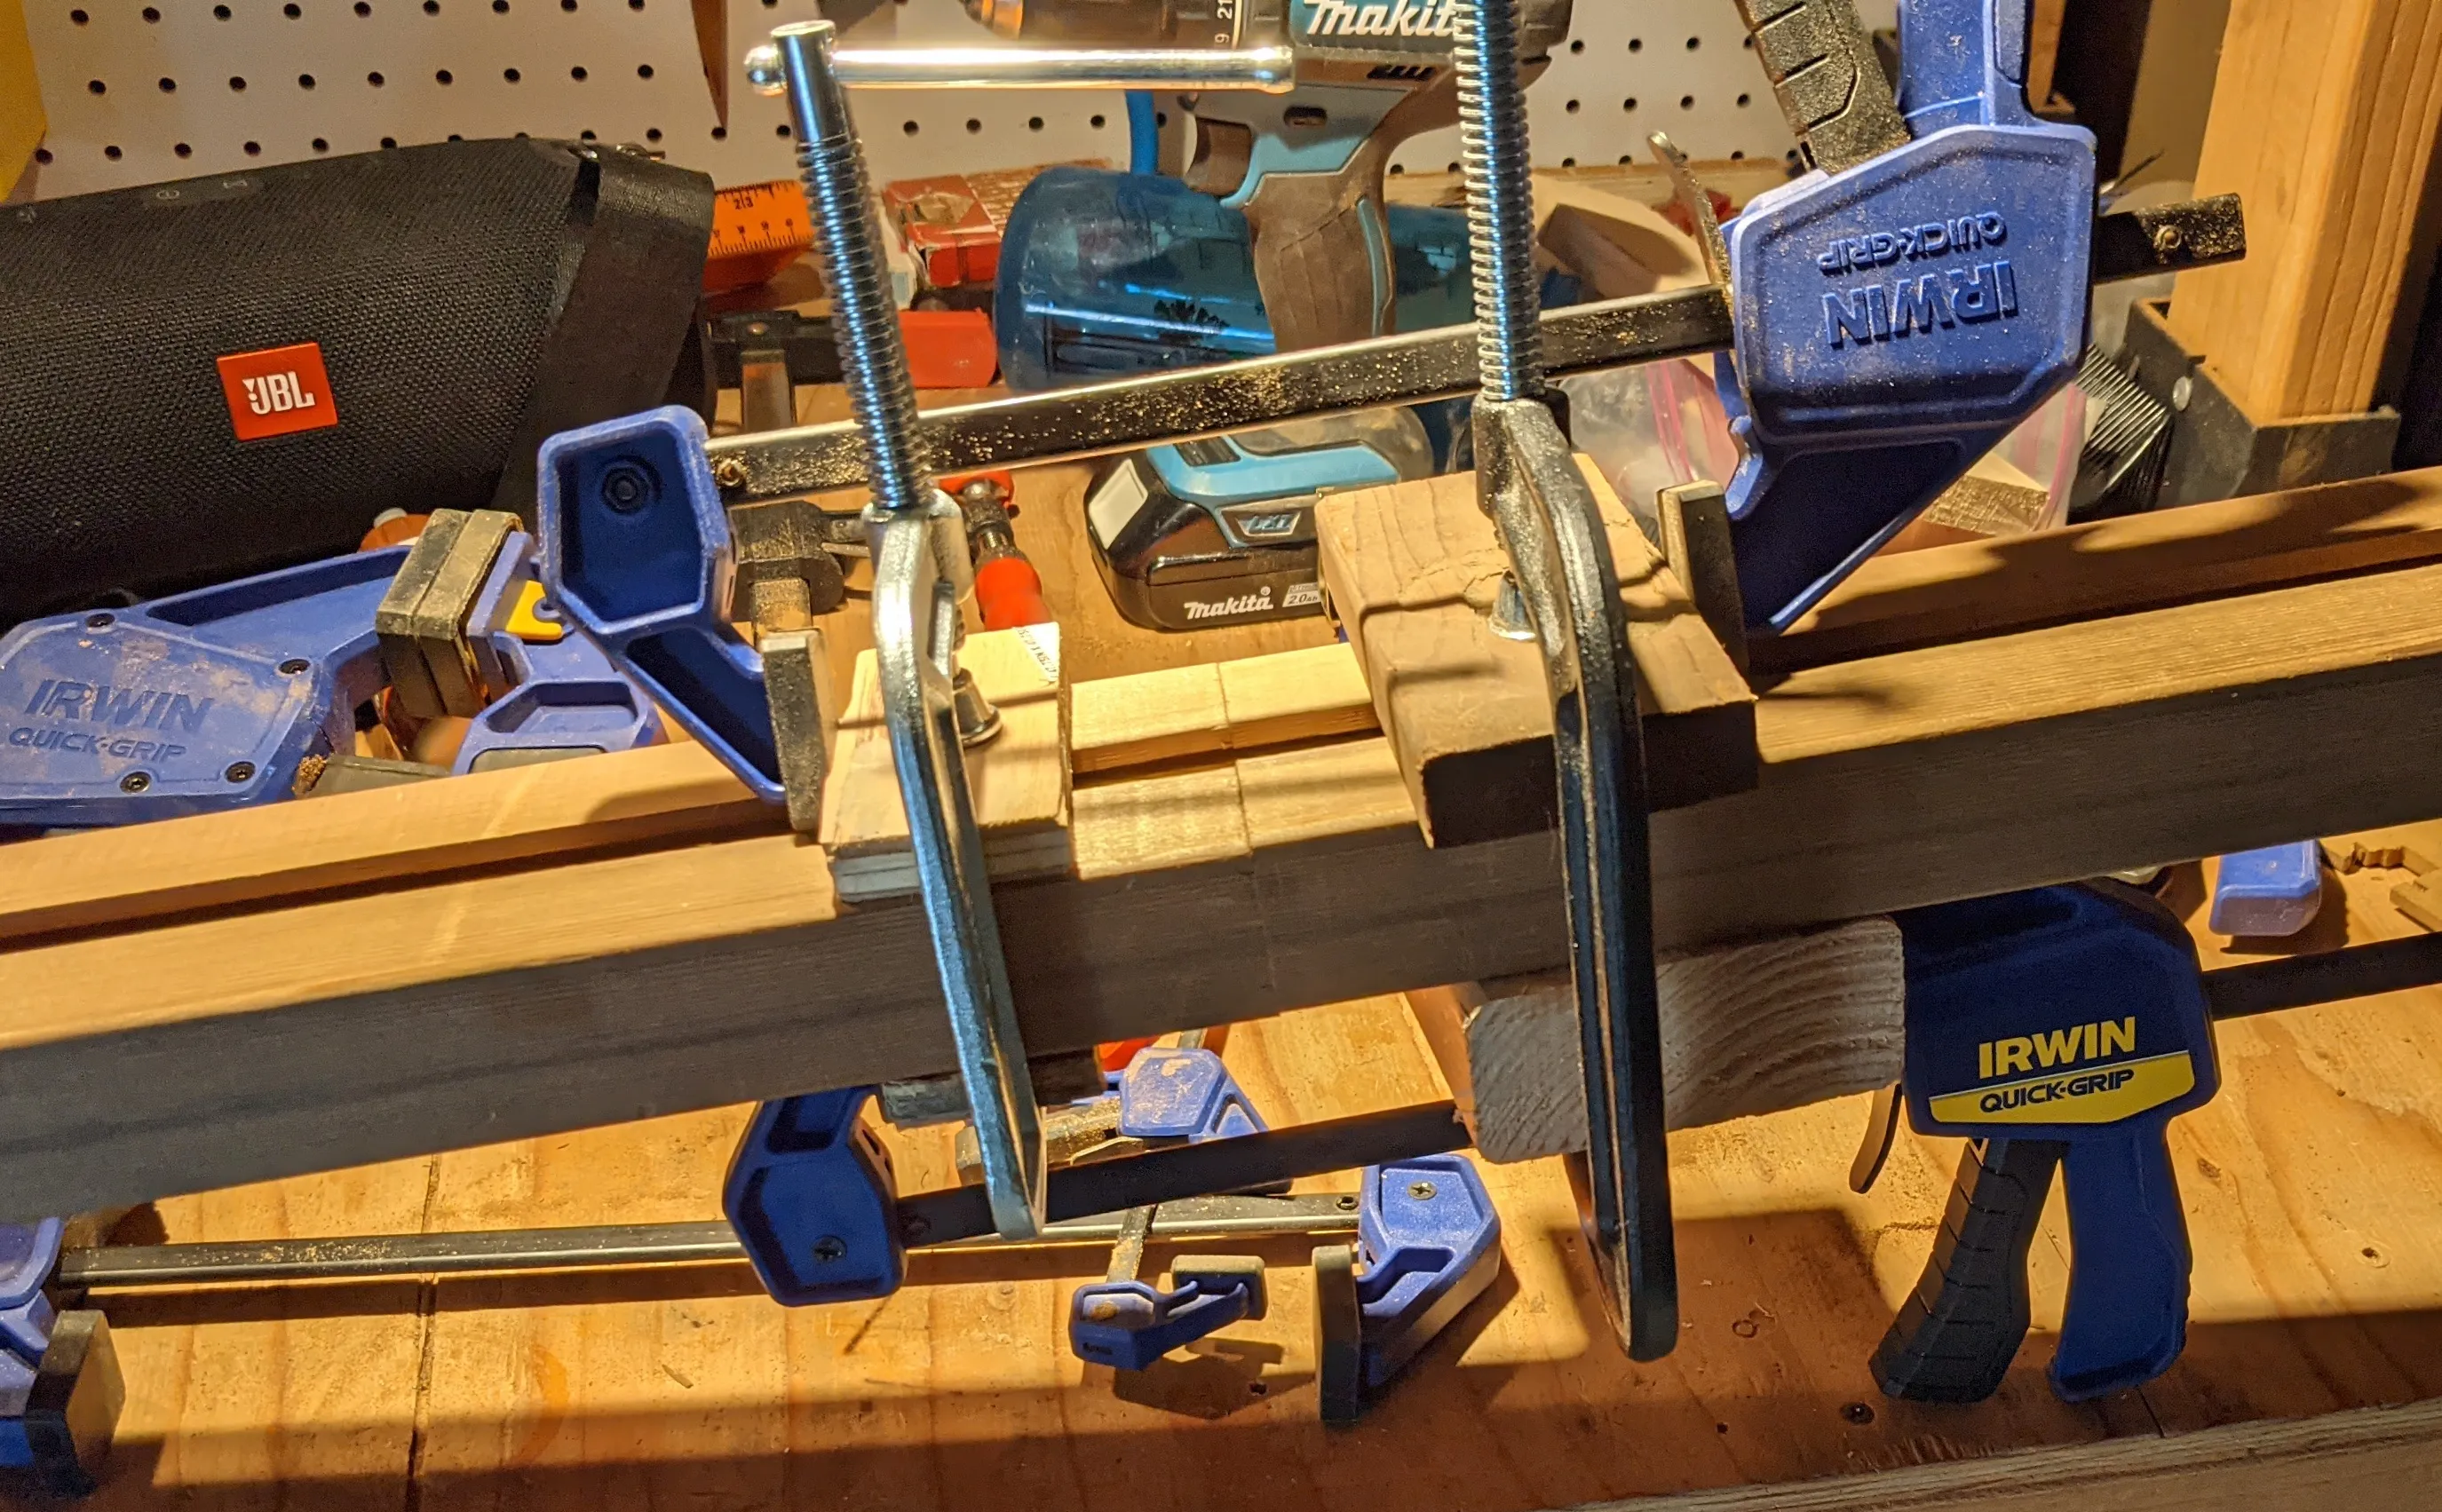
I ended up putting in some pocket screws here too, but those also failed. Dowels would have been much, much better.
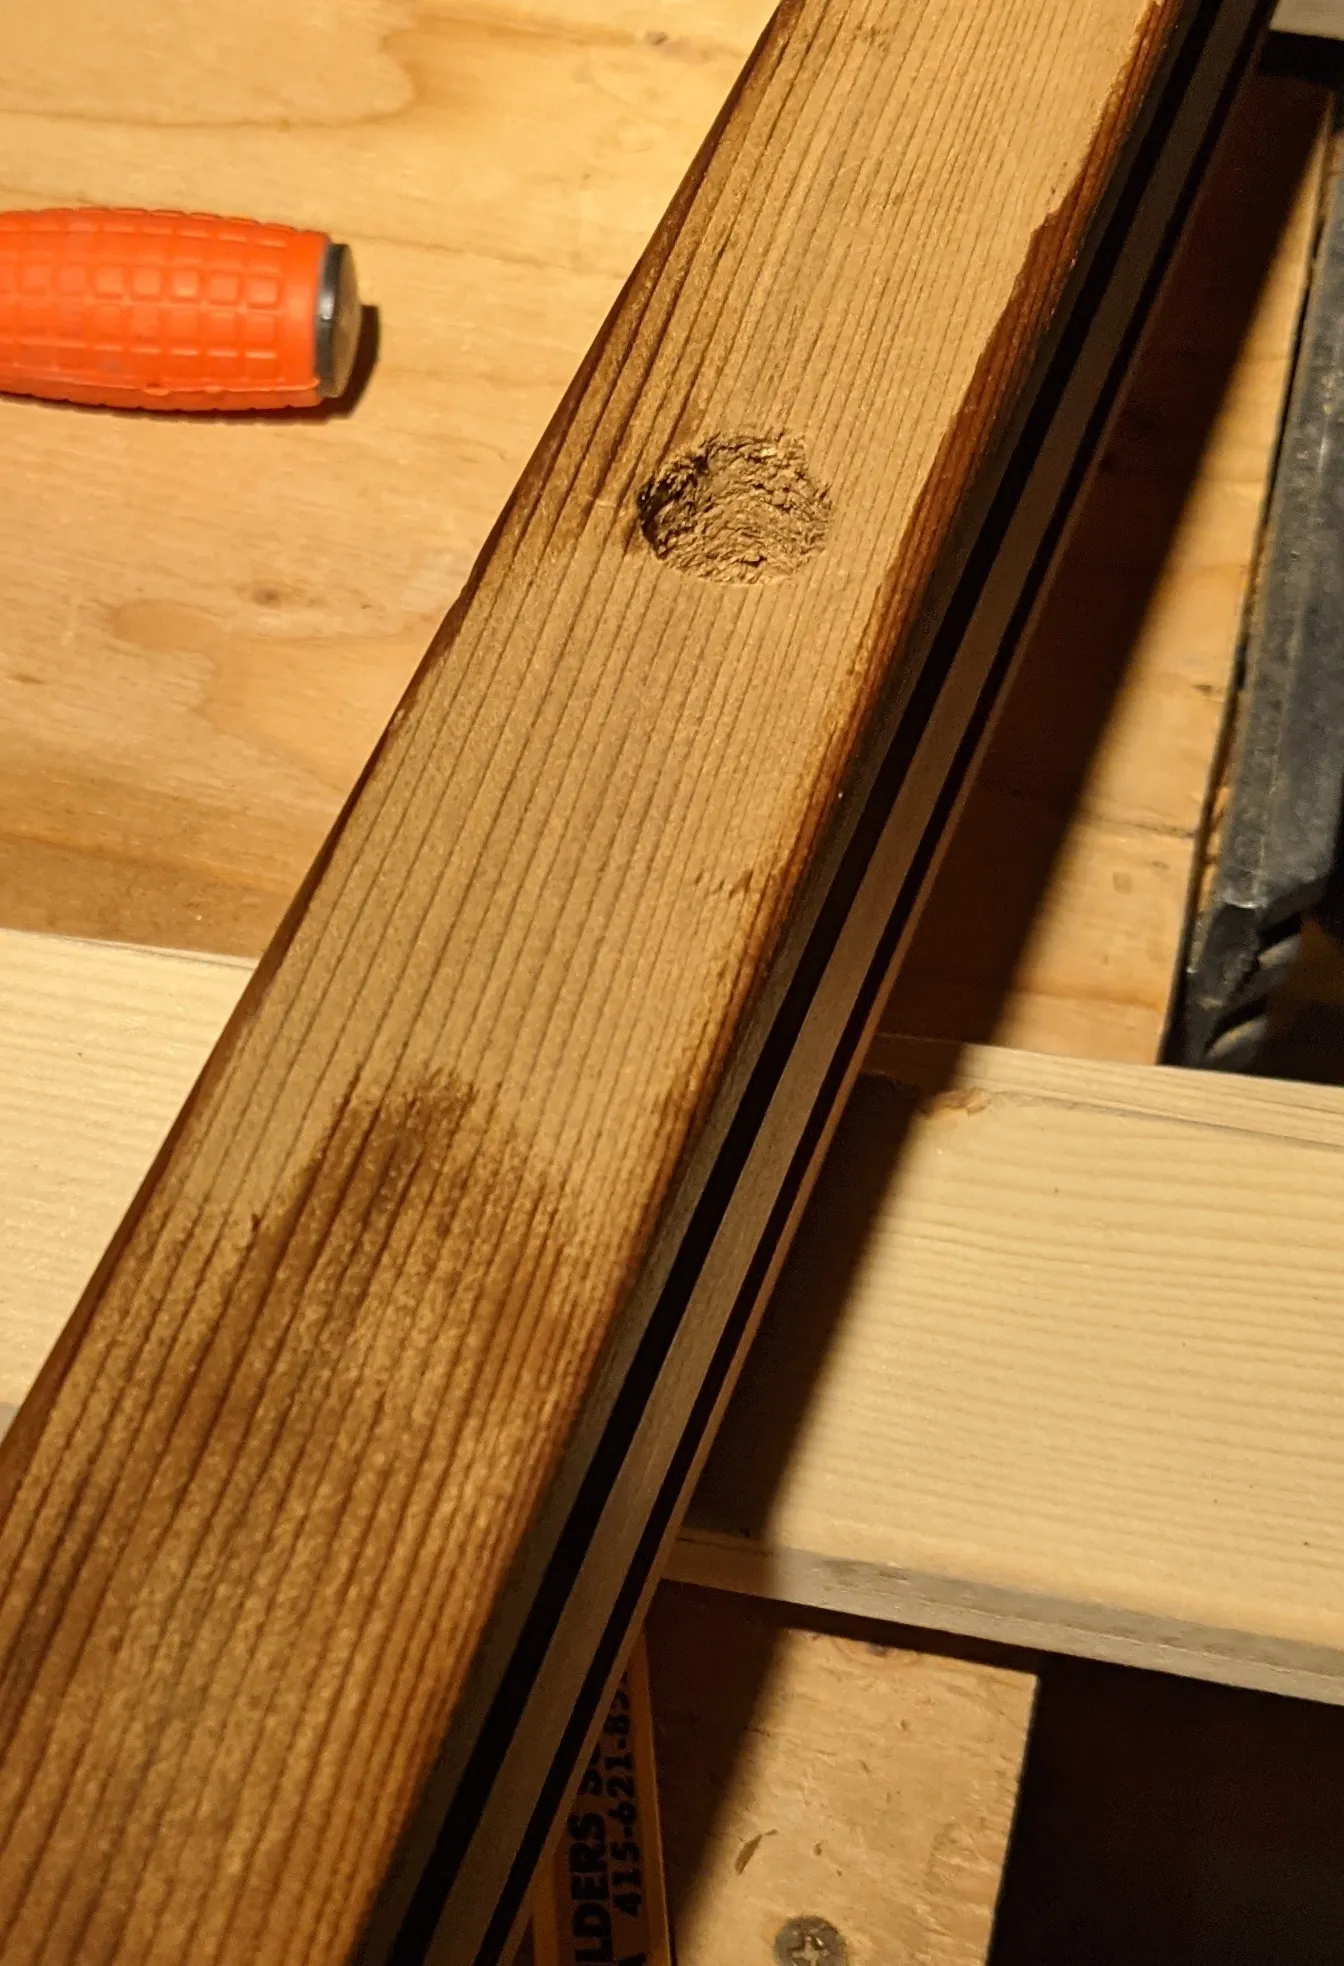
Finishing & External Controls
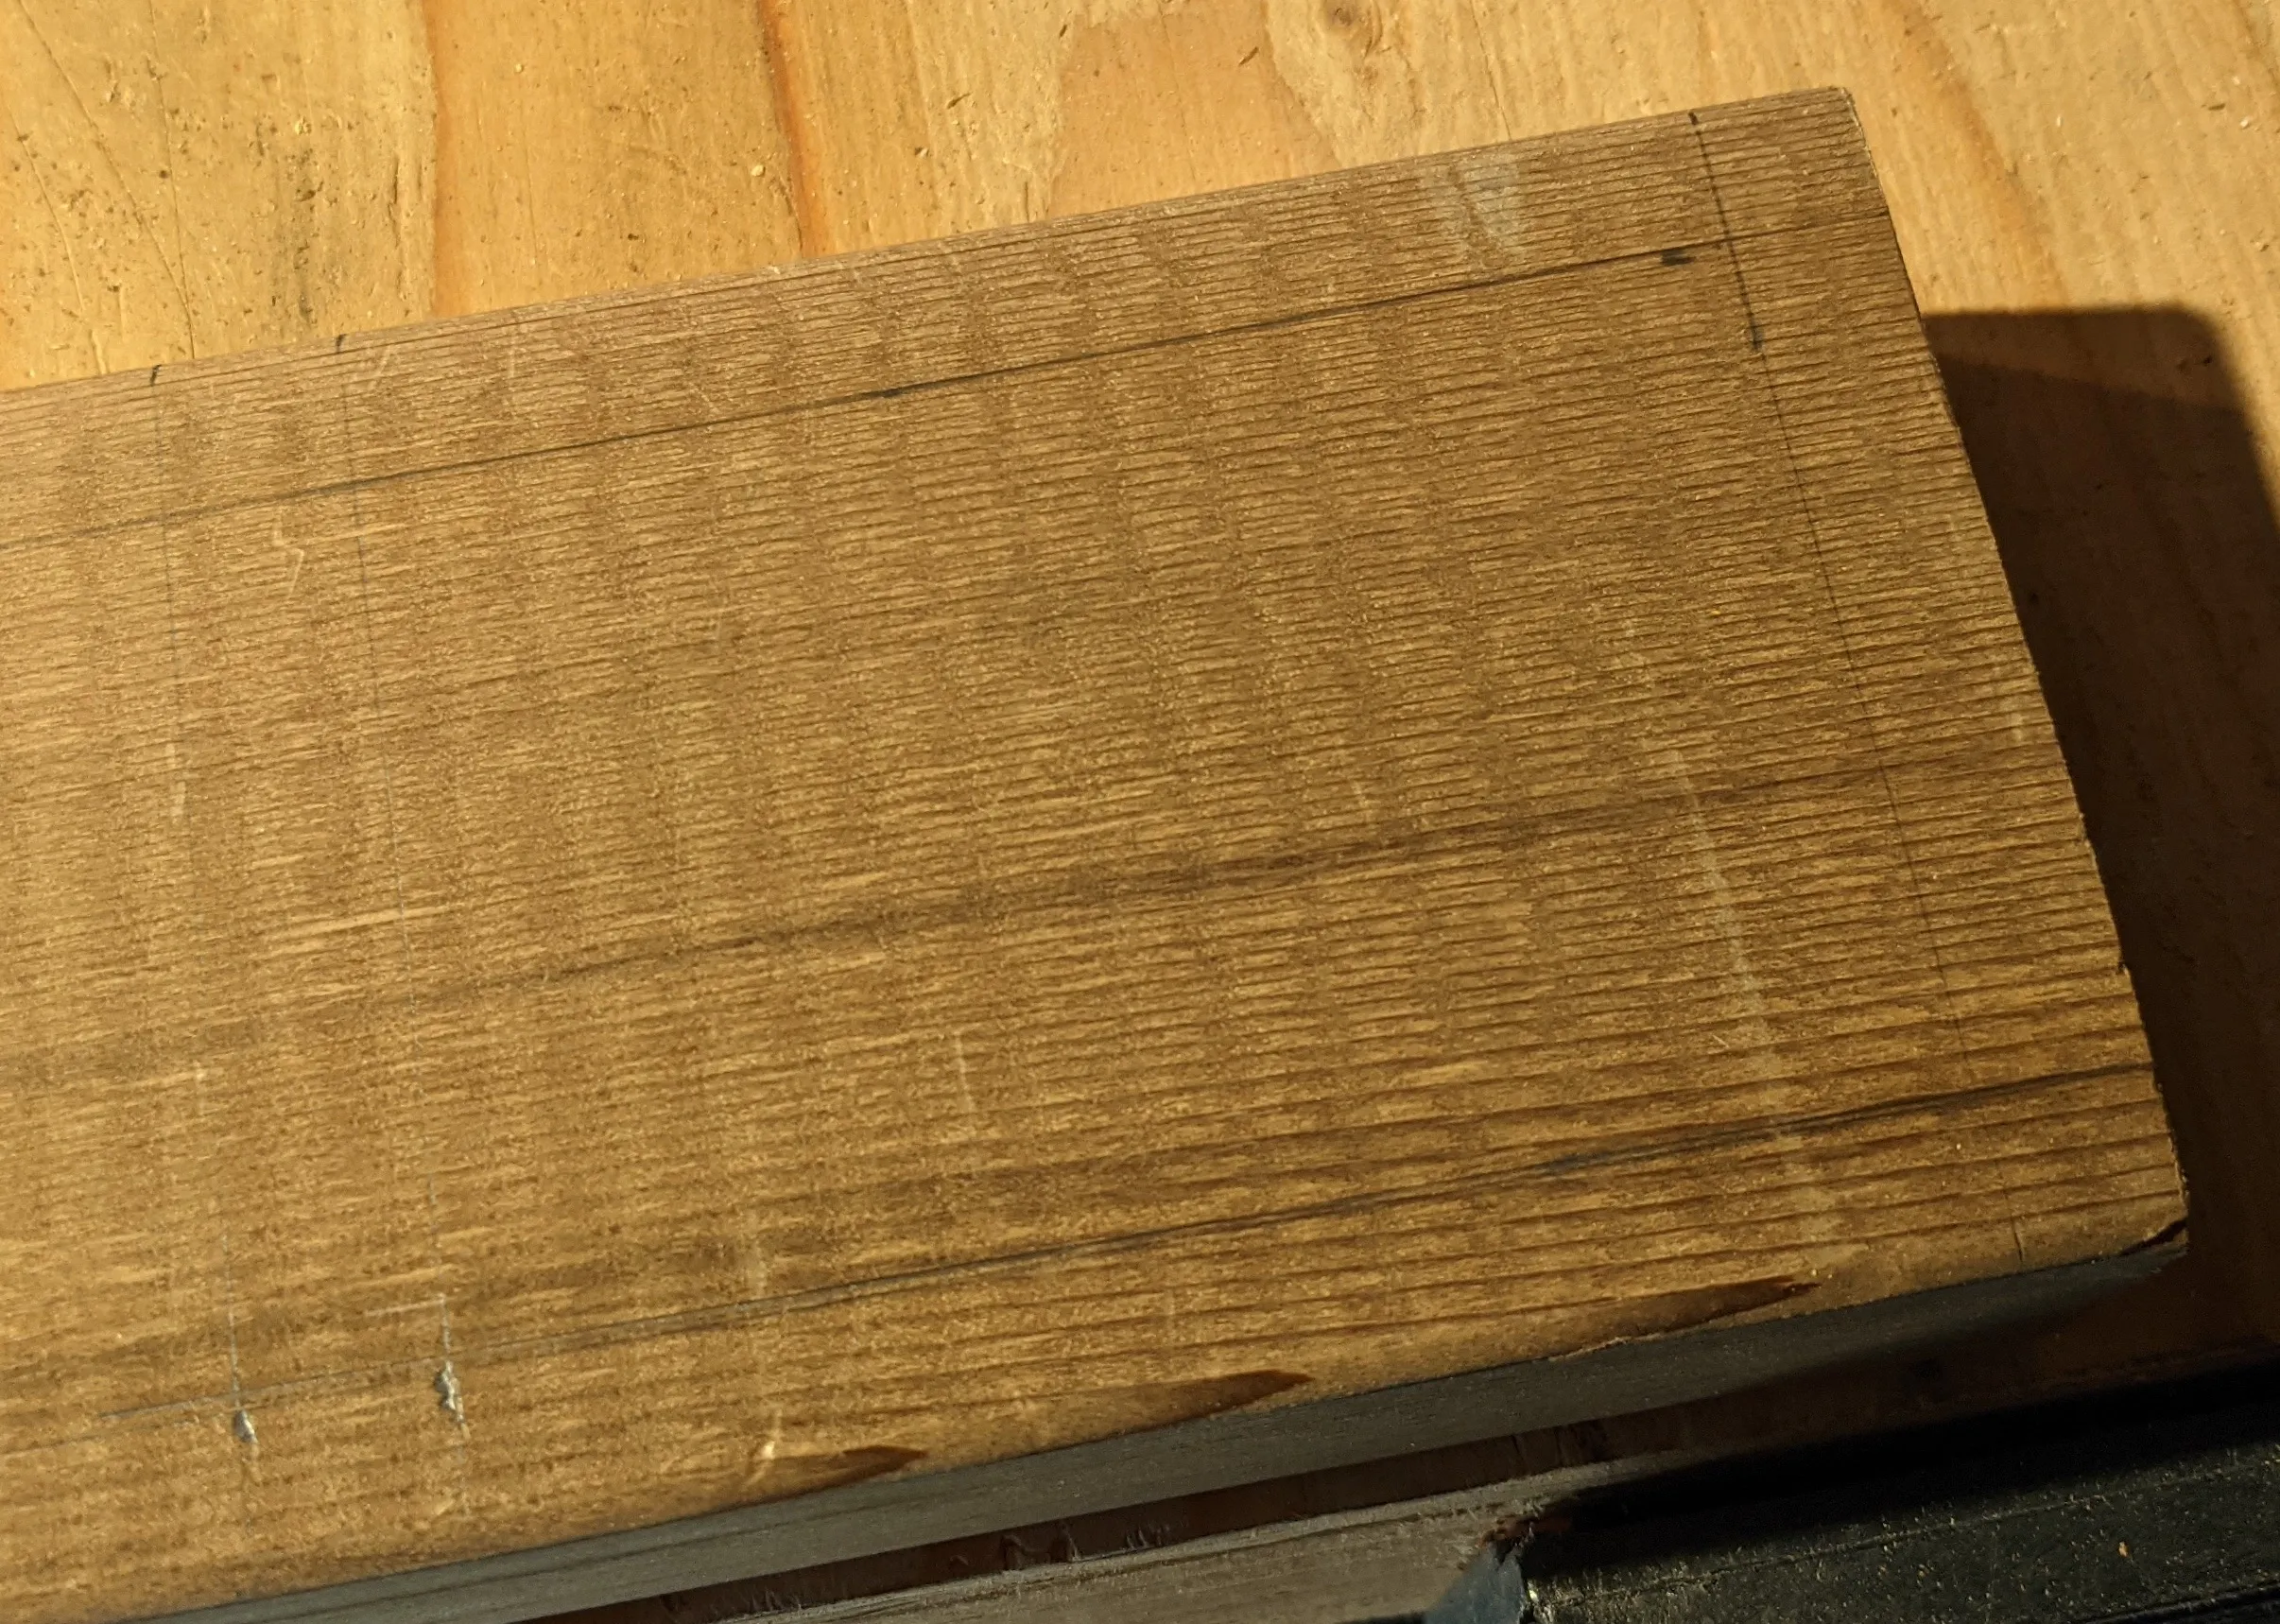
I finished the wood with Rubio Monocoat - Oil Plus 2C, which brought out the color of the red cedar really well!
Next?
Now with the wood hopefully finished, we can move on to adding all of the circuitry!
Published: Sat Dec 25 2021 16:00:00 GMT-0800 (Pacific Standard Time)